Full Drag Beat: I Put Myself Under Stage Lights in Studio
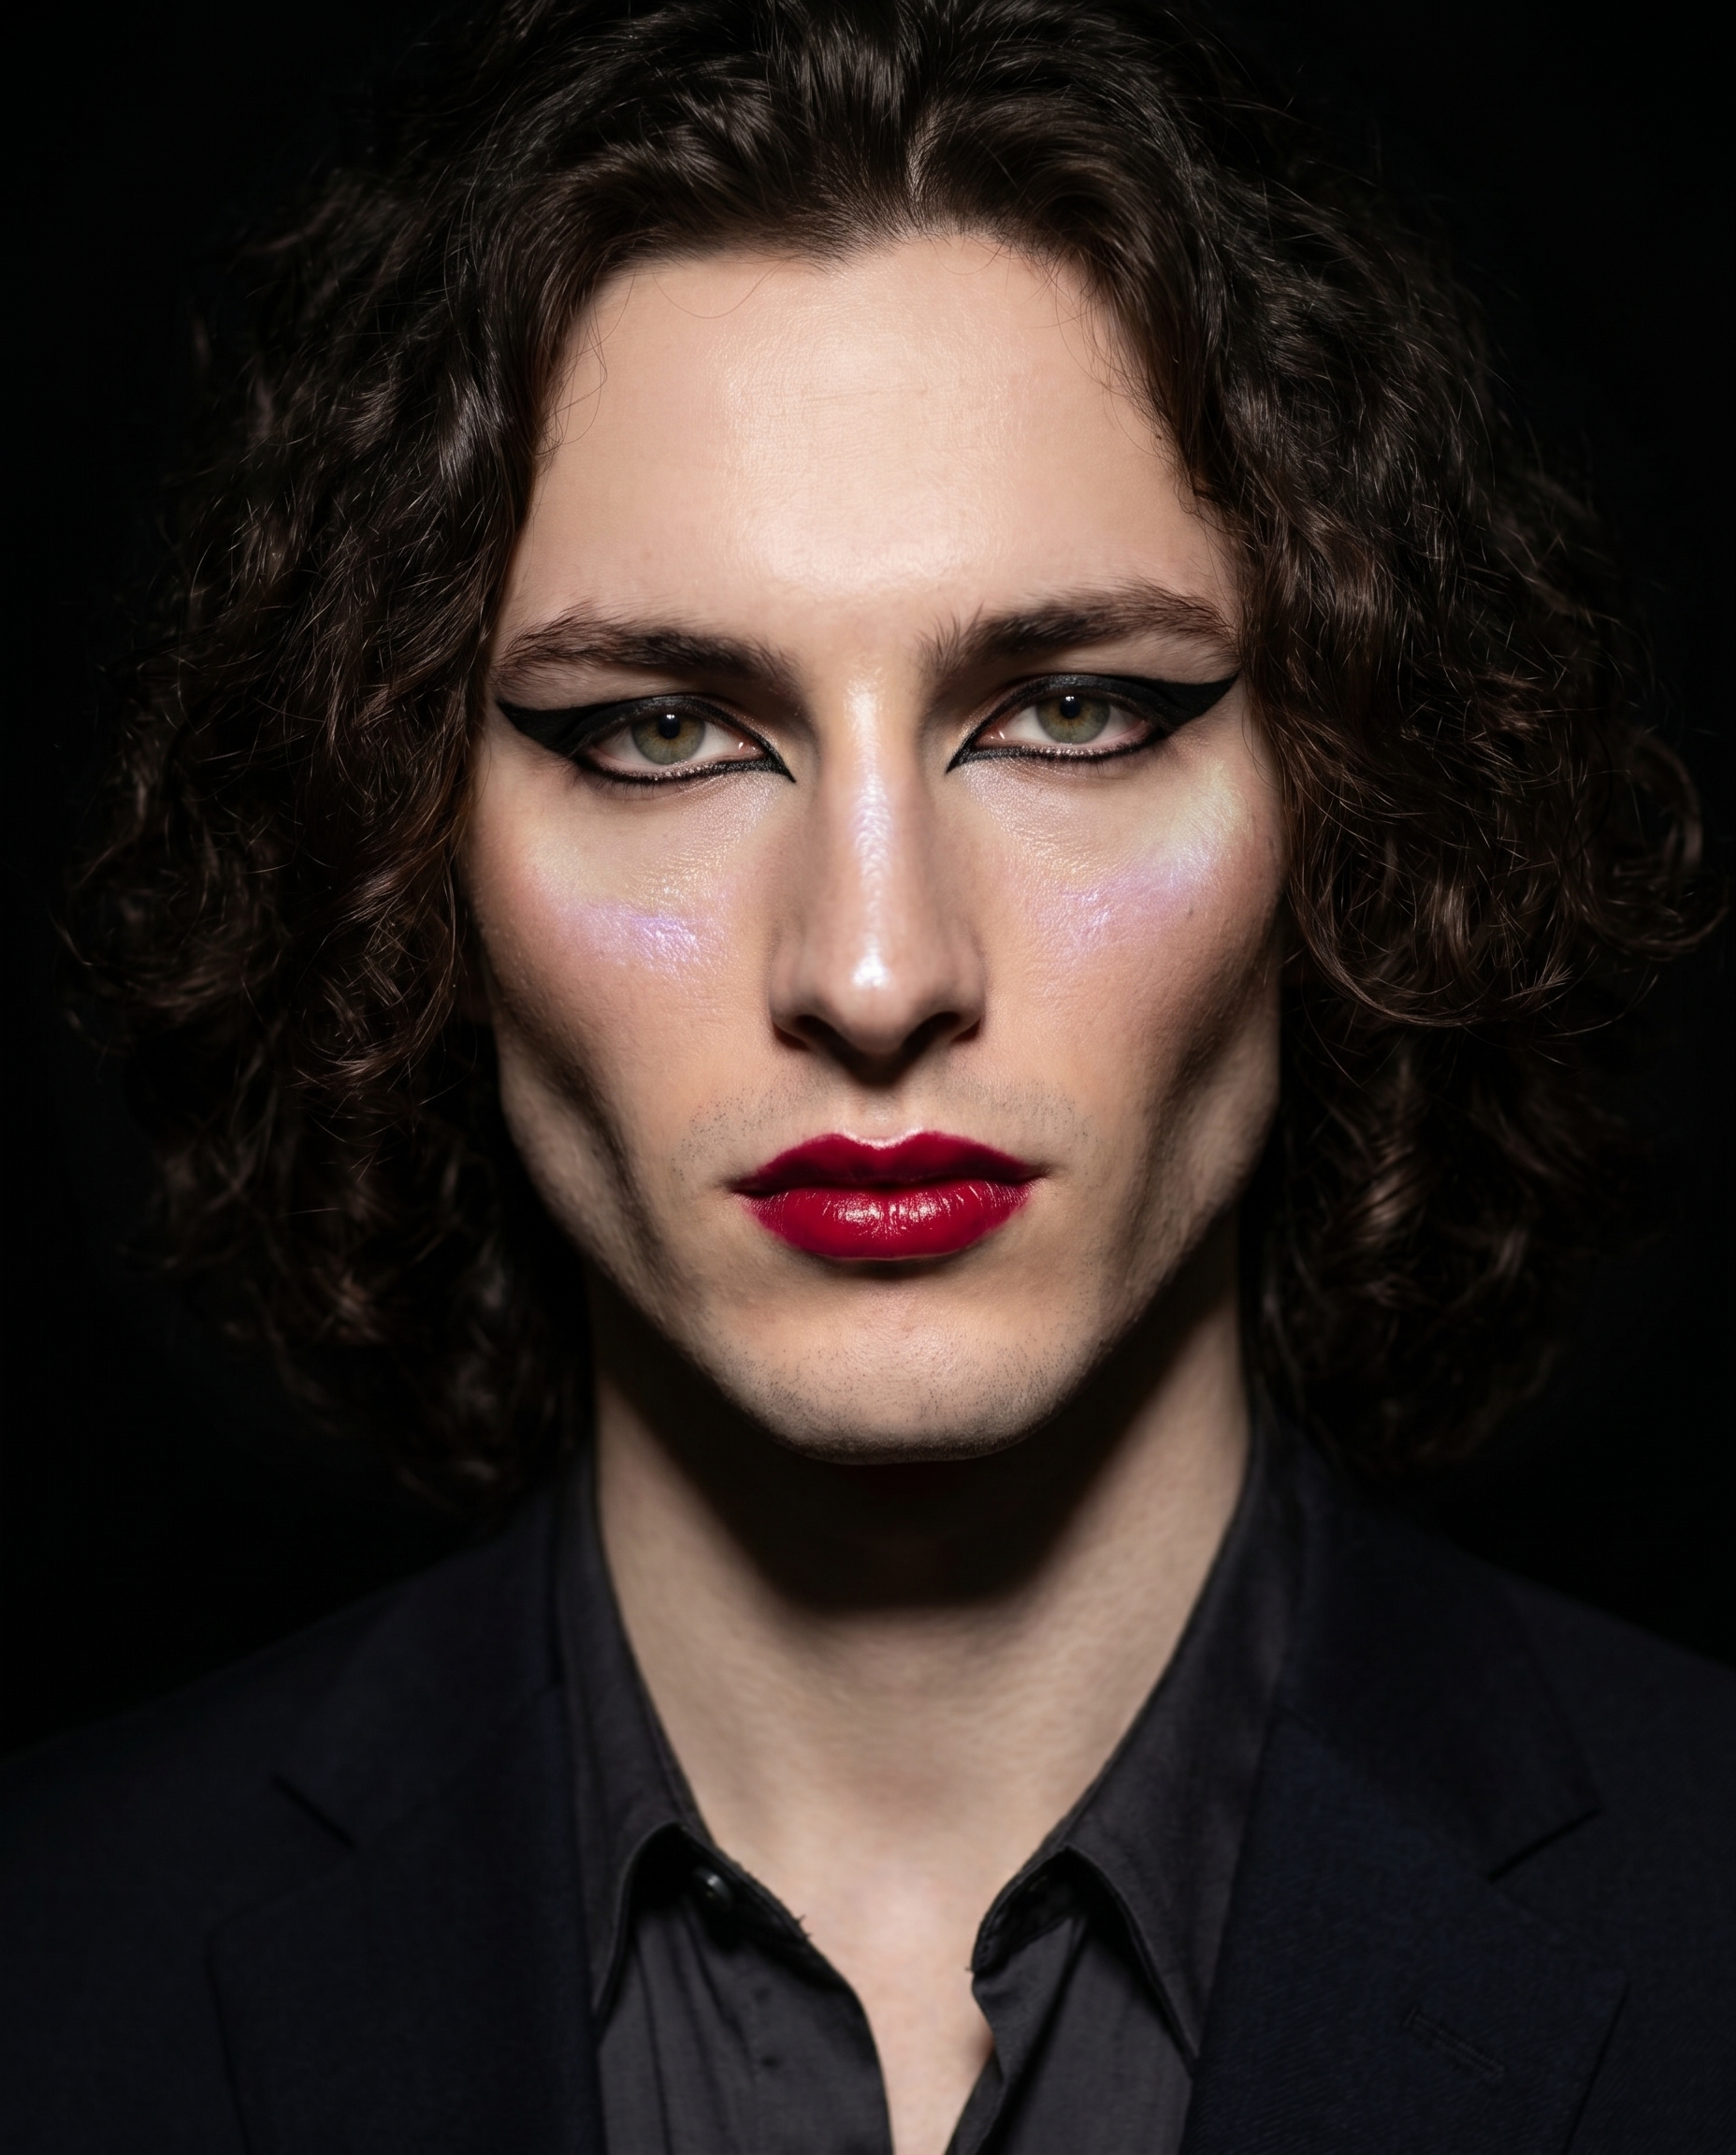
I picked the boldest makeup look in Studio's catalog, locked in my face via reference images, and let Rembrandt lighting do the rest. Here's what came back.
I wanted to see what Studio does when you stop being tasteful.
Not moody-editorial tasteful. Not clean-skin-natural-light tasteful. I mean: what happens when you load the most theatrical makeup look in the catalog, point an 85mm lens at your own face, and tell Studio to treat it like a stage performance — spotlit, deliberate, nothing left to accident.
That's today's demo.
How Studio actually works
Before I walk through my picks: Studio is form-first. You don't open a text box and start writing. You open the workspace, select your character, and then build your shot section by section — Camera Lab, Pose Library, Camera Angle, Background, Makeup, Fashion, Location. Each section is a set of named options you pick from a catalog. When you're done, Studio assembles everything into a prompt and shows it to you before you generate. You can edit that assembled prompt if you want. Most users never do. The form did the heavy lifting already.
The "what to shoot" comes from your picks. The "how it's shot" comes from Camera Lab. That's the mental model.
What I picked from Studio
Full Drag Beat — this is Studio's highest-intensity makeup look. The catalog description calls it "high-glam stage-ready — exaggerated, bold, performance-level," and that's accurate but undersells it. Full Drag Beat isn't just heavy makeup. It's makeup as costume. Graphic liner past the brow, sculpted contour that reads from the back row, lips so saturated they hold their own against spotlight. I picked it because I wanted to test Studio's upper limit for makeup fidelity — not whether it could do a subtle wash of blush, but whether it could handle something designed to be seen.
85mm focal length — the Camera Lab calls this the "portrait sweet spot; flattering compression. Style: isolated subjects, creamy backgrounds." In practice: 85mm compresses facial features slightly, which is flattering without distorting, and it throws backgrounds into a genuinely creamy blur rather than the slightly-sharp-but-soft look you get from wider lenses. For this shot I needed all the visual weight on my face — on the makeup — not on the seamless behind me. 85mm is the right tool for that. This is what the operating tip "Camera Equipment Matters" is actually pointing at: the focal length isn't decoration, it's changing what the image looks like at a physics level.
I also paired this with Rembrandt lighting, which the best-results guide singles out for dramatic portraits. A single key spot above and slightly to one side, casting a triangle of light on the cheek — it's the setup that makes contour do what contour is supposed to do. "Lighting Sets the Mood" is the tip, and in this case the mood was: theatre.
One more thing worth knowing: I loaded myself as the character before building anything else. When you select a character in Studio, your saved reference photos auto-load and lock your identity into every generation — face, skin tone, body. The model maintains that continuity across shots. You don't re-upload. You don't re-describe. You just pick the character and build the shot. If you're building an AI character on ArtCoreAI, this is how you make their look consistent across every campaign image you generate.
What the form composed
This is what Studio assembled from my picks — you don't have to write any of this yourself unless you want to.
Close-up beauty portrait of a young man with exaggerated full-coverage stage makeup — bold graphic eyeliner extending past the brow, intense sculpted contour, oversaturated crimson lips, and holographic highlight catching theatrical spotlight. Shot at 85mm, subject isolated against deep black seamless, creamy background compression melting away all distractions. Rembrandt lighting with a single key spot above, casting dramatic under-eye shadow. Theatrical, high-glamour, performance-ready — every detail sharp, every colour deliberate.I did add one phrase myself — "holographic highlight catching theatrical spotlight" — because I wanted to see if the model would pick up iridescence on the cheekbone. It did.
What I noticed
The contour held up. Sculpted contour is one of those things that AI images often soften or smear. This one stayed sharp — the shadow under the cheekbone is defined the way a makeup artist intends it, not the way a skin-smoothing filter would render it. The Full Drag Beat look clearly flagged to the model: keep structure, don't blend.
The background compression is doing real work. I could have put any background behind me and it wouldn't have mattered — 85mm made everything outside my face irrelevant. The black seamless just disappears. That's the focal length, not magic.
What I'd change: I'd push the aspect ratio to 9:16 and run a second generation with a slightly lower camera angle — worm's eye or close to it — to make the lighting hit the highlight differently. The current shot is front-on and clean, but there's a more dramatic version in there.
What it cost
- Credits spent: 2.70
- What you'd pay: $0.27
- Generation time: ~26s
This was a 4:5 generation. If I'd run 4K resolution for print, the credit cost would go up — but for social and web, this size is already sharp enough to hold up at full screen.
If you want to run something like this yourself: open Studio, load your character, pick a makeup look, pick a focal length, and hit generate. You don't have to write a word.
— David
See what others are making
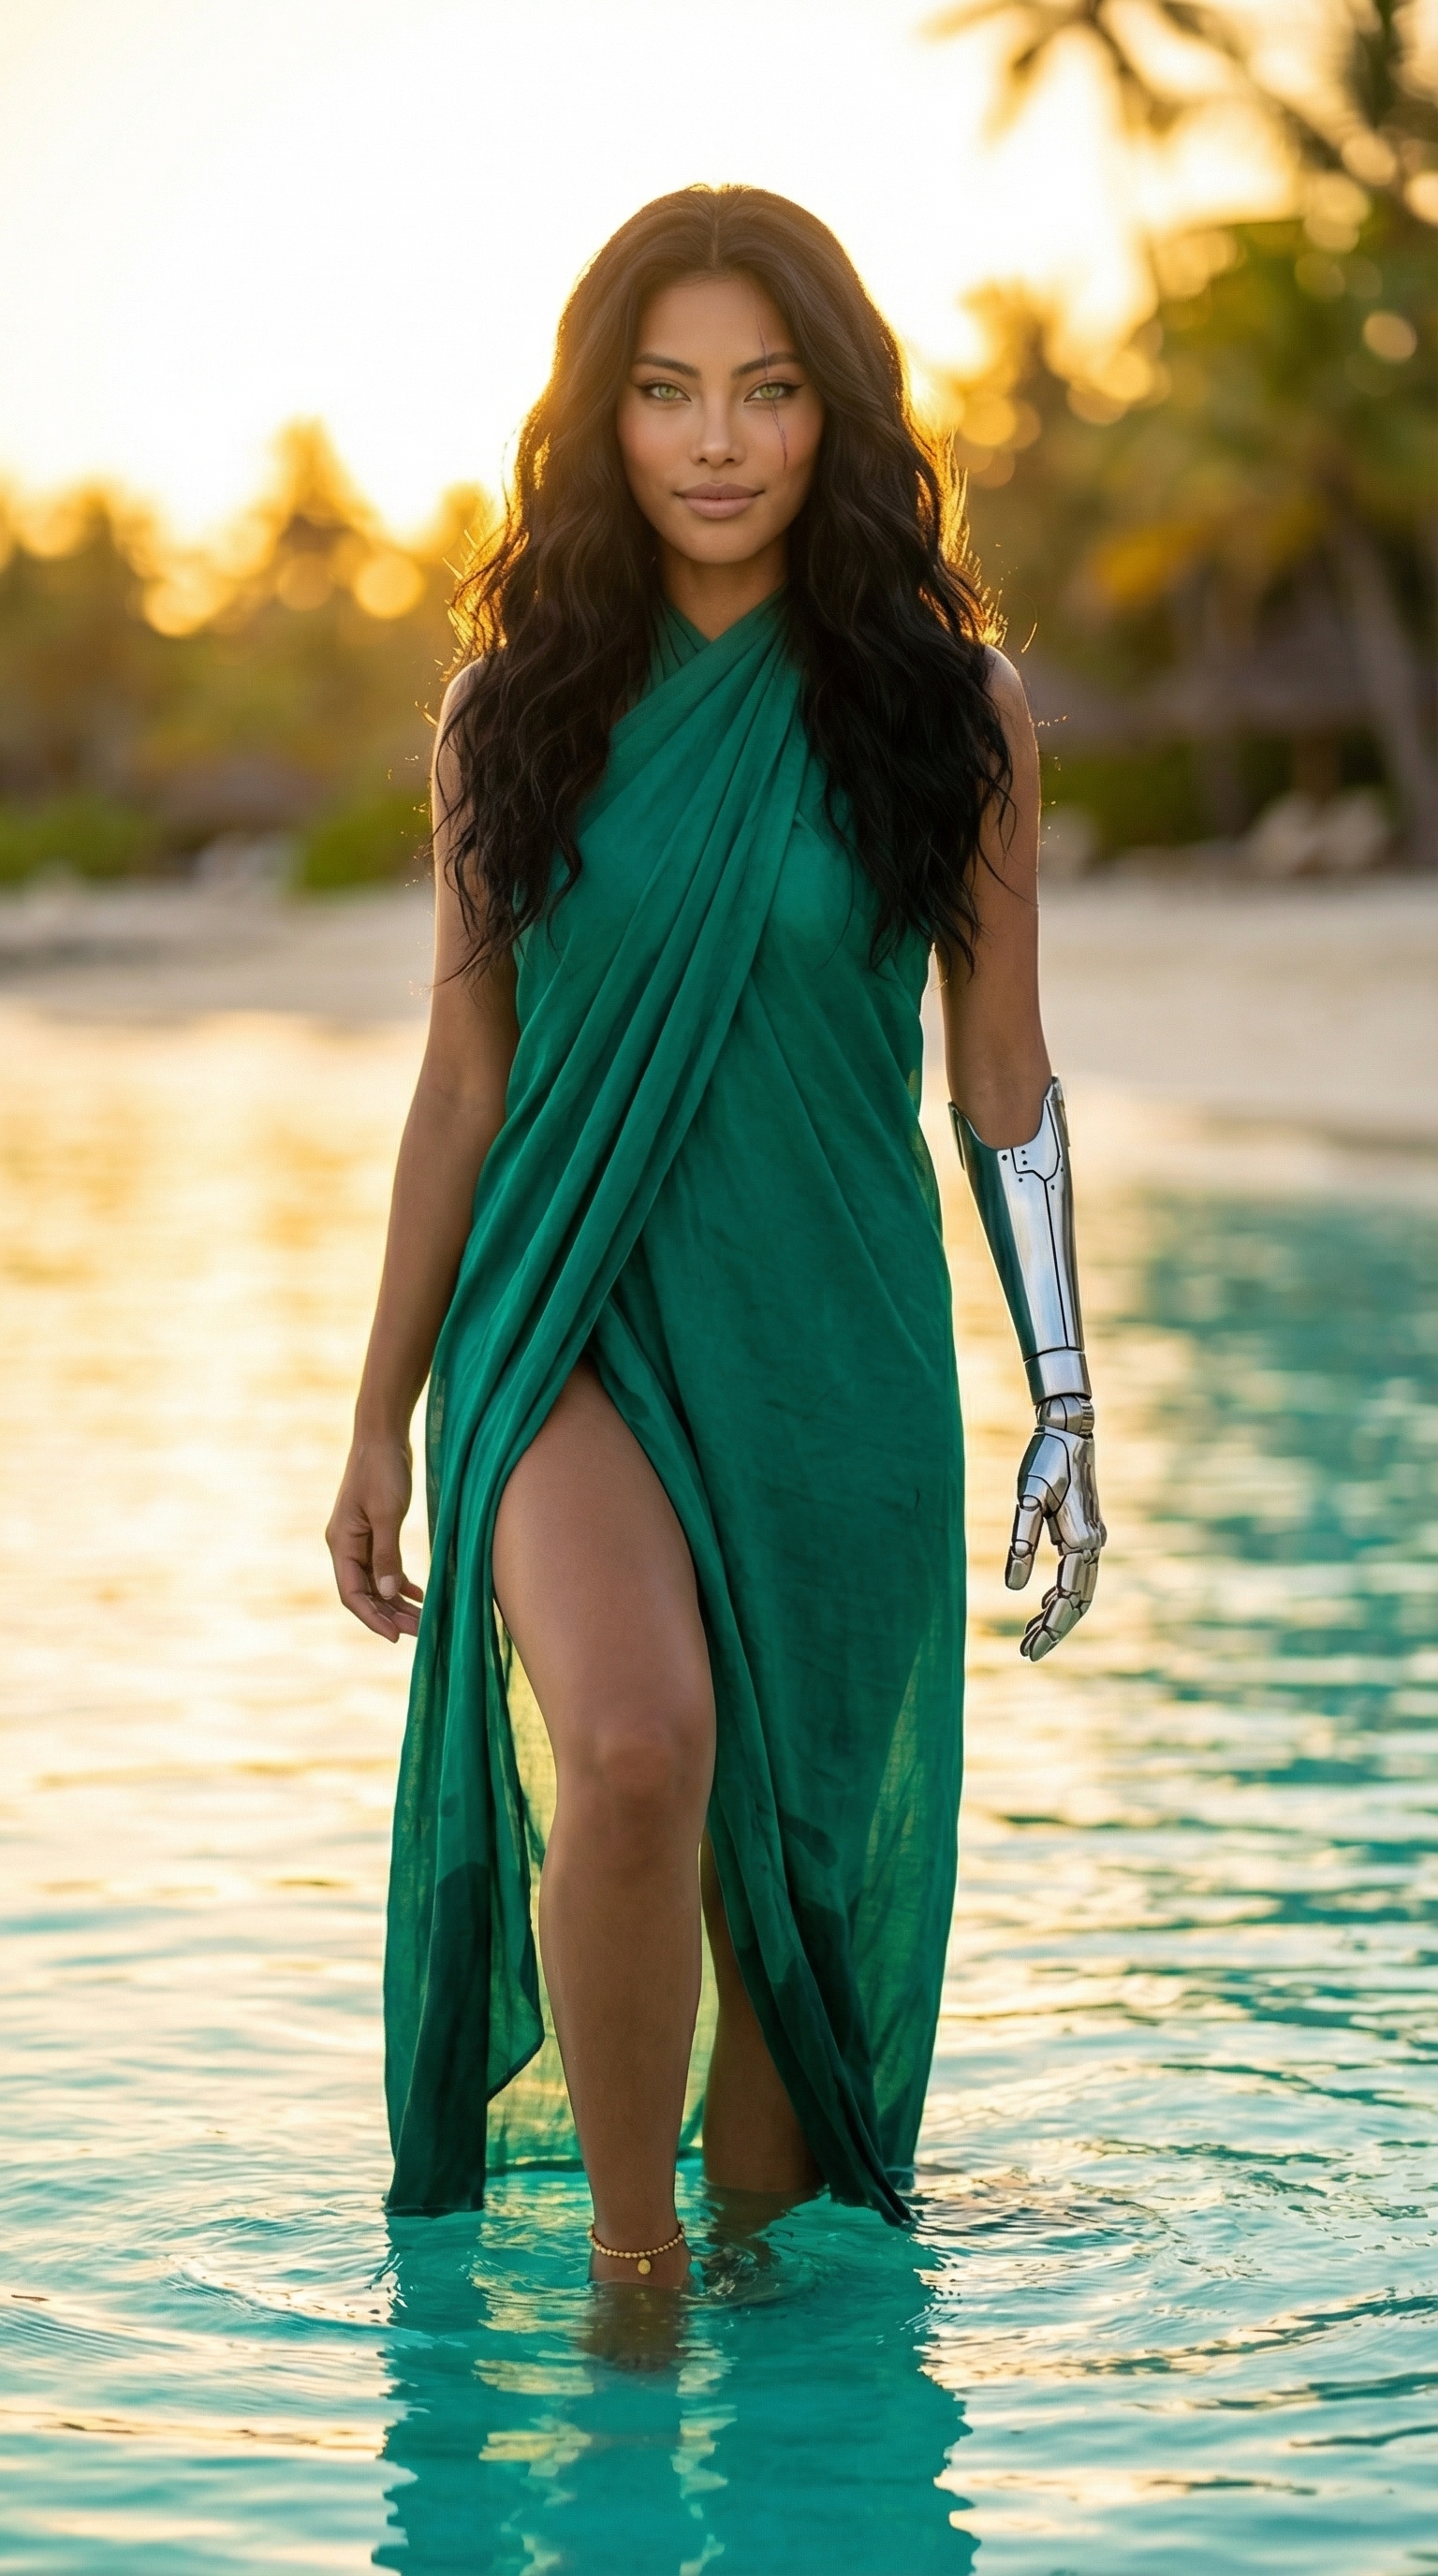

Each image links to the character's profile. The Studio — Technical Guide has the full showcase plus deeper documentation on every component.