Editorial Floor Spread: f/1.8 dreamy isolation on white seamless
I ran a bird's-eye editorial shot in Studio — Dramatic Floor Spread pose, f/1.8 aperture, white seamless. Here's exactly what I picked and what it cost.
I wanted to shoot something that fashion editors actually commission — and almost never looks right when you fake it.
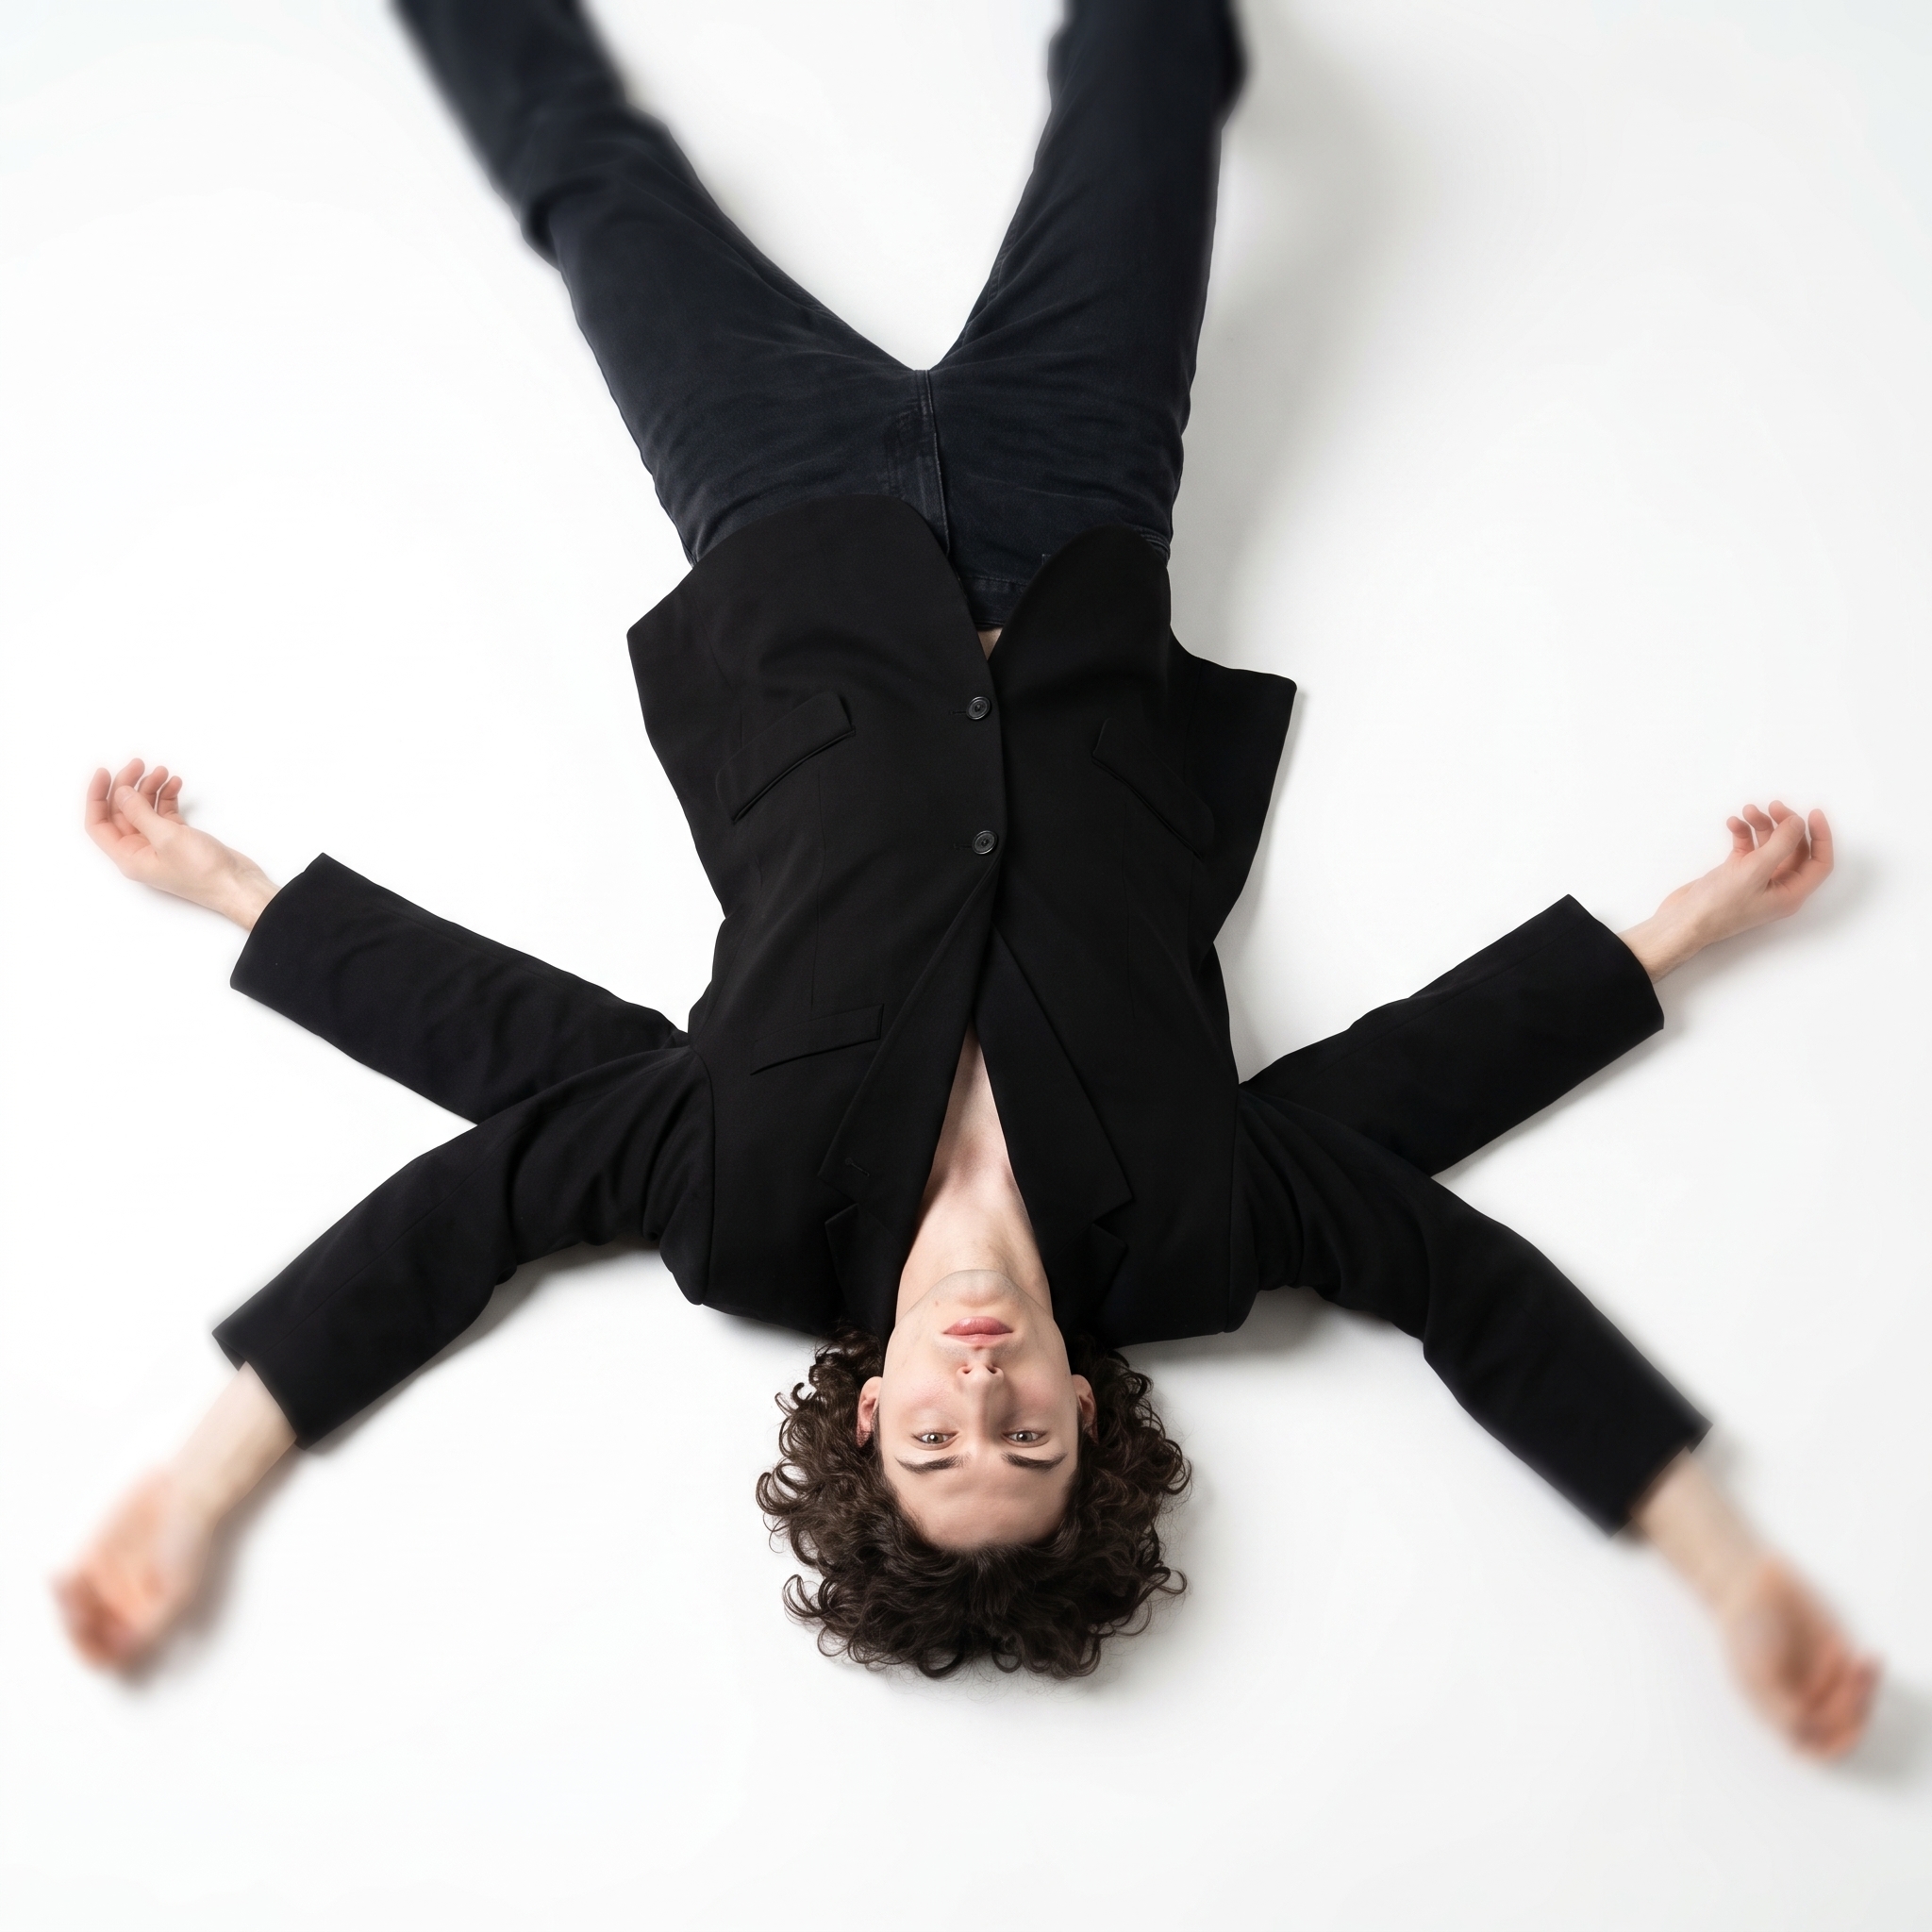
A model flat on the floor, limbs arranged like a star, camera pointing straight down. Bird's-eye. White seamless beneath. Dreamy, open-aperture isolation. That specific editorial mood where the negative space does as much work as the subject.
I ran it in Studio this morning. I'm the subject — my face and body locked in via character reference — so when I say "I picked the oversized black blazer," I mean I dressed myself for this shot.
How Studio actually works
Studio is a form first, a prompt builder second. You open Studio, select your character, and start making picks: Camera Lab for your equipment and lighting, Pose Library for body placement, Camera Angle for your viewpoint, Background for the environment, Fashion Designer to dress the shot. Each pick fills in a section of the assembled prompt. When you've picked everything you want, you hit generate — Studio has already composed the full prompt for you.
The assembled prompt is editable before you generate. Most people never touch it. The form handles the translation from creative decision to technical description so you don't have to.
What I picked from Studio
f/1.8 — aperture selection
Aperture is the one Camera Lab setting that controls how much depth of field you're working with. f/1.8 is wide open — the narrowest depth of field, the most background blur, the softest bokeh falloff. On a real camera with a prime lens at f/1.8, the subject is sharp and everything around it dissolves. That's exactly what I wanted here: my figure isolated against the white seamless, edges fading rather than cutting hard.
The operating tip I keep coming back to is "Camera Equipment Matters" — the Camera Lab doesn't just label your settings, it simulates what those settings actually do. f/1.8 produced visible, intentional blur toward the edges of the frame. It wasn't decorative; it was structural.
Dramatic Floor Spread — pose selection
The catalog describes this one precisely: model lying on floor with limbs artfully arranged, creating a dramatic spread-eagle or star shape. I picked it because it's one of the few poses that only works from above. You can't shoot Dramatic Floor Spread from a 3/4 angle or at eye level and have it make sense — the geometry requires the bird's-eye camera angle to complete the composition. So this was a two-pick decision: the pose dictated the angle.
Full Body is the body focus category here, which matters for how Studio weights the composition. When I'm lying flat across the frame, the full-body tag tells the model to prioritize the spatial arrangement of limbs, not just crop to face.
The assembled prompt
This is what the form composed for me. You don't have to write any of this yourself unless you want to.
A young man with dark curly hair and porcelain skin lying on a white seamless studio floor, limbs artfully arranged in a dramatic spread-eagle shape, shot from directly above at bird's-eye angle. Wide open aperture creates soft dreamy background blur with gentle bokeh around the edges, isolating the figure against pristine white. He wears a structured black oversized blazer and dark trousers. High-key studio lighting, clean shadows, editorial fashion mood. Crisp detail on face, clothing texture fading softly outward.What I noticed
The bokeh falloff was real. The f/1.8 selection produced a visible gradient from sharp center to soft edge. Not simulated in a blunt way — it felt like an actual optical characteristic, the kind you'd get from a 50mm prime wide open.
The pose geometry held up. Bird's-eye from directly above, limbs in a spread shape — the model resolved this spatially rather than flattening it into something generic. The blazer draped correctly for someone lying down, which is a specific detail that could easily go wrong.
What I'd change: I'd run a second version with the Location component pointing at a real marble floor or raw concrete — swap the white seamless for actual texture and see how the f/1.8 blur interacts with a more complex surface beneath me. Studio's Location feature lets you pull a real place from Google Maps with Street View reference, which would give the AI a genuine material and light environment to work from. That's next.
Worth knowing while you're in there
I picked myself as the character at the top of the session. That auto-loaded my reference photos and locked my face, skin tone, and build into every generation. If you have your own AI character built on ArtCoreAI, you do exactly the same thing — select them, and their identity travels through the whole shoot. Consistent across every frame.
What it cost
- Credits spent: 2.70
- What you'd pay: $0.27
- Generation time: ~25s
For reference: 1 credit = $0.10 on ArtCoreAI. A single editorial frame at this quality runs well under a dollar.
If you want to try this yourself — pick a pose from the Pose Library, set your aperture in Camera Lab, point your camera angle straight down, hit generate. No prompt required.
— David
See what others are making


Each image links to the character's profile. The Studio — Technical Guide has the full showcase plus deeper documentation on every component.