Medium Shot, Minimalist Mono — A Parisian Courtyard in 27 Cents
I wanted one clean editorial frame — waist-up, Parisian stone, no fuss. Here's exactly what I picked in Studio and what it cost me.
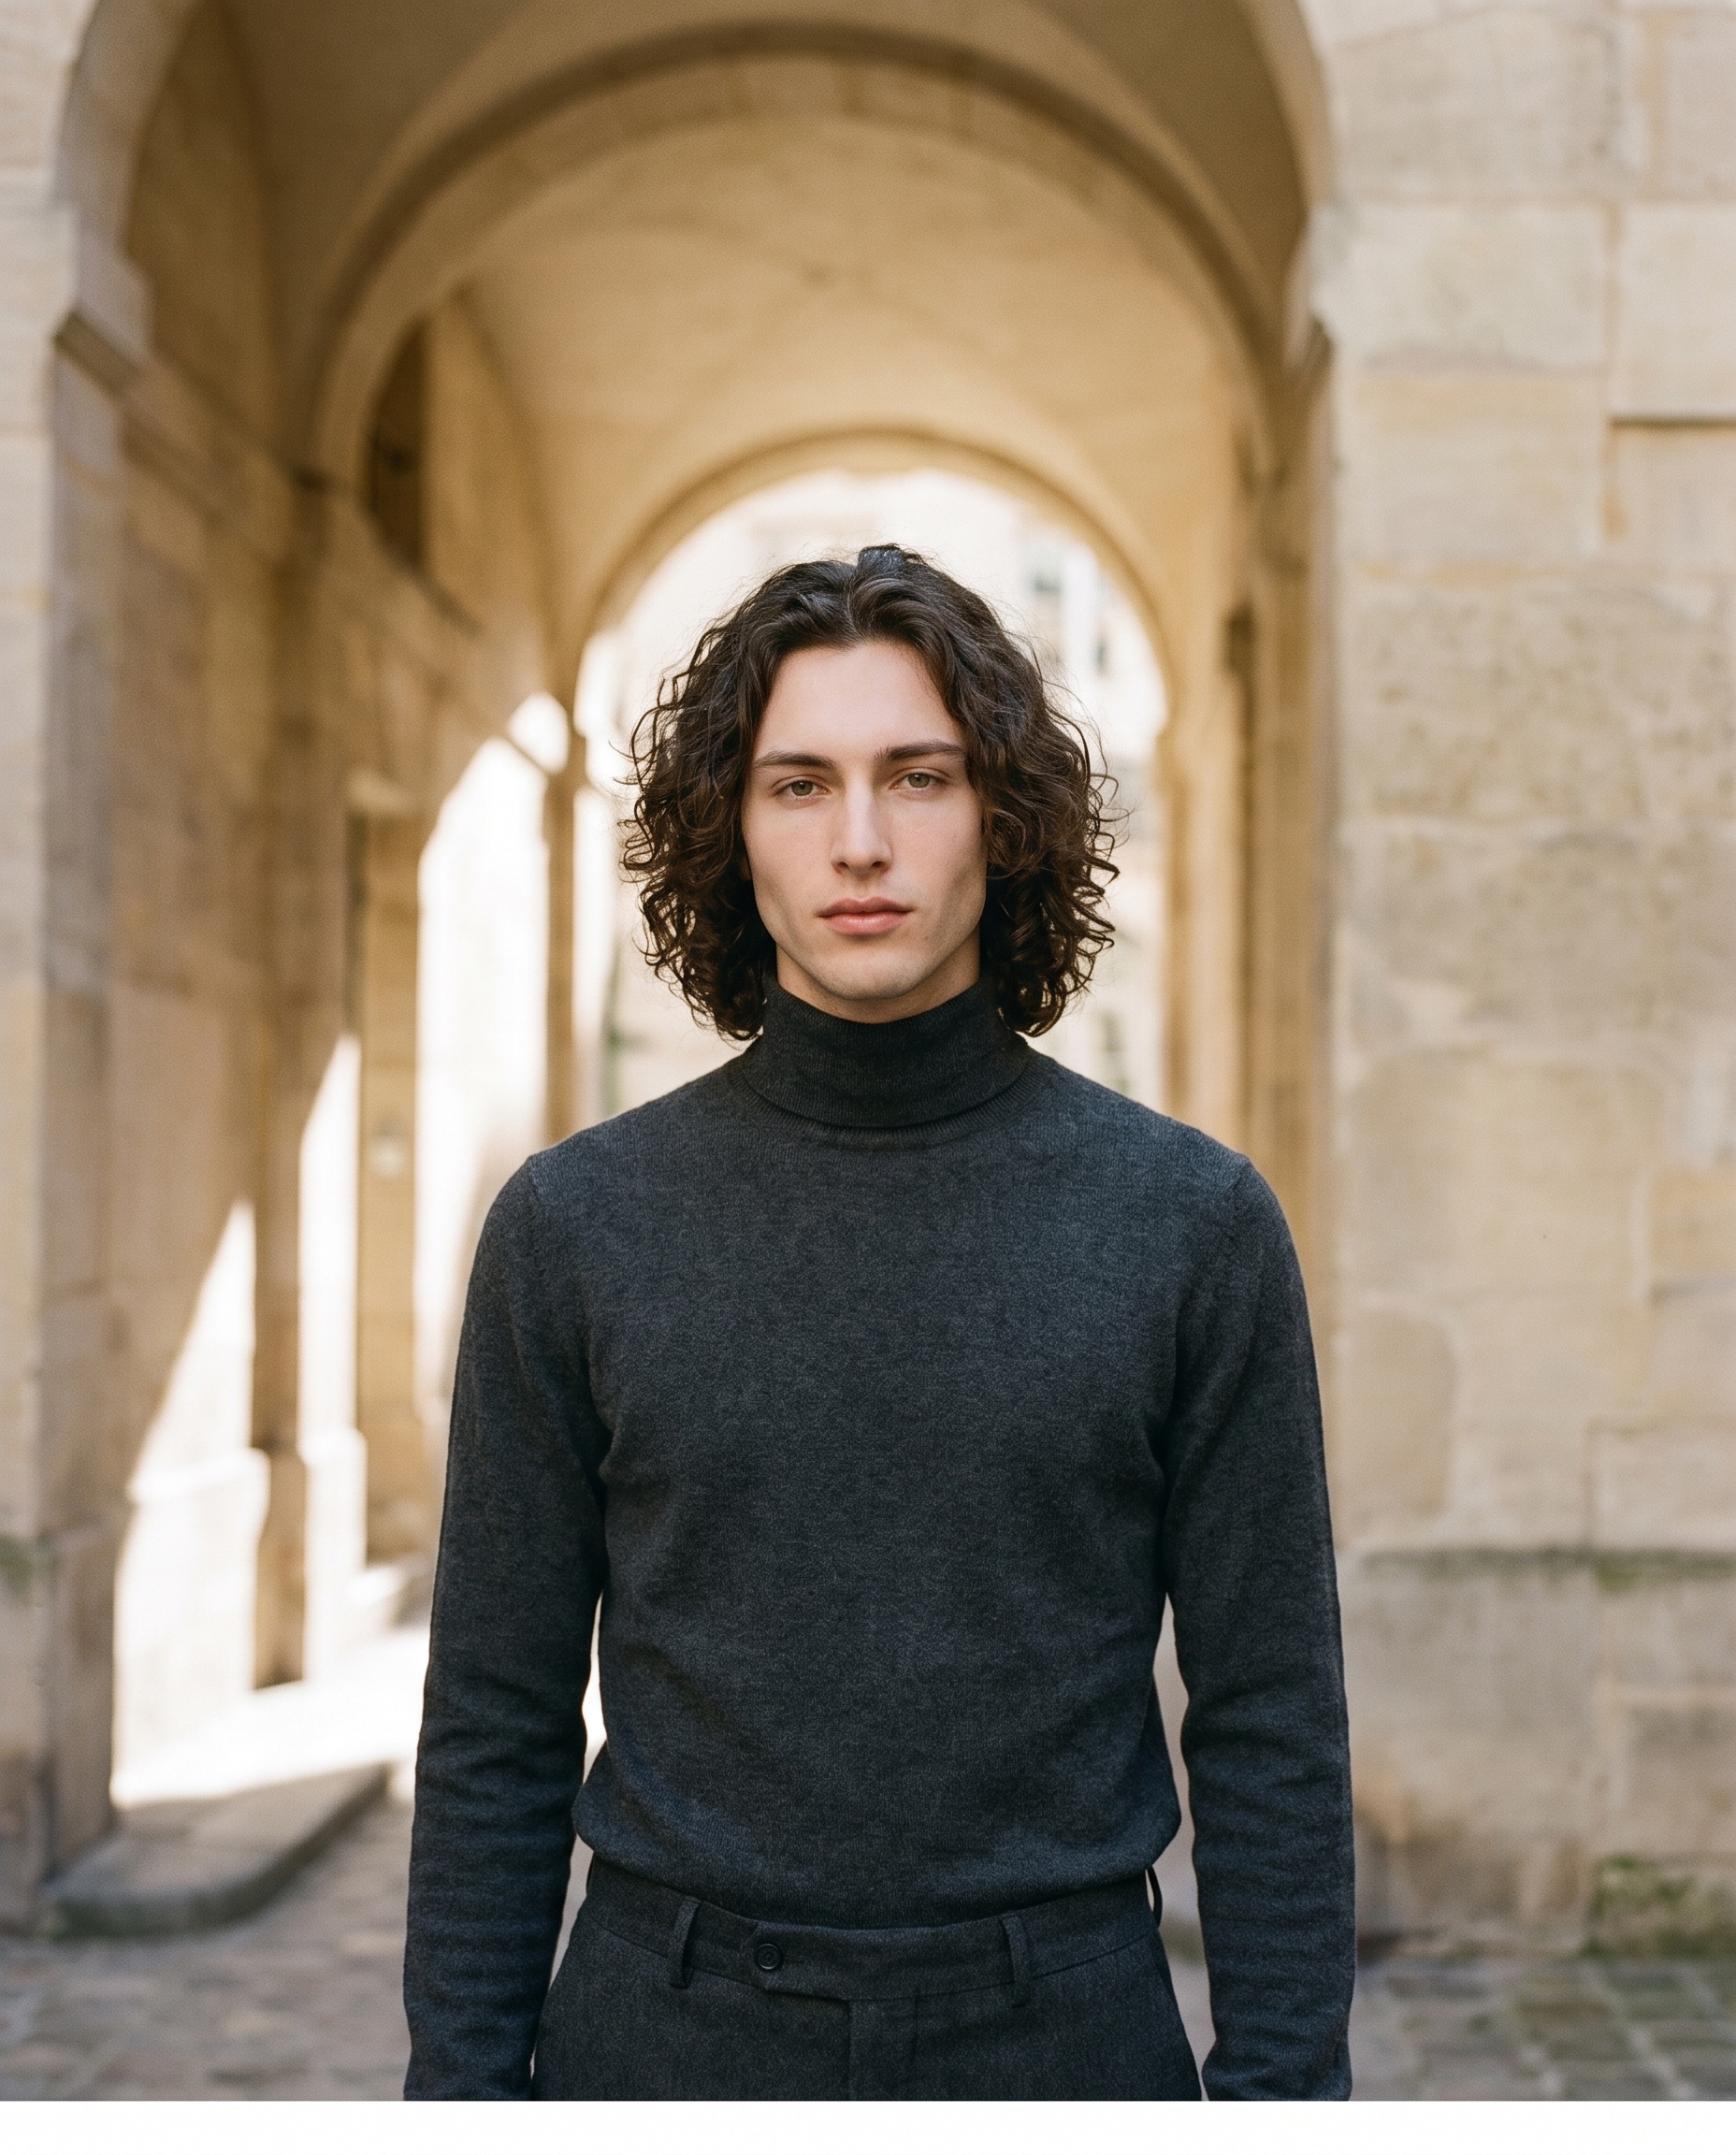
I wanted something quiet. Not a dramatic fashion spread, not a cinematic wide — just me, a Parisian courtyard, midday light, and the kind of restraint that's harder to pull off than it looks.
The brief I gave myself: one frame, waist-up, monochromatic outfit, warm limestone walls. Editorial without trying too hard.
Here's what came out.
How Studio actually works
Before I walk you through the picks — if you've never used Studio, the thing to understand is that it's form-first. You don't open a blank prompt box and start writing. You pick from menus: Camera Lab for your equipment and lighting, Pose Library for how the subject is standing, Camera Angle for where the camera sits, Background for the environment, Fashion Designer for the outfit, and so on. Studio takes everything you've selected and assembles the prompt for you. The "what to shoot" lives in your choices; the "how it's shot" is handled by Camera Lab. You can edit the assembled prompt before you hit generate — but most users never need to touch it.
What I picked from Studio
Medium Shot
This is one of Studio's named framing presets — catalog description is "waist-up, conversational." I picked it because I didn't want a close-up (too intense for the mood I had in mind) and I didn't want a full-body frame (too much empty courtyard). Waist-up is the editorial sweet spot: you get enough of the outfit to read it clearly, and the face stays prominent enough to hold the frame. The result lands exactly there — you see the turtleneck-to-trouser line, you see my expression, and the stone archway behind me has room to breathe without swallowing the shot.
Minimalist Mono
Studio's Fashion Designer lets you build an outfit garment by garment — top, bottom, outerwear, shoes, accessories, each with style, color, and material options. The Minimalist Mono preset does the composition work for you: charcoal cashmere turtleneck, matching charcoal wool trousers, no accessories. I chose it because monochromatic dressing is one of those things that reads as intentional immediately. No color contrast pulling the eye away from the light and the setting. The cashmere and wool textures still give the image something to render — the fabrics aren't flat — but the palette stays completely controlled.
This is a good example of the operating tip I keep coming back to: describe what to shoot, let the camera settings handle how it's shot. The outfit preset told Studio what I'm wearing. The Camera Lab and lighting choices — warm midday light, muted warm-cool contrast — handled the photographic feel.
The assembled prompt
This is what the form composed for me. You don't have to write any of this yourself unless you want to adjust something.
A young man with long dark curly hair, green eyes, porcelain skin, and an angular jaw stands waist-up in a sun-drenched Parisian stone courtyard. He wears a charcoal cashmere turtleneck with matching charcoal wool trousers — clean, minimal, no accessories. The camera frames him from the waist up, conversational and direct, centered composition. Soft midday light filters through an arched stone passage behind him, casting warm shadows on rough-cut limestone walls. Mood: quiet confidence, editorial restraint. Film-grain texture, muted warm-cool contrast.What I noticed
The limestone texture landed well. The rough-cut stone wall behind me has actual grain and depth — it doesn't read as a generated backdrop, it reads as a place. The arched passage framing the midday light was a detail I described in the prompt and Studio held it precisely.
The film grain did real work here. Muted warm-cool contrast with a grain overlay is one of those combinations that keeps an AI image from looking too clean. This one doesn't look clinical. That matters for editorial.
What I'd change: I'd push the aperture slightly wider next time — a bit more background blur would separate me from the wall without losing the stone texture entirely. That's a Camera Lab adjustment, one slider. Easy iteration at 1K resolution before committing to 4K.
Worth knowing
The reason my face and build are consistent with every other shot I've published is Studio's character reference system. When I selected myself as the character, Studio auto-loaded my reference photos and locked my identity into the generation — face, hair, skin tone, body type. If you've built your own AI character on ArtCoreAI, you get the same thing: pick your character, and Studio maintains visual continuity across every shoot without you doing anything extra.
What it cost
- Credits spent: 2.70
- What you'd pay: $0.27
- Generation time: ~23s
This was a 4:5 frame at standard resolution. For social and web use, that's the right call — you're not paying for print-scale detail you don't need. If I were sending this to a magazine, I'd step up to 4K, which runs higher but is still a fraction of what a location shoot costs.
If you want to try this yourself — open Studio, load a character, pick a framing preset, pick an outfit, and hit generate. You don't need to write a single word of prompt to get a result worth looking at.
— David
See what others are making


Each image links to the character's profile. The Studio — Technical Guide has the full showcase plus deeper documentation on every component.