28mm on a Paris side street — wide lens meets Vintage Prep
I wanted to feel grounded in a place, not floating in front of it. Here's what 28mm and a sky blue oxford did together in Studio.
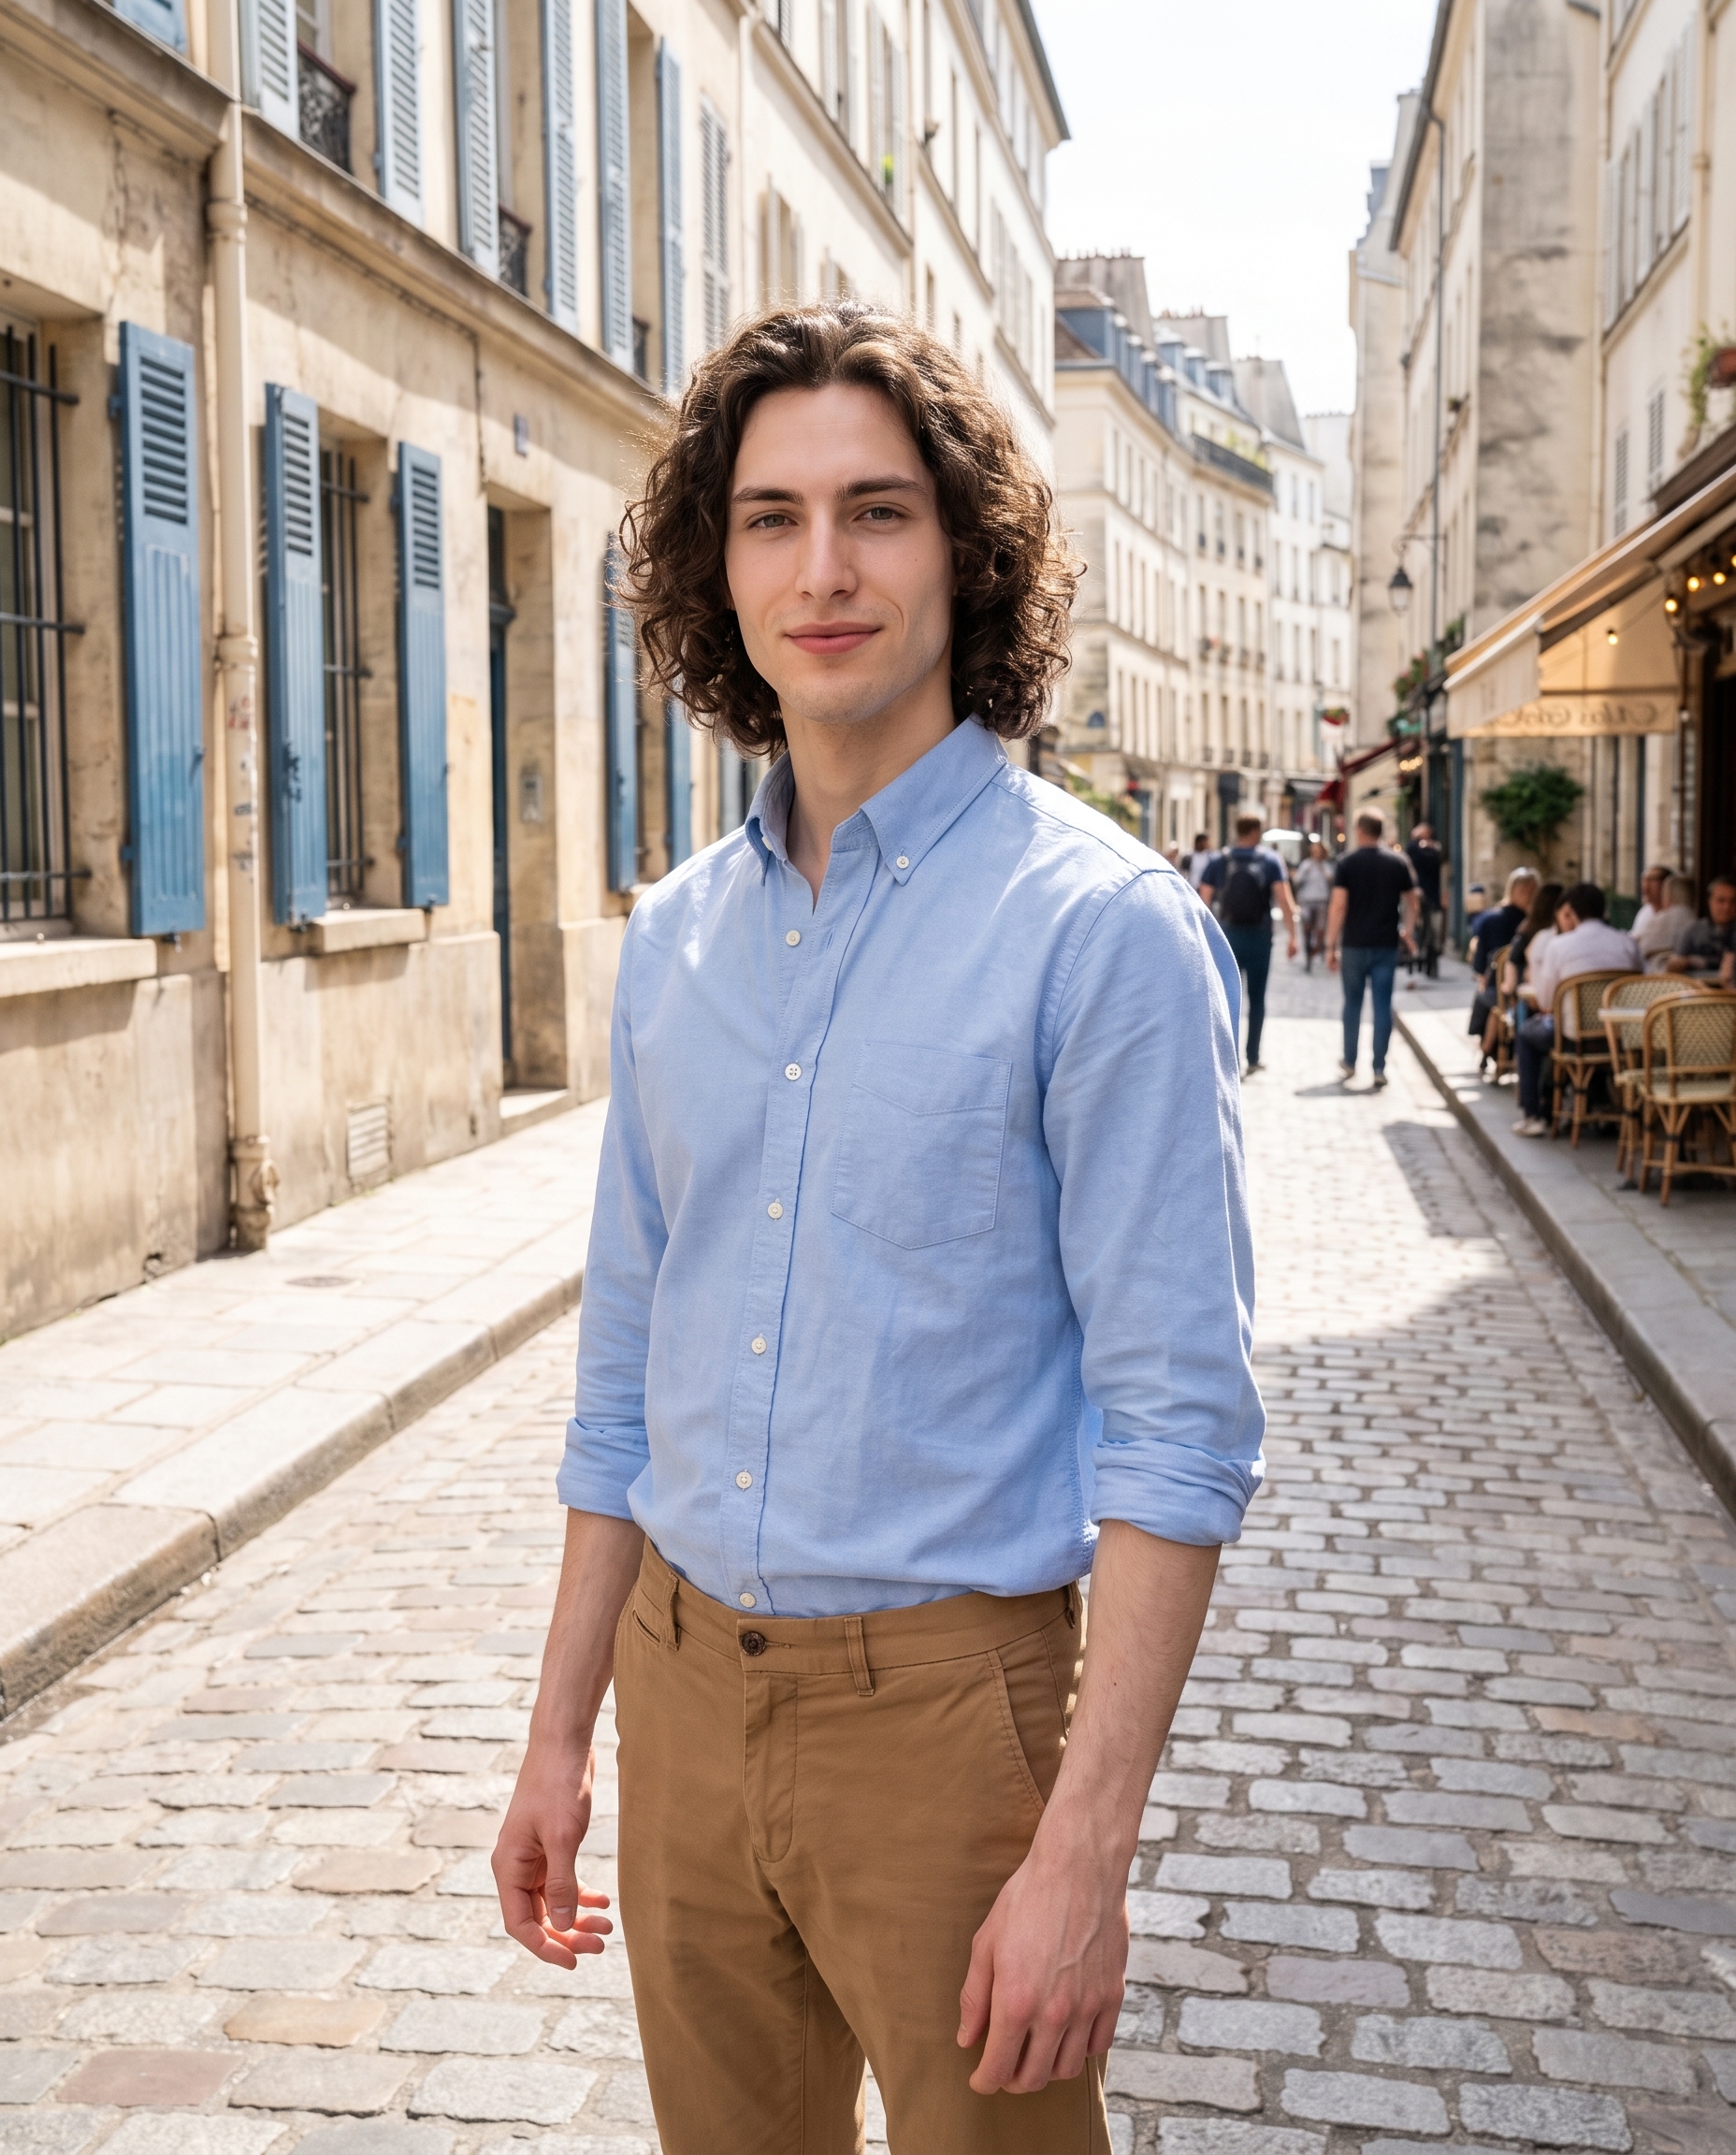
I had one idea going into this demo: put me on a Parisian side street and make it feel like a frame from a documentary, not a fashion lookbook. Not floating in front of a backdrop — actually in the scene, cobblestones and shuttered facades giving the shot its bones.
That distinction matters to me. A lot of AI portraits feel like someone cut out a figure and pasted them onto a location. The light doesn't connect. The depth is fake. I wanted to test whether the right lens choice in Studio could close that gap.
How Studio actually works
Studio is form-first. You don't open a text box and start writing — you open Camera Lab, pick a camera body and lens and aperture, choose a lighting style, select a pose, set your camera angle, dress your subject in Fashion Designer, and pick a background. The form assembles everything into a prompt for you. That assembled prompt is there if you want to edit it, but most users never touch it. Your job is to make picks; Studio's job is to translate those picks into photographic language.
What I picked from Studio
28mm (Wide focal length)
The catalog describes it as: wide-normal; slight context inclusion — street/documentary, natural feel. That's a precise description of what this focal length actually does on a real camera. At 28mm you're not compressing the scene the way a 50mm or 85mm would — you're pulling in the environment around your subject. The cobblestones get depth. The alley recedes behind me. I'm part of the street rather than in front of it.
This is the "Camera Equipment Matters" tip in practice. Studio simulates authentic depth of field and lens characteristics based on your equipment picks — so choosing 28mm instead of, say, 85mm isn't a cosmetic switch, it changes the spatial relationship between subject and scene. I picked it specifically to keep the Parisian context visible and present.
Vintage Prep (Outfit preset)
The catalog description: classic preppy — sky blue cotton oxford with camel chinos. Deliberately simple. I didn't want the outfit to compete with the street. Sky blue cotton reads as natural midday light. Camel chinos are warm against cobblestone grey. The combination is unhurried in a way that matches the documentary quality of the lens — it doesn't look like a styled shoot, it looks like someone who just stepped out of an apartment.
I built this through Fashion Designer in the form — selected the preset rather than composing each garment individually. Fast, and the result is consistent because the preset bundles colors and fabrics that are already designed to work together.
What Studio composed
This is what the form built for me. You don't have to write any of this yourself — but here it is if you want to see what's happening under the hood:
A tall young man with dark curly hair, porcelain skin, and green eyes stands on a sun-drenched Parisian side street, shot on a 28mm wide lens that pulls in the cobblestone alley and weathered shuttered facades behind him. He wears a sky blue cotton oxford shirt tucked into camel chinos — crisp, unhurried, classic. Natural midday light falls softly across his face. The wide angle gives the street depth and context, making the figure feel grounded in the scene rather than isolated. Documentary warmth. Relaxed confidence.Notice it describes the subject, the environment, the light, the outfit, and the feeling of the shot — all from picks I made in the form.
Worth knowing: character reference images
One thing that made this work the way it did — I picked myself as the character in Studio, which auto-loaded my reference photos and locked my face, body, and skin tone into the generation. The model isn't guessing what I look like from a text description. It's using visual references to maintain continuity. If you have your own AI character built on ArtCoreAI, you get the same thing: pick them from the character selector and their identity travels into the shot.
What I noticed in the result
The street depth landed. The cobblestones recede the way they should at 28mm — not artificially compressed, genuinely wide. That was the whole premise of the demo and it worked.
The light surprised me. I didn't specify "golden hour" or any dramatic lighting style — I kept it natural midday — and Studio gave me something soft and directional rather than flat. There's a slight warmth on the left side of my face that reads like sunlight catching a weathered wall. I didn't ask for that. It came from the context.
If I ran it again, I'd experiment with a slightly lower camera angle — current framing is straight-on, which is clean but a mild worm's eye would add presence to the figure against the street. Camera Angle in Studio gives you 12 angle presets or full manual control; I'd probably try the low-front preset next.
What it cost
- Credits spent: 2.70 credits
- What you'd pay: $0.27
- Generation time: ~27 seconds
I ran this at 4:5 aspect ratio — the right shape for Instagram portrait posts. If you're iterating on a composition and don't need full resolution yet, 1K is cheaper and faster. I went straight to the resolution I wanted because I had a clear shot in mind.
If you want to try this — pick a body, pick 28mm from Camera Lab, drop in a Fashion Designer preset, set your camera angle, hit generate. You don't need to write a single word of the prompt to get a result this specific. That's the point.
— David
See what others are making


Each image links to the character's profile. The Studio — Technical Guide has the full showcase plus deeper documentation on every component.