Medium Format Me: Fujifilm GFX 100S II at f/2.8 Against Raw Concrete
I ran a fashion editorial shoot in Studio using the Fujifilm GFX 100S II and f/2.8 — here's what 100 megapixels actually does to fabric and skin.
I wanted to answer a specific question today: does camera body selection in Studio actually change anything visible, or is it cosmetic metadata?
So I set up the most demanding test I could think of — a fashion editorial against a brutalist concrete wall, lit with Rembrandt from camera left, medium format body, wide-open aperture. The kind of shot where you'd know immediately if the sensor simulation was doing real work or just labeling the output.
I used myself as the character. My face, my build, my reference photos — locked in via Studio's character system before I touched anything else.
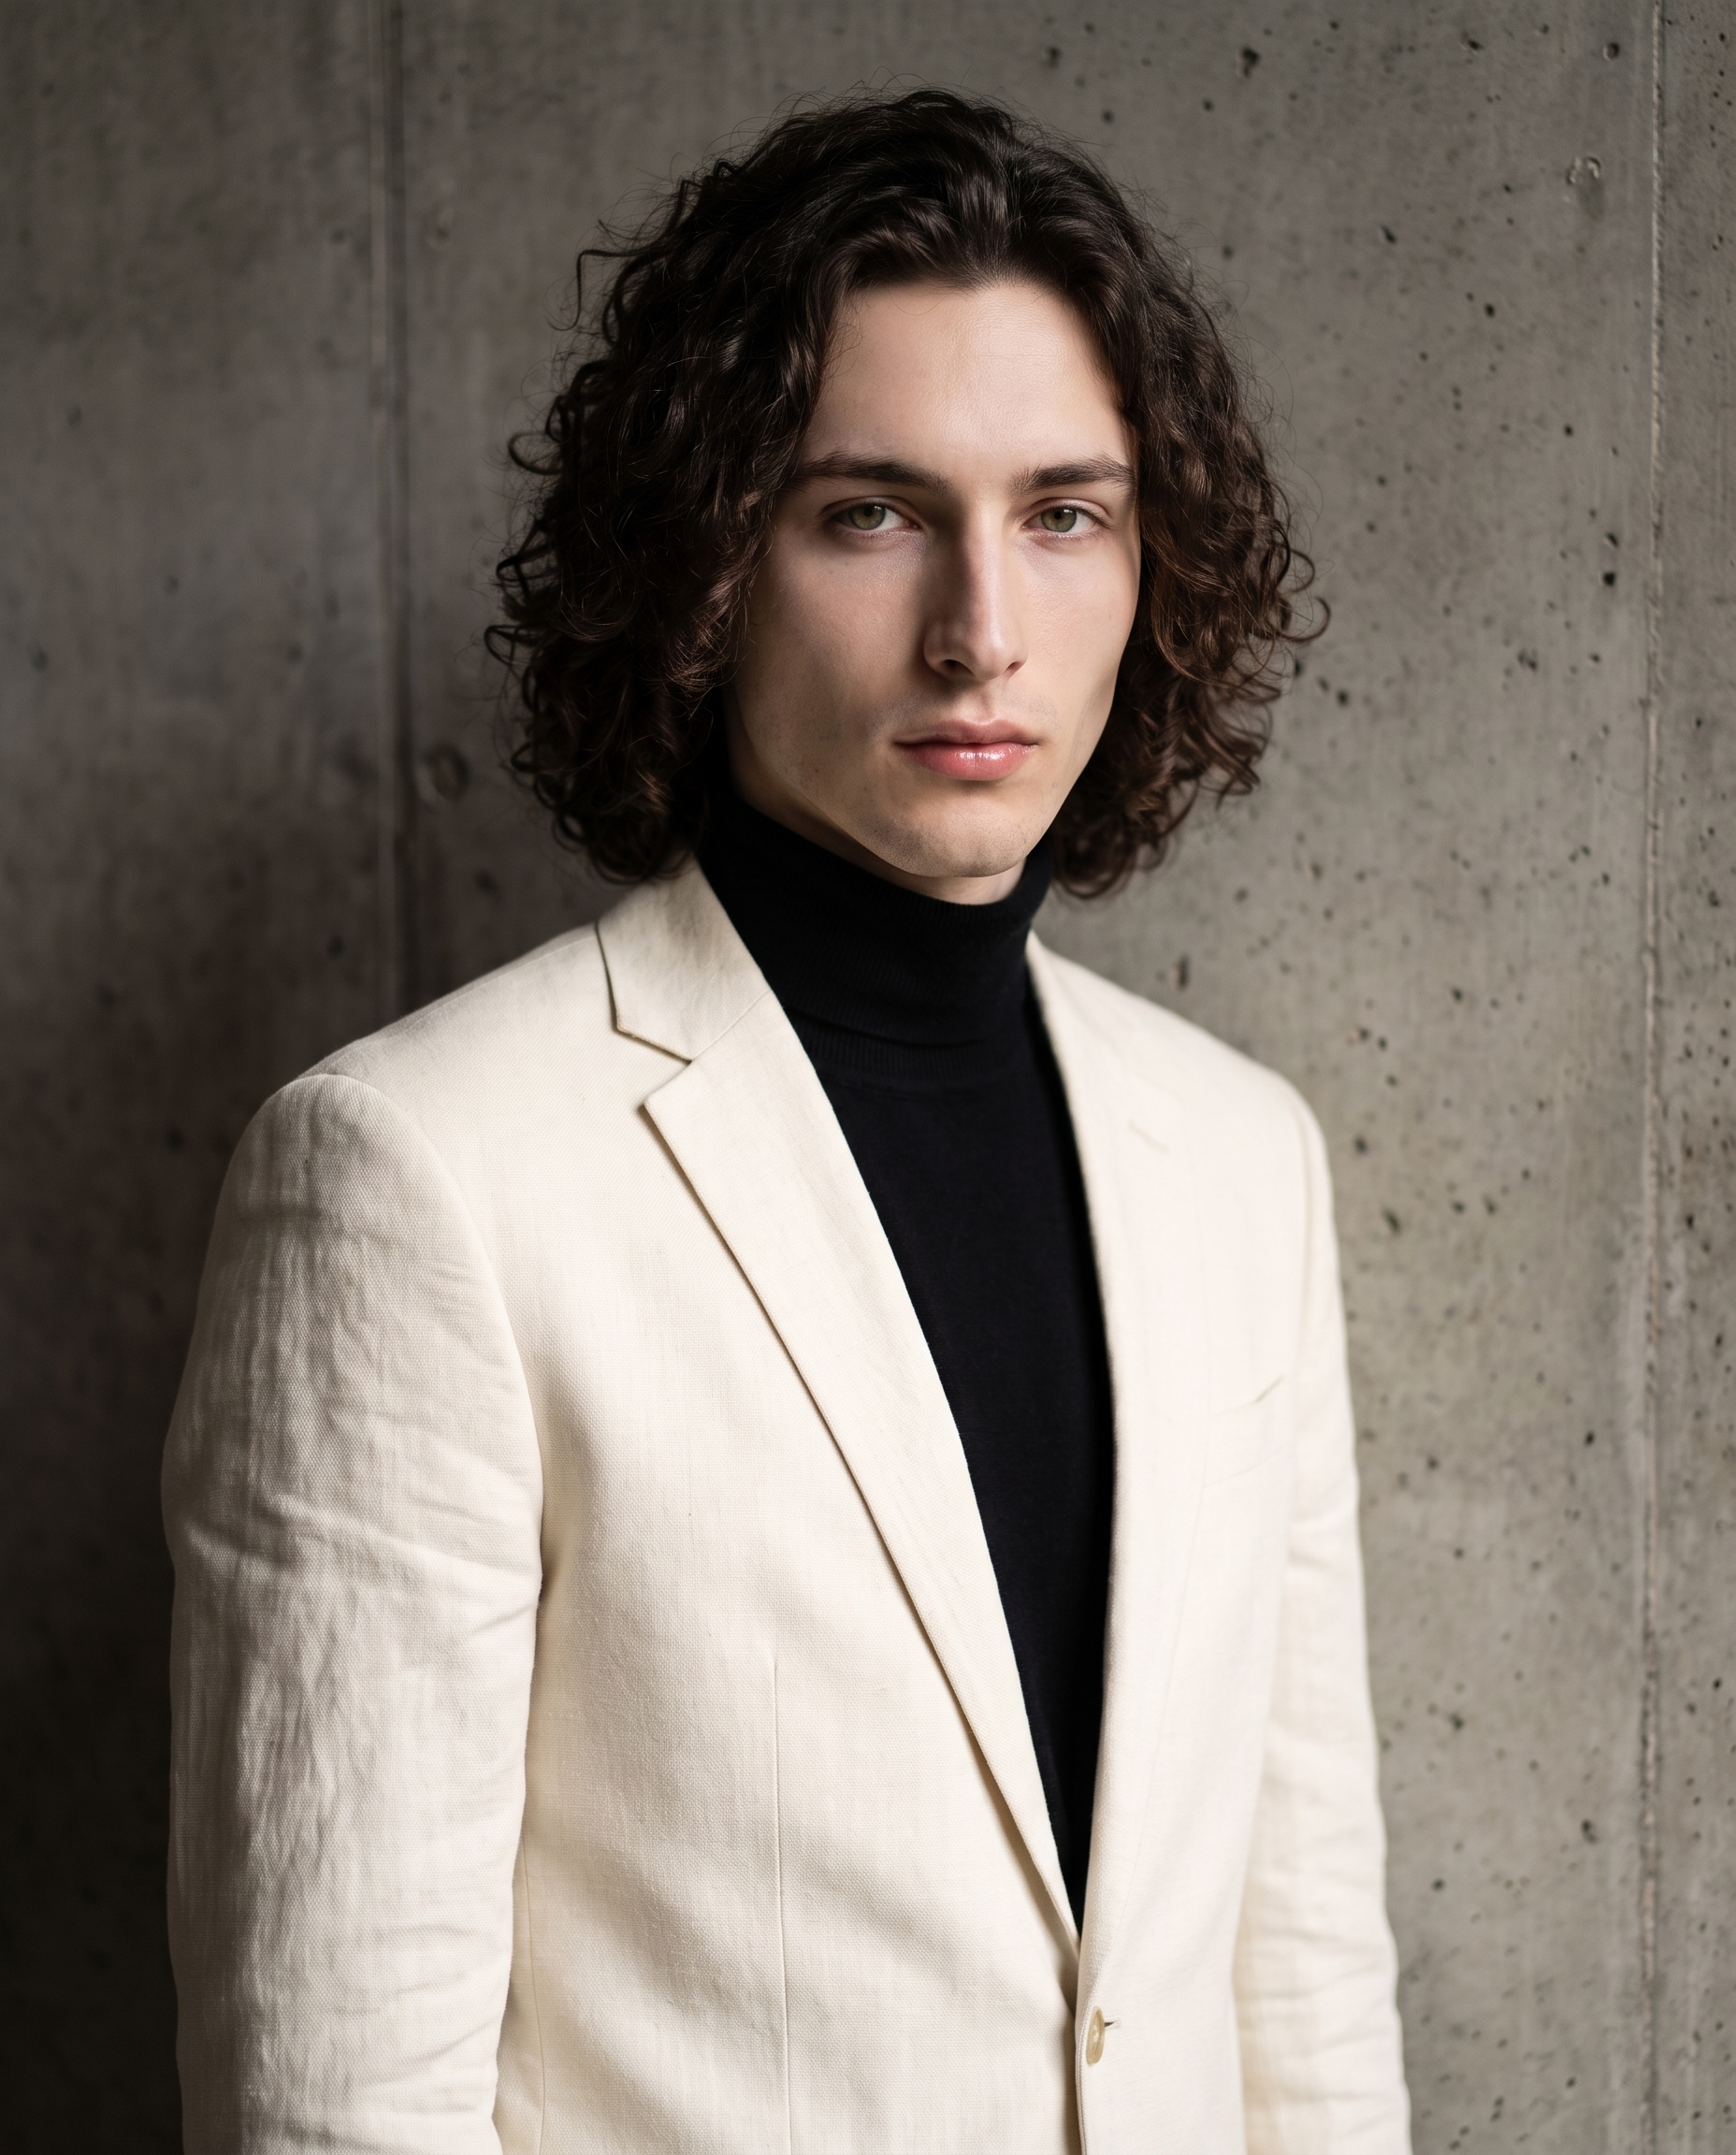
Here's what came out.
How Studio actually works
Studio is form-first. You don't open a blank prompt and start typing — you pick from structured menus: Camera Lab for the equipment, Pose Library for the body position, Camera Angle for framing, Background for the environment, Fashion for the outfit, and so on. Once you've made your picks, Studio assembles the full technical prompt for you. You can read it, edit it, or just hit generate. Most users never touch the assembled text at all — the form does the writing.
The way I think about it: the form tells Studio what to shoot; Camera Lab tells it how to shoot it.
What I picked from Studio
Fujifilm GFX 100S II
This is Studio's medium format option — a 100-megapixel sensor body catalogued under "gallery/print-ready, shallow DoF for beauty/fashion." I picked it because medium format has a specific look that's hard to fake: an almost excessive sharpness on the subject combined with a rendering of fine texture — fabric weave, skin, concrete grain — that smaller sensors compress into smoothness. If the camera body simulation in Studio was going to show me something real, it would show here. The result? The cream linen blazer has actual thread definition. The concrete behind me reads as concrete, not a painted backdrop.
f/2.8
I set the aperture wide. f/2.8 on a medium format body produces a subtly shallow depth of field — not the aggressive blur you'd get at f/1.4 on a 35mm, but a clean separation between subject and background. I wanted the concrete wall to stay legible (it's doing visual work — that texture earns its place in the frame) while not competing with the blazer or my face for attention. That's exactly what happened: the wall softens just enough to push me forward without disappearing.
This is the "Camera Equipment Matters" tip in practice — the AI simulates authentic depth of field and lens characteristics based on what you select. Pick a different body and aperture combination, and the output changes meaningfully.
Rembrandt lighting
Camera left, dramatic falloff across the face. I chose this because the brutalist concrete angle calls for shadow — high-key lighting would have flattened everything and lost the mood entirely. Rembrandt gives you that strong triangle of light on the shadow-side cheek, and it works with angular jaw shapes. "Lighting Sets the Mood" isn't a throwaway tip — it genuinely steers the visual tone more than almost any other single pick in Studio.
The assembled prompt
This is what the form composed for me — you don't have to write any of this yourself unless you want to.
A young European man with dark curly hair, tall and muscular, wearing a structured cream linen blazer over a black turtleneck, standing against a brutalist raw concrete wall. Shot on a Fujifilm GFX 100S II medium format body — the 100-megapixel sensor renders every pore, every fabric thread with gallery-print clarity. Aperture at f/2.8 produces a subtly shallow depth of field: the subject is razor-sharp while the concrete texture behind him softens just enough to separate foreground from background. Rembrandt lighting from camera left. 3/4 angle, direct gaze, editorial fashion mood.You can read through that and see exactly what each form pick contributed. The camera body description, the aperture behavior, the lighting — all of it came from the menus, not from me typing.
Worth knowing while you're in there
When I picked myself as the character, Studio automatically loaded my reference photos and locked my identity into the generation — face, body, skin tone, all of it held across the image. You can do this with any character you've built on ArtCoreAI. It's the difference between "a tall European man" and me in the frame. For anyone building an AI character for content or a brand persona, this is the feature that makes Studio actually yours.
What I noticed
Three things stood out.
First: the concrete texture is genuinely good. It reads as poured concrete with real surface variation — not a seamless studio backdrop, not a Photoshop filter. The medium format body selection is doing something real there.
Second: the blazer-turtleneck combination hits exactly the tone I was after. Cream linen over black is a high-contrast pairing that editorial photographers reach for because it photographs clearly — and it did here. The fabric has weight and drape.
Third: I'd push the Rembrandt shadow darker on the next run. The lighting is working, but there's a softness to the shadow falloff that slightly undercuts the brutalist mood I was going for. I'd either close the aperture to f/4 to sharpen the whole frame, or pull the light further off-axis. Both are one-pick changes in Studio — I'd be back in 26 seconds.
What it cost
- Credits spent: 2.70
- What you'd pay: $0.27
- Generation time: ~26s
That's 4K output on a medium format body setup. For print or magazine use, this is the resolution tier you want — and at that price, running three or four variations to compare lighting setups costs less than a coffee.
If you want to run this yourself: open Studio, pick a character, select a camera body from Camera Lab, set your aperture and lighting, and hit generate. You don't need to write a single word of prompt to get a result like this.
— David
See what others are making
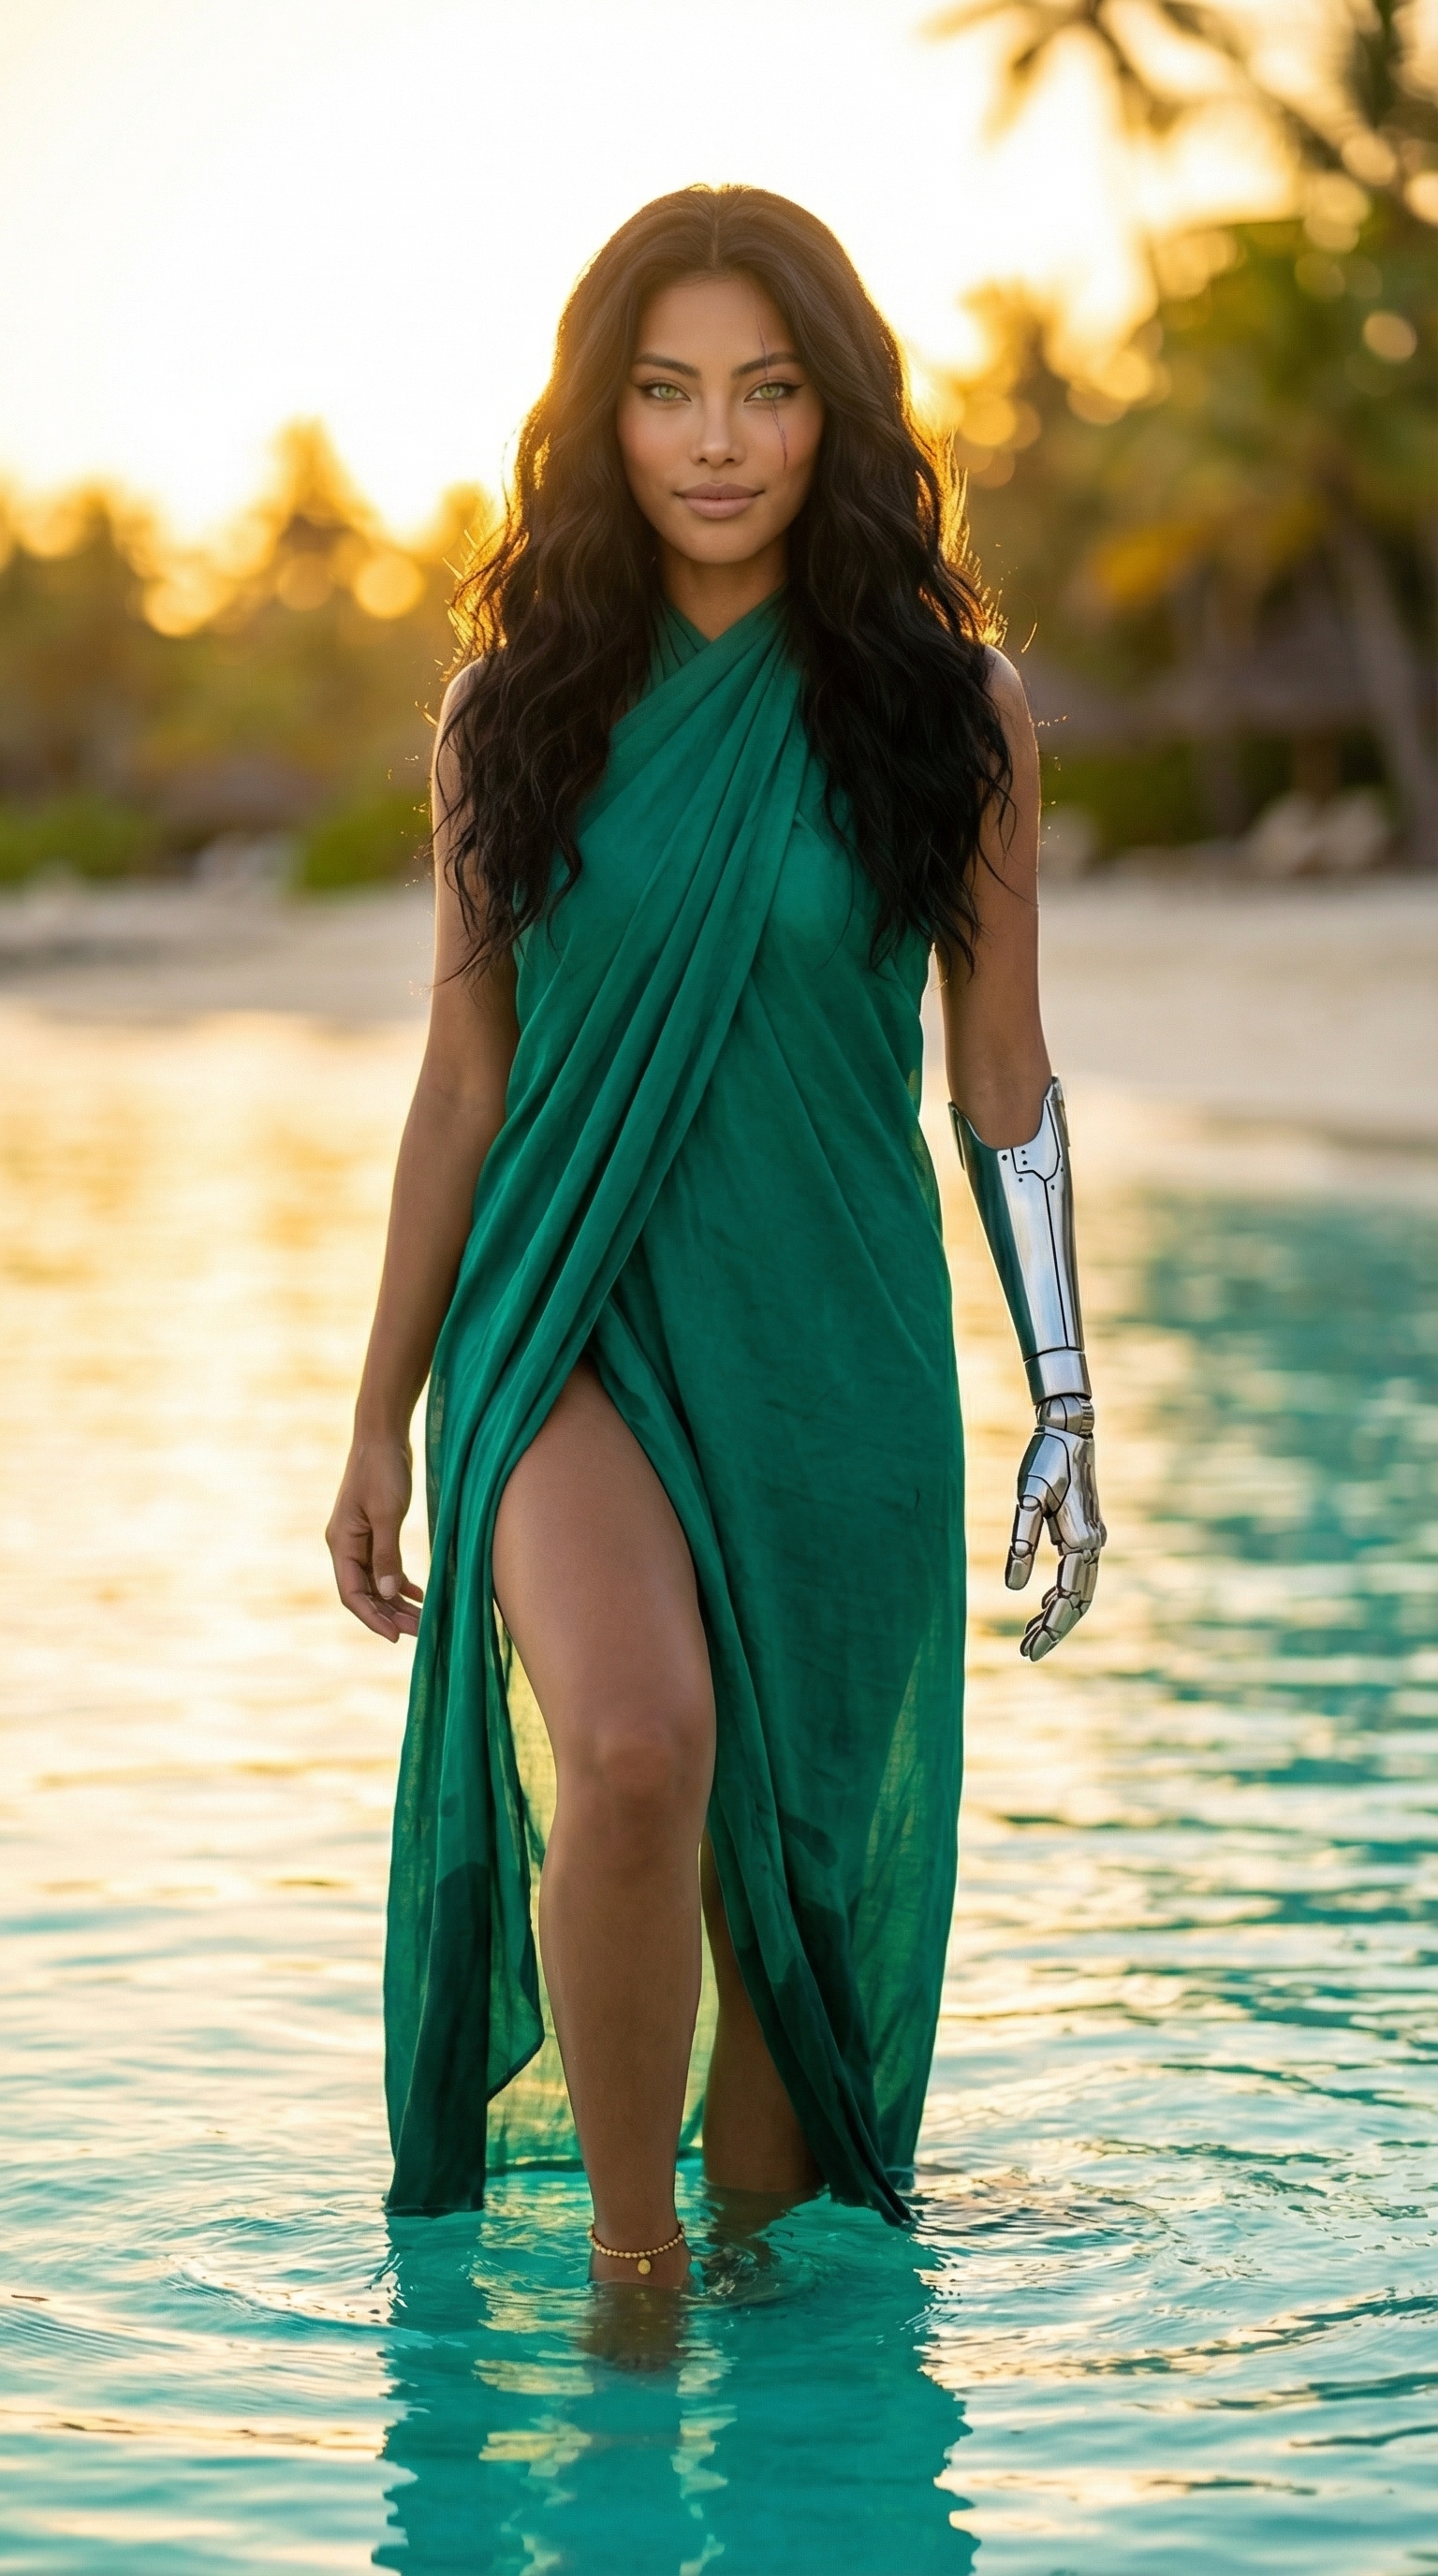

Each image links to the character's profile. The Studio — Technical Guide has the full showcase plus deeper documentation on every component.