Over the Shoulder, Into the Rain: A Paris Night Shot in Studio
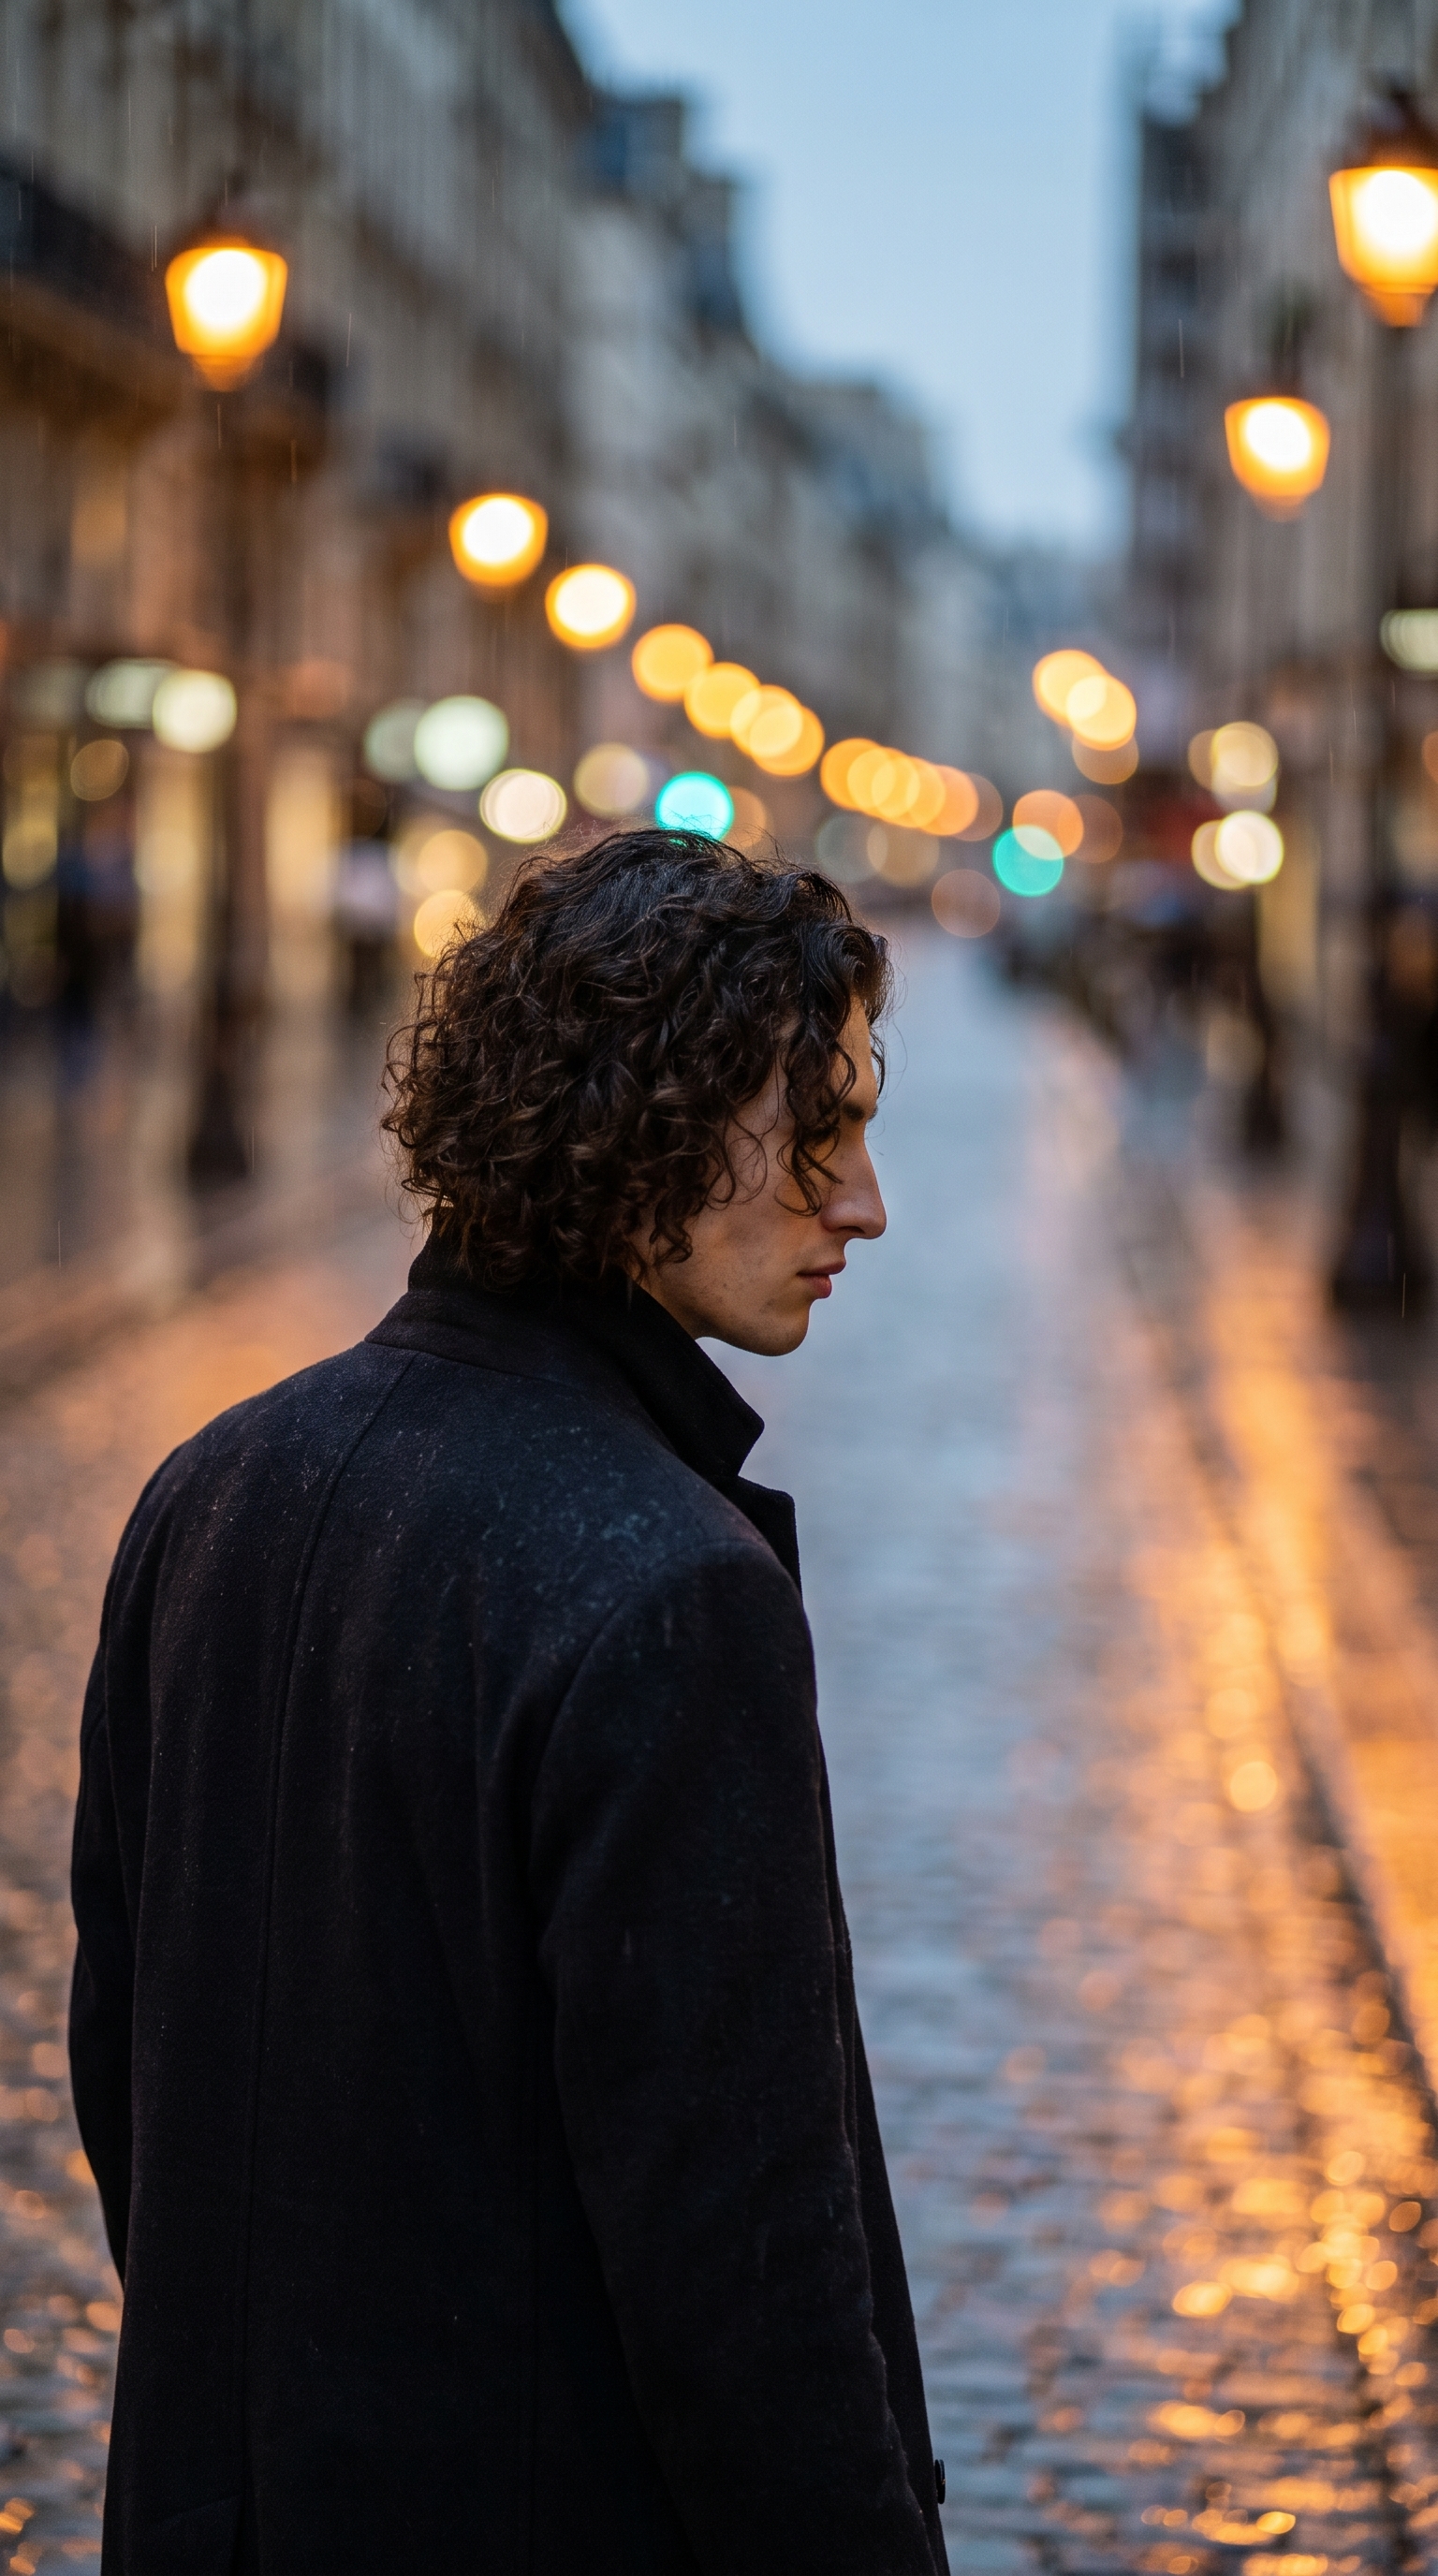
I wanted a cinematic dusk shot on a rain-slicked Paris street — all bokeh and amber blur. Here's what Studio built from two form picks and a character ref.
I wanted to disappear into a city.
Not a portrait. Not a fashion shot. Something more like a film still — me from behind, collar up, rain-wet pavement ahead, the city dissolving into warm orbs of light. The kind of frame where you don't see the face and you don't need to.
So I opened Studio and started picking.
How Studio actually works
Before I walk through what I picked: Studio is form-first. You don't write a prompt to get started — you make selections. Camera Lab, Pose Library, Camera Angle, Background, Makeup, Fashion, Location — each section is a set of menus and sliders. You pick what you want, and Studio composes the prompt for you. The Camera Lab handles how the shot is photographed; your other picks and a short scene description handle what's in it. There's an assembled prompt you can read and edit before you generate, but most people never need to touch it. The form does the work.
What I picked from Studio
Over Shoulder Left
Studio's Camera Angle section offers twelve named presets. "Over Shoulder Left" is described in the catalog as: behind-left angle looking over the shoulder — cinematic storytelling. That phrase does exactly what it says. The camera hovers just behind and above my left shoulder, so you get a sliver of my profile and then everything opens up in front of me — the street, the blur, the city. It's a director's angle. It implies motion, implies destination, implies something unresolved. For a scene about solitude on a Paris street at dusk, it was the only angle that made sense.
If I'd chosen "Front" or "3/4 Left" I'd have a portrait. This gave me a story.
f/1.2
In Camera Lab, after picking the camera body and lens, you set aperture. f/1.2 is as wide as consumer lenses go — it lets in an enormous amount of light and produces a razor-thin plane of focus. Everything behind the focal point turns into large, soft circles of blur (bokeh). On a rain-slicked street at dusk, with amber streetlights stretching into the distance, f/1.2 is what turns those lights into molten orbs. The background doesn't just go soft — it dissolves. That compression between a sharply resolved subject and a completely liquified background is the whole mood of this shot.
This is the operating tip "Camera Equipment Matters" in practice: the AI simulates authentic depth of field based on the actual aperture value you select. Picking f/1.2 isn't decorative — it's a technical instruction the model follows.
The assembled prompt
This is what the form composed for me — you don't have to write any of this yourself unless you want to.
A tall young man with dark curly hair, shot from behind-left over his shoulder, gazing down a rain-slicked Paris street at dusk. The camera hovers just behind and above his left shoulder, revealing only his profile and the glowing city stretching ahead — amber streetlights blurring into molten orbs of bokeh, the background dissolving into a wash of warm and cool light. He wears a dark overcoat, collar raised. Mood: solitary, cinematic, quietly electric. Deep bokeh compression isolates him against the luminous blur.I did edit this one before generating — I added the mood line and the final sentence about bokeh compression, because I wanted to push the atmosphere further. But the core camera angle, the scene, the figure — that all came from the form picks.
What I noticed about the result
The bokeh is doing exactly what f/1.2 should do. The streetlights behind me aren't just soft — they're large, warm, overlapping circles. The compression between foreground and background is real. That's the aperture setting working.
The over-shoulder angle creates genuine depth. Because the camera is positioned behind me and slightly above, there's a sense of recession into the frame — the street goes somewhere. It doesn't feel like a flat image against a backdrop.
What I'd push further: The overcoat collar sits well, but if I ran this again I'd load a specific coat reference via object @tags — Studio lets you upload a photo of any garment and lock its exact design into the shot. Right now the coat is generated from description; a reference image would make it precise. Worth knowing: Studio supports up to 14 reference images per generation, and you can reference them with @tags directly in your prompt. I used my character reference to lock my face and build — that's what kept it me in the result rather than a generic figure.
What it cost
| Credits spent | 2.70 |
| What you'd pay | $0.27 |
| Generation time | ~23s |
For a 9:16 cinematic frame at this quality, $0.27 is the number. You iterate fast at that price point.
If you've been writing prompts from scratch and wondering why the results feel inconsistent — try the form instead. Pick a camera angle, pick an aperture, pick a lighting style, hit generate. Studio composes the technical layer for you. → Open Studio
— David
See what others are making
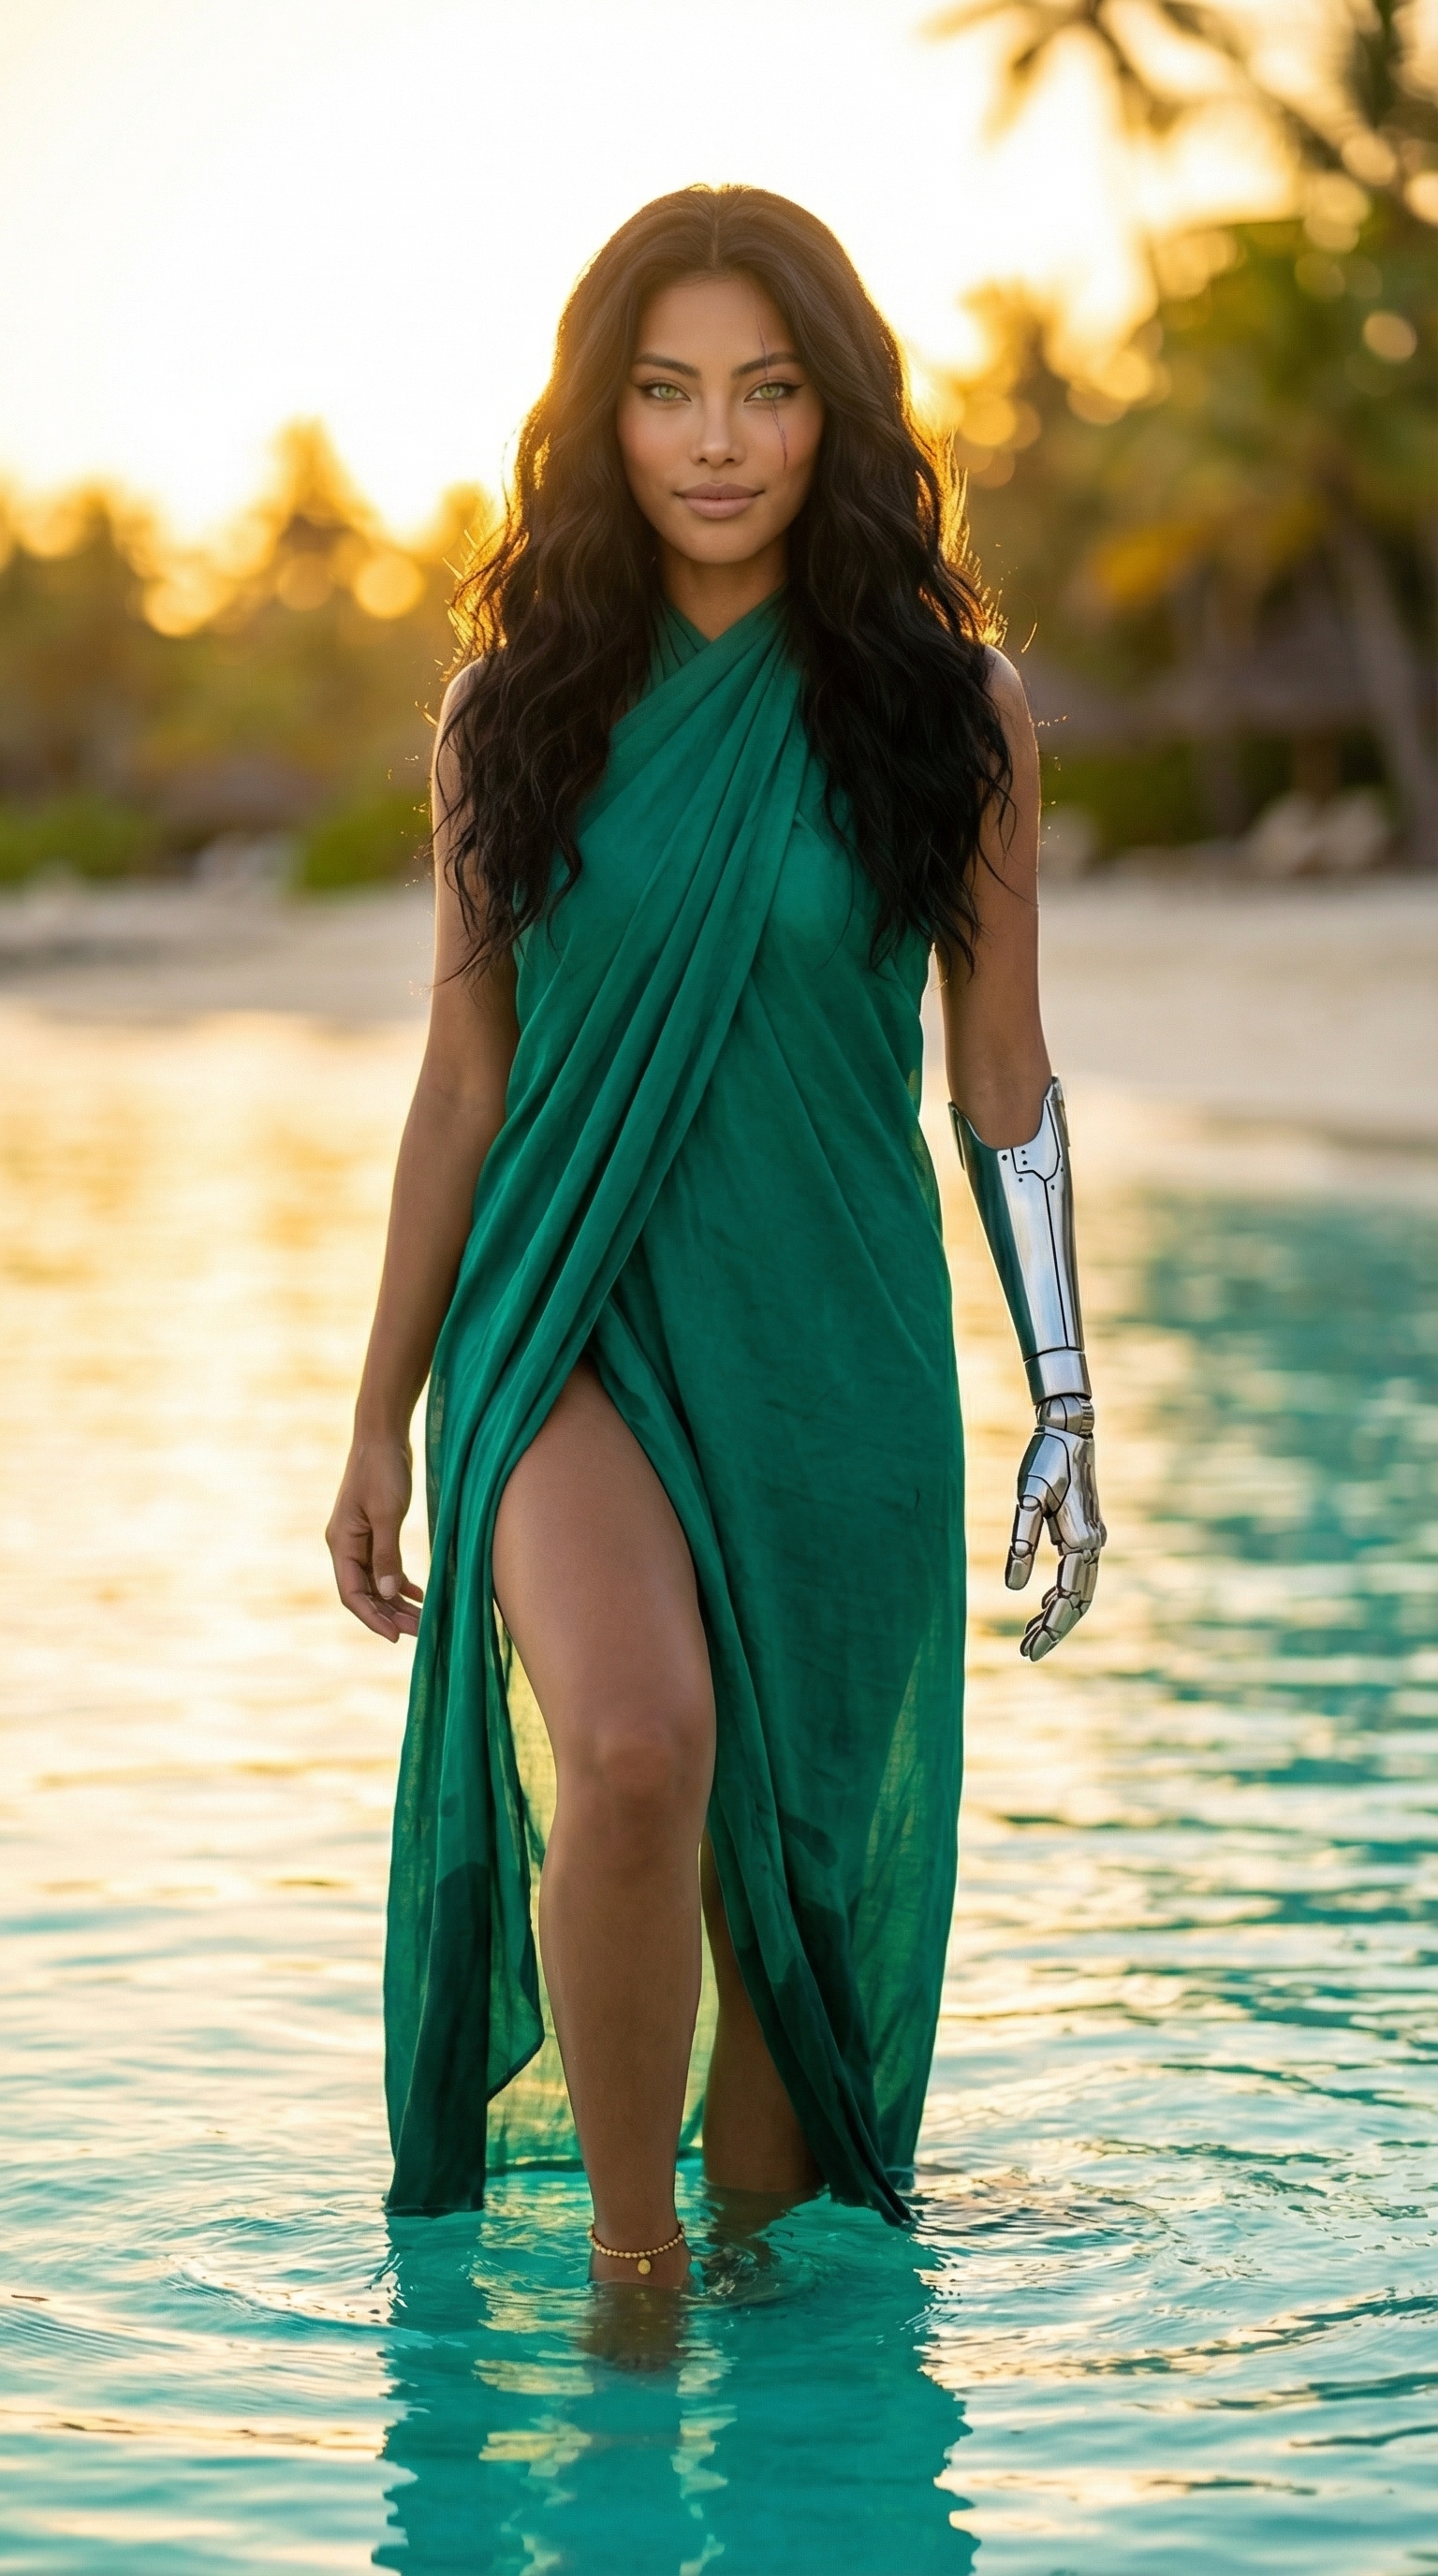

Each image links to the character's profile. The Studio — Technical Guide has the full showcase plus deeper documentation on every component.