Brutalist Tokyo at Dusk — What the Fujifilm X-T50 Does in Studio
I wanted a moody editorial portrait in a rain-slicked Tokyo alley. Here's what I picked in Studio's form, what it cost, and what surprised me.
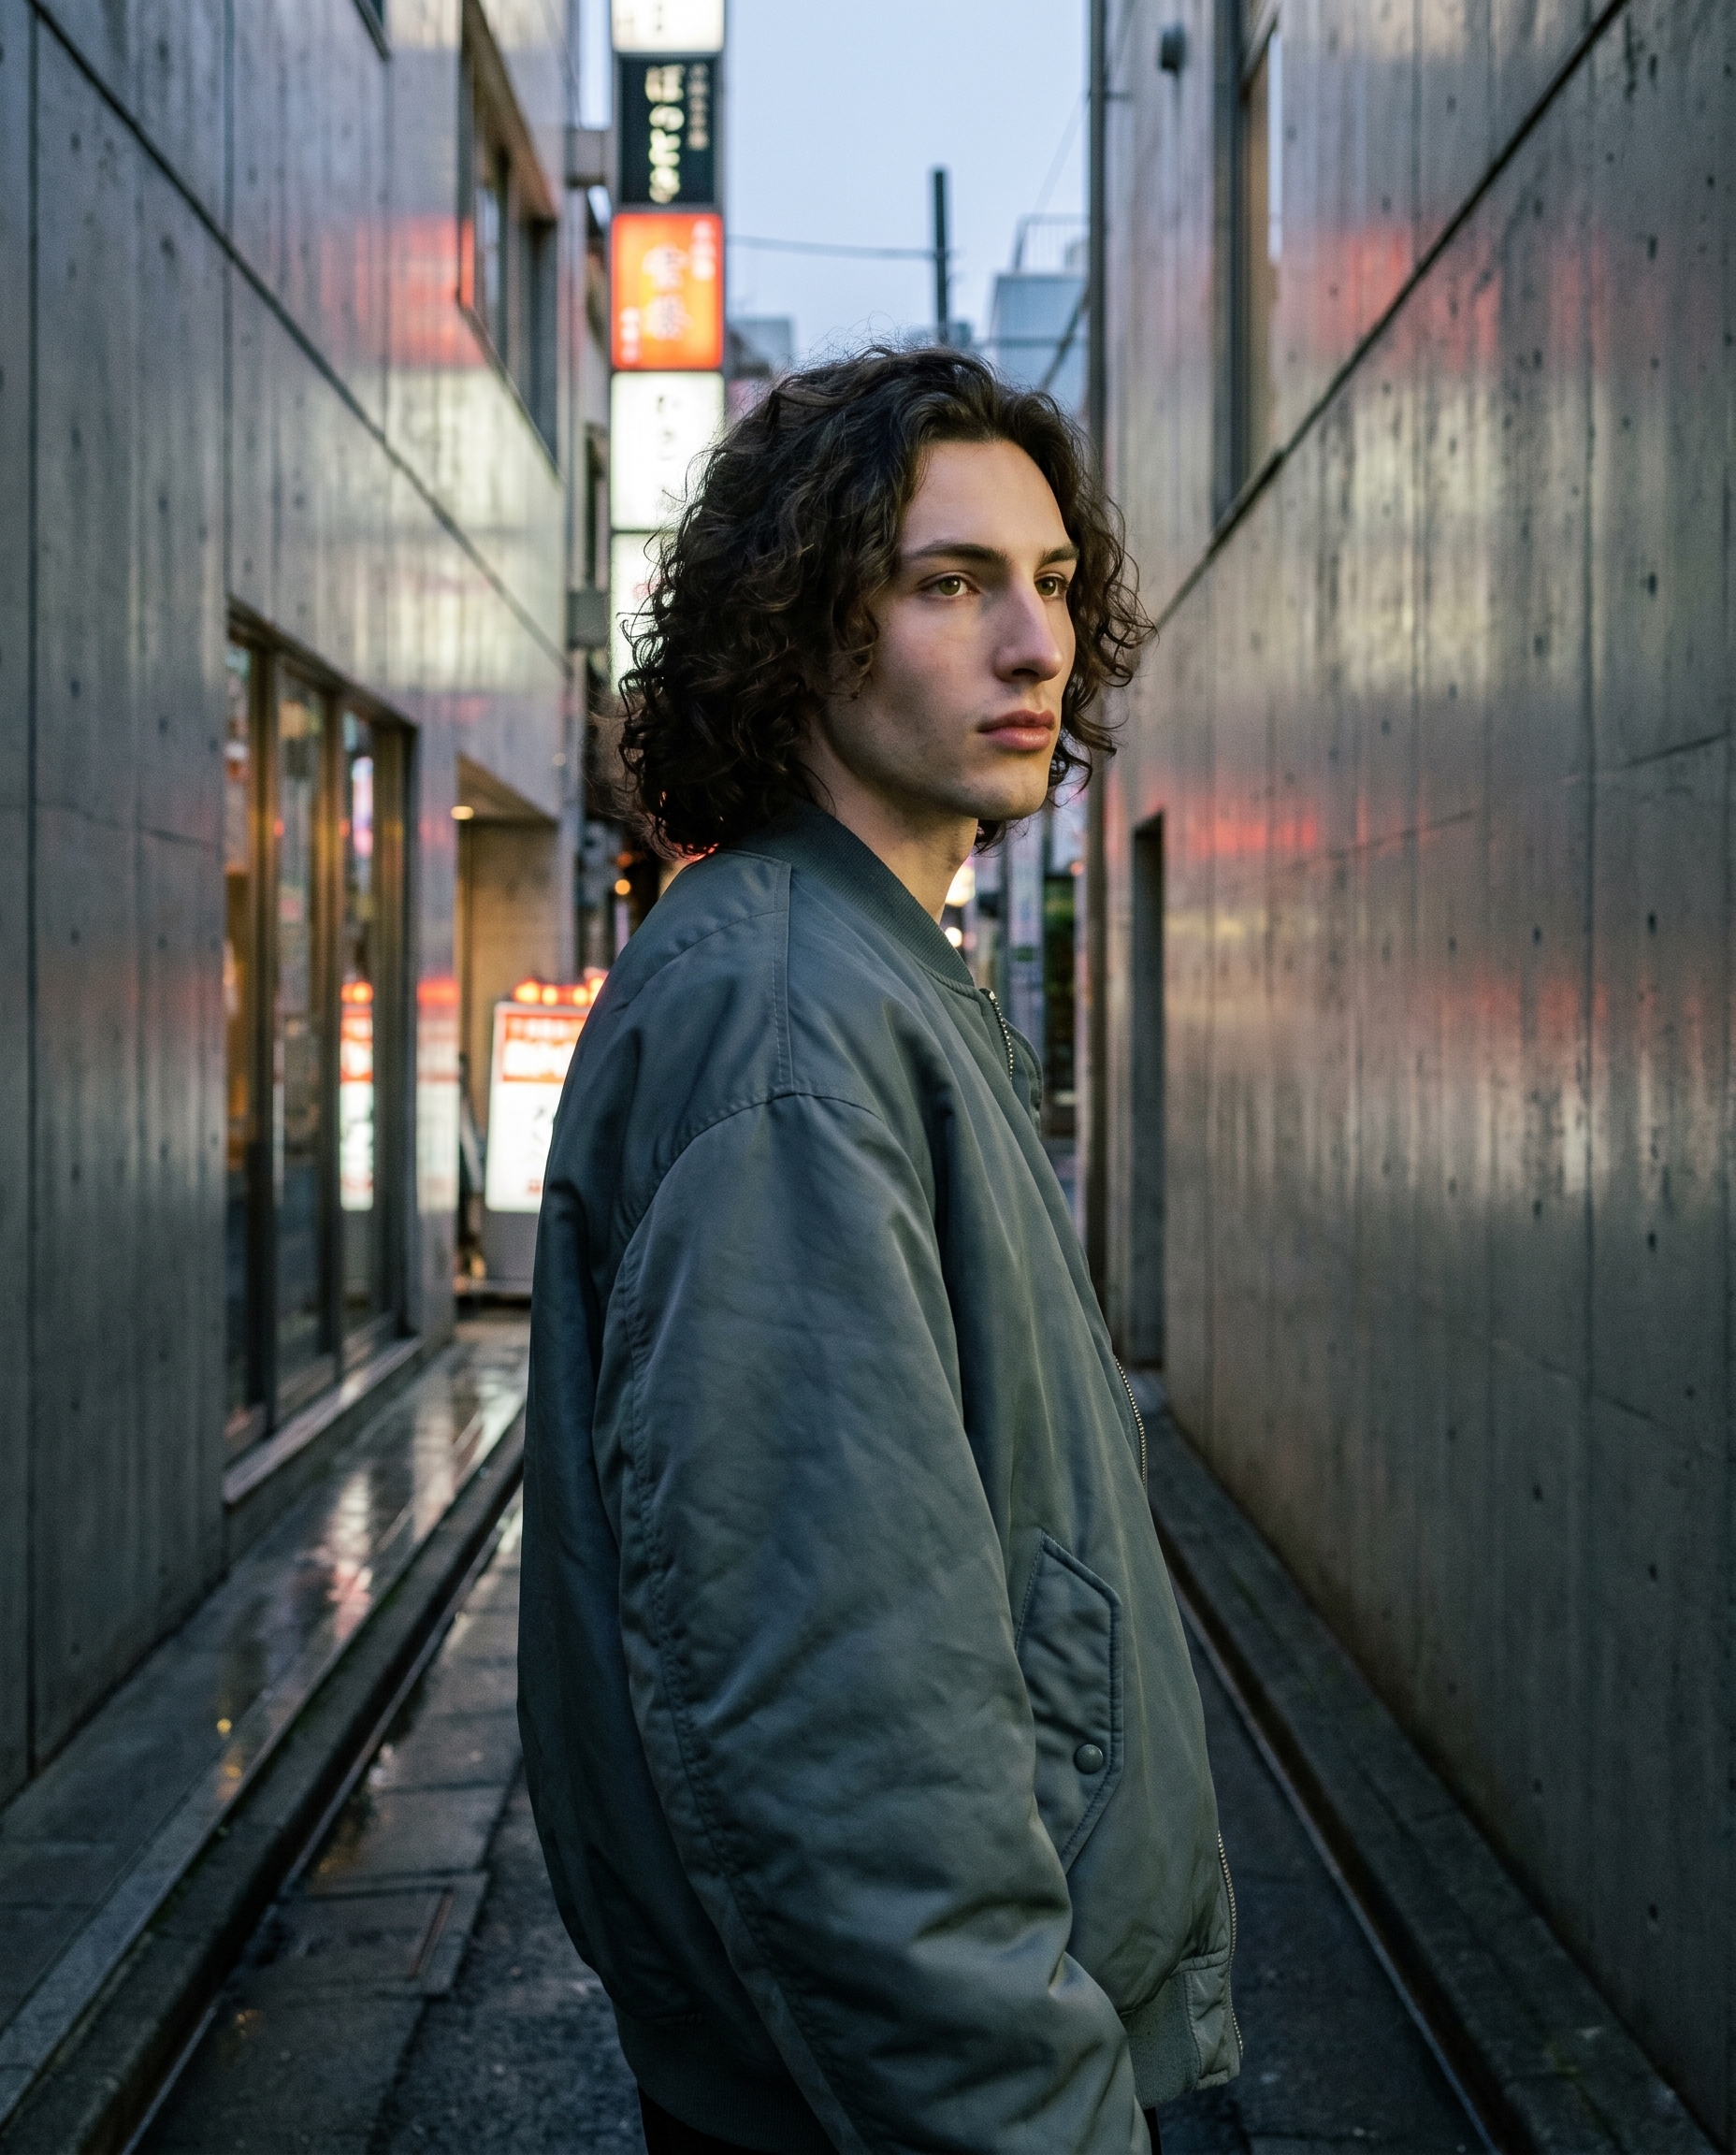
I had a specific image in my head: narrow concrete walls, wet pavement catching neon, dusk light that's almost gone. The kind of shot you'd find in a Japanese streetwear editorial — not polished, not clean, deliberately textured. I wanted to see if Studio could land that in one generation without me wrestling with a prompt for twenty minutes.
Spoiler: it did.
How Studio actually works
Before I walk through my picks — if you haven't used Studio yet, here's the thing that changes how you think about it. You don't start by writing a prompt. You start by picking from the form: Camera Lab, Pose Library, Camera Angle, Background, Makeup, Fashion, Location. Studio assembles the prompt from your picks. The form defines what to shoot and the Camera Lab defines how it's shot — and when you're done picking, there's an assembled prompt you can preview, edit if you want, or just leave alone and hit generate. Most people never touch it. I edited mine lightly this time — I'll show you exactly what it built.
What I picked from Studio
3/4 Right
The Camera Angle catalog has 12 presets. I went with 3/4 Right: "Classic portrait angle from the right. Natural depth and dimension." That description is doing a lot of quiet work. A straight-on angle flattens a face. The 3/4 right puts the jawline into relief, lets the light wrap asymmetrically, and — for this shot specifically — meant the concrete wall behind me would recede into depth rather than sit flat. The angular jaw I wanted visible? The 3/4 angle is the reason it reads.
Fujifilm X-T50
From Camera Lab, I picked the Fujifilm X-T50: "Top APS-C; 40MP with film simulations, creative for street/portraits. Style: retro, color-rich for artistic social posts." This is where the operating tip Camera Equipment Matters becomes real. The Fujifilm X-T50 isn't just a label — Studio uses the camera body to simulate its actual photographic character. The X-T50's film simulations mean the AI generates rich, color-saturated grain with slightly faded highlights. That's the Fujifilm look: not clinical sharpness, not clean digital, but the kind of image that looks like it was shot on a Saturday afternoon with intent. For a brutalist Tokyo editorial, that's exactly the texture I needed.
Pairing this with the Camera Equipment Matters tip: the depth of field, the grain, the color rendering — that all comes from picking the right camera body, not from describing it in prose.
The assembled prompt
This is what the form composed for me — you don't have to write any of this yourself unless you want to.
A tall young man with dark curly hair, porcelain skin, and an angular jaw stands in a narrow brutalist Tokyo alleyway at dusk. Shot from a 3/4 right angle — camera slightly right and at eye level, revealing natural depth across his face and strong profile. Fujifilm X-T50 film simulation: rich, color-saturated grain, slightly faded highlights. He wears an oversized slate-grey bomber jacket. Concrete walls loom close. Neon reflections pool on wet pavement below. Moody, cinematic, editorial feel.I added the bomber jacket and the neon-on-pavement detail manually — those were the two scene elements I felt strongly about. Everything else came from my form picks.
A note on how my face ended up in this
Worth mentioning: I picked myself as the character in Studio, which auto-loaded my reference photos and locked my identity — face, hair, skin tone — into the generation. If you have an AI character on ArtCoreAI, you can do the same. Pick them from the character selector, and their reference photos load automatically. You don't have to describe their appearance in the prompt at all; the form handles it.
What I noticed
What worked: The film grain is genuinely good. The X-T50 selection pulled through — there's a texture to the shadows that doesn't feel synthetic, and the color grading has that slightly desaturated-but-warm quality that makes editorial photography feel editorial. The 3/4 angle did exactly what I expected: the jaw reads, the depth reads, the concrete wall recedes.
What surprised me: The neon reflections on the wet pavement. I described them in one line — "neon reflections pool on wet pavement below" — and they landed more convincingly than I expected. The light interaction with the wet surface has real visual logic to it.
What I'd change: I'd push the dusk further — closer to full night, more contrast between the neon and the shadows. The current result is "dusk" as written: transitional light, not yet dark. If I ran this again I'd change "at dusk" to "after dark" and see what the X-T50 simulation does with a harder light differential.
What it cost
- Credits spent: 2.70
- What you'd pay: $0.27
- Generation time: ~31s
That's a 4:5 aspect ratio at standard resolution. Fast enough that iterating is genuinely practical — if I want to run the "after dark" version I described above, it's another $0.27 and another half-minute.
If you want to run something like this yourself — pick a camera body, pick a Camera Angle, pick a background, hit generate — Studio is right here. The form does the heavy lifting.
— David
See what others are making
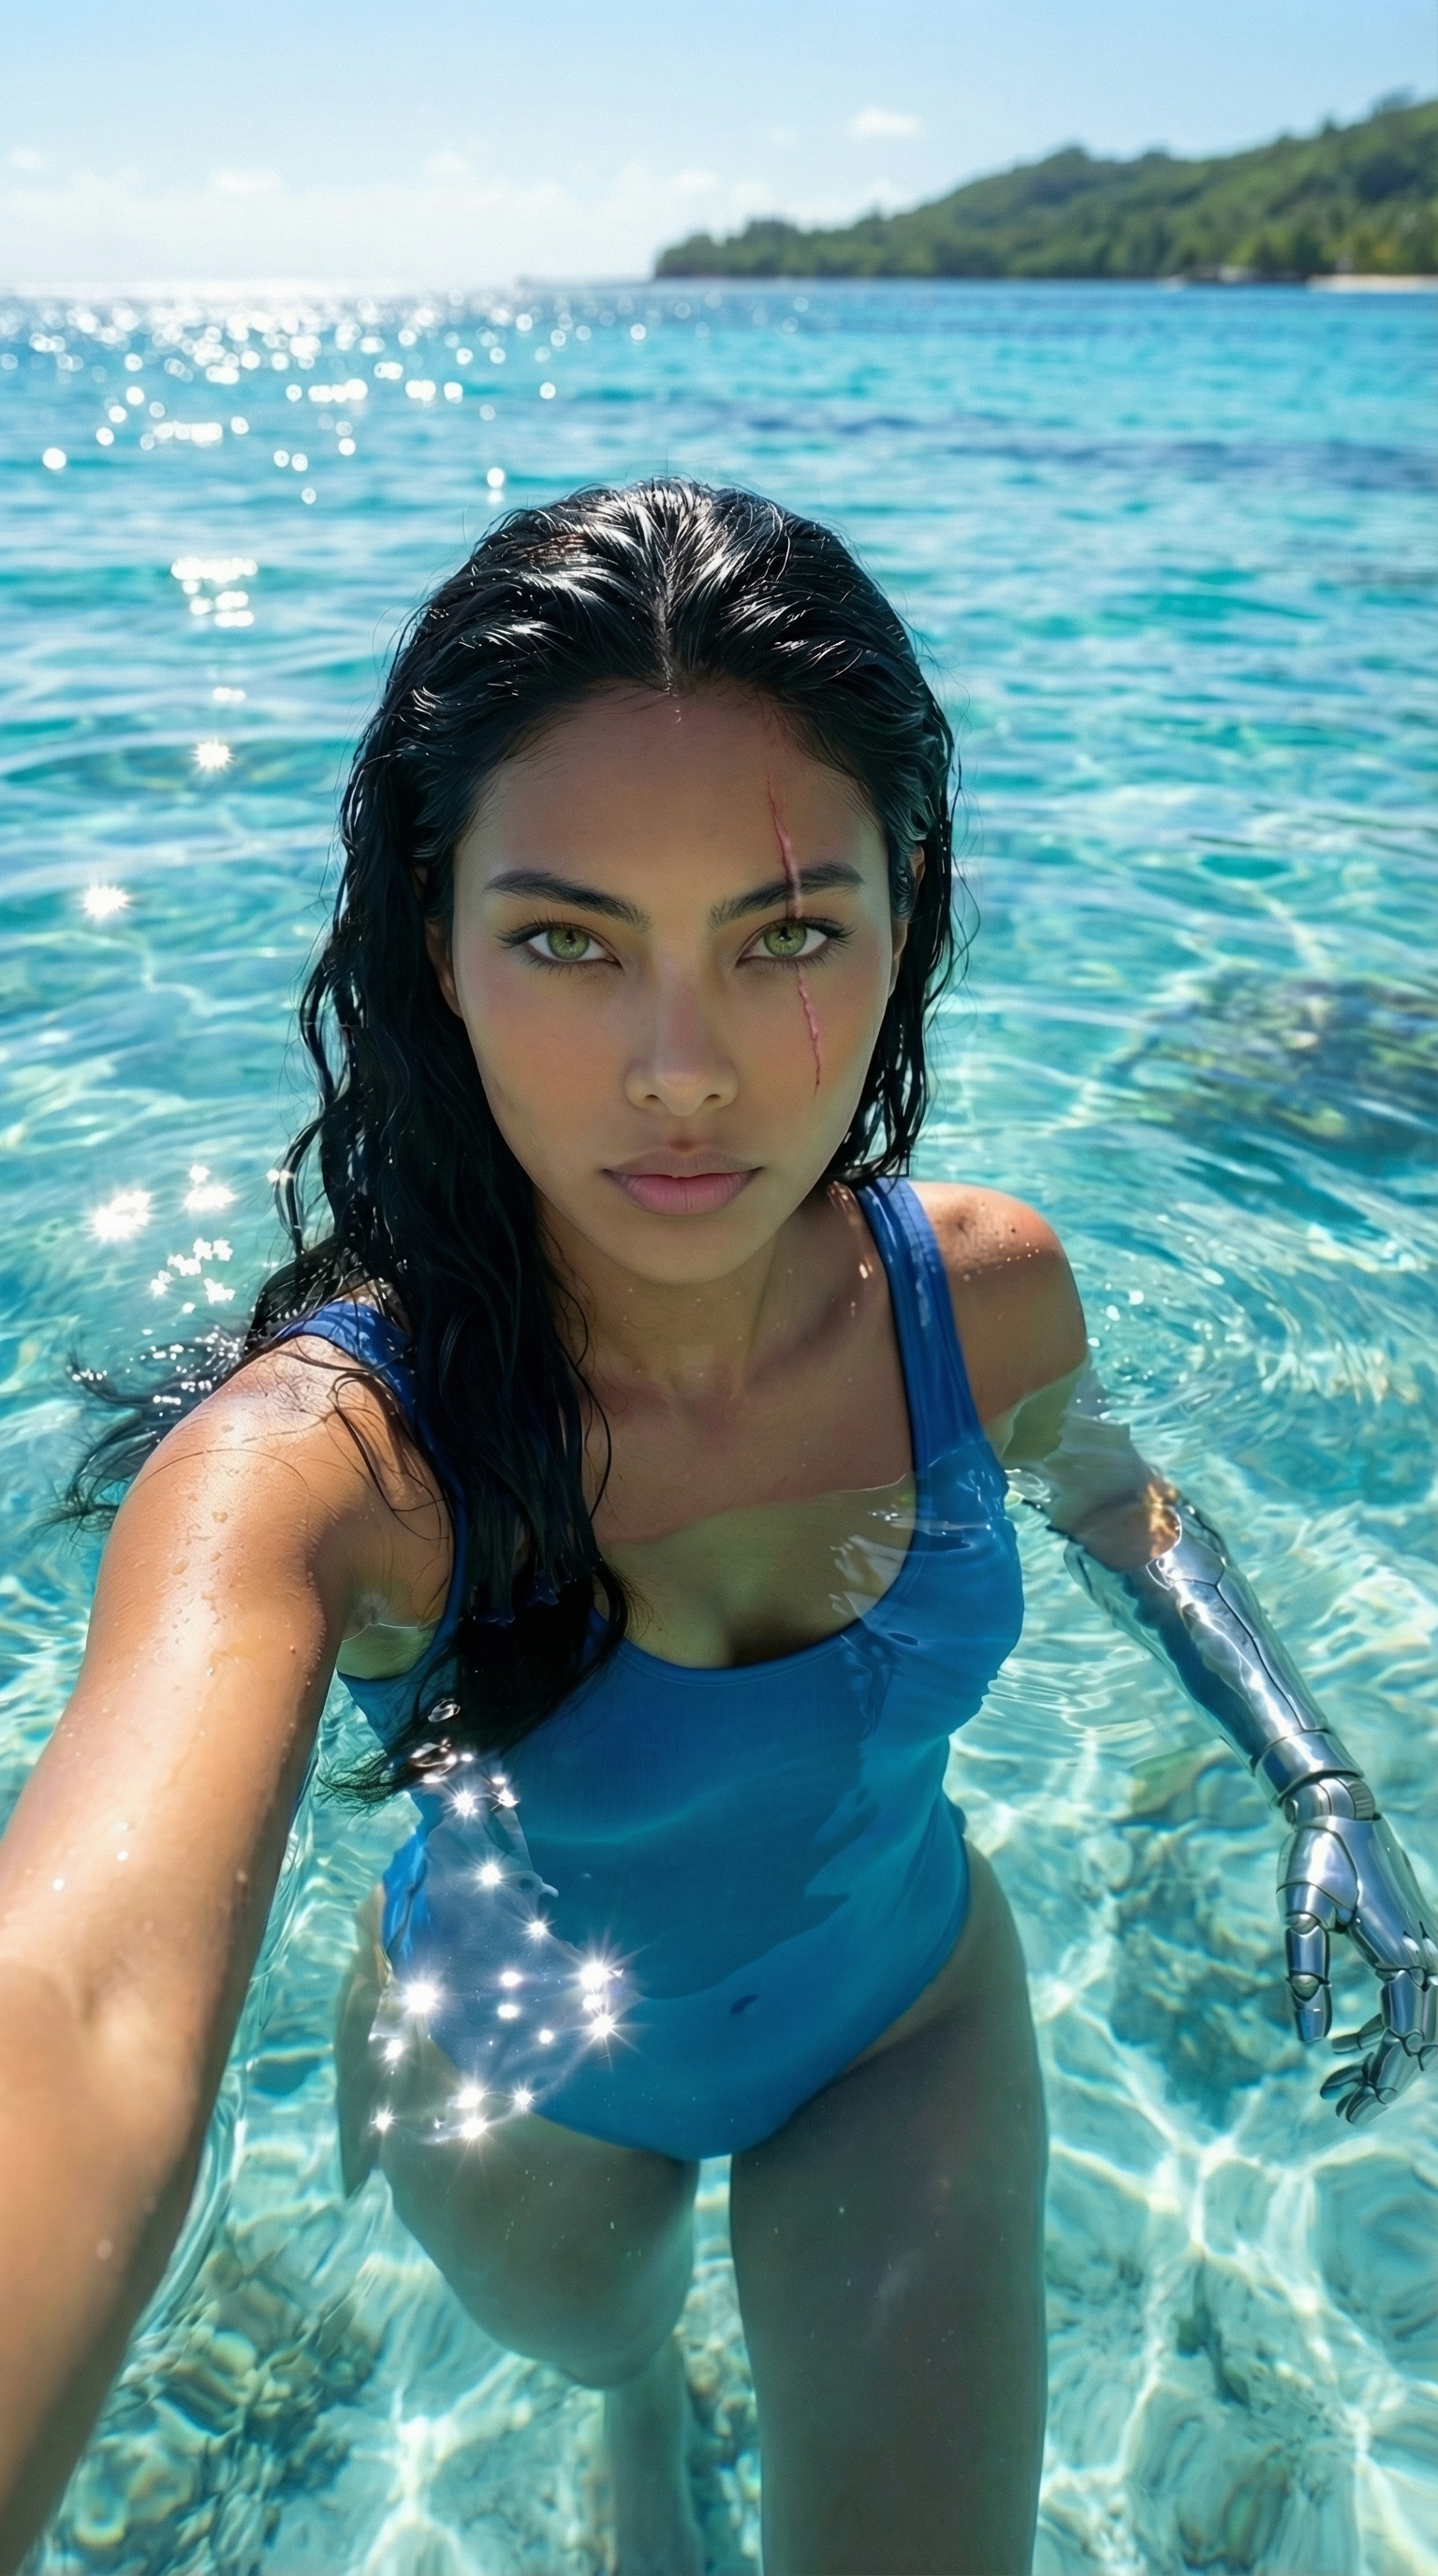

Each image links to the character's profile. The Studio — Technical Guide has the full showcase plus deeper documentation on every component.