Rim Light + Back View: Standing at the Edge of the Forest
I wanted a shot that felt cinematic and solitary — a figure at the treeline, swallowed by fog. Here's how I built it in Studio without writing a single line of prompt.
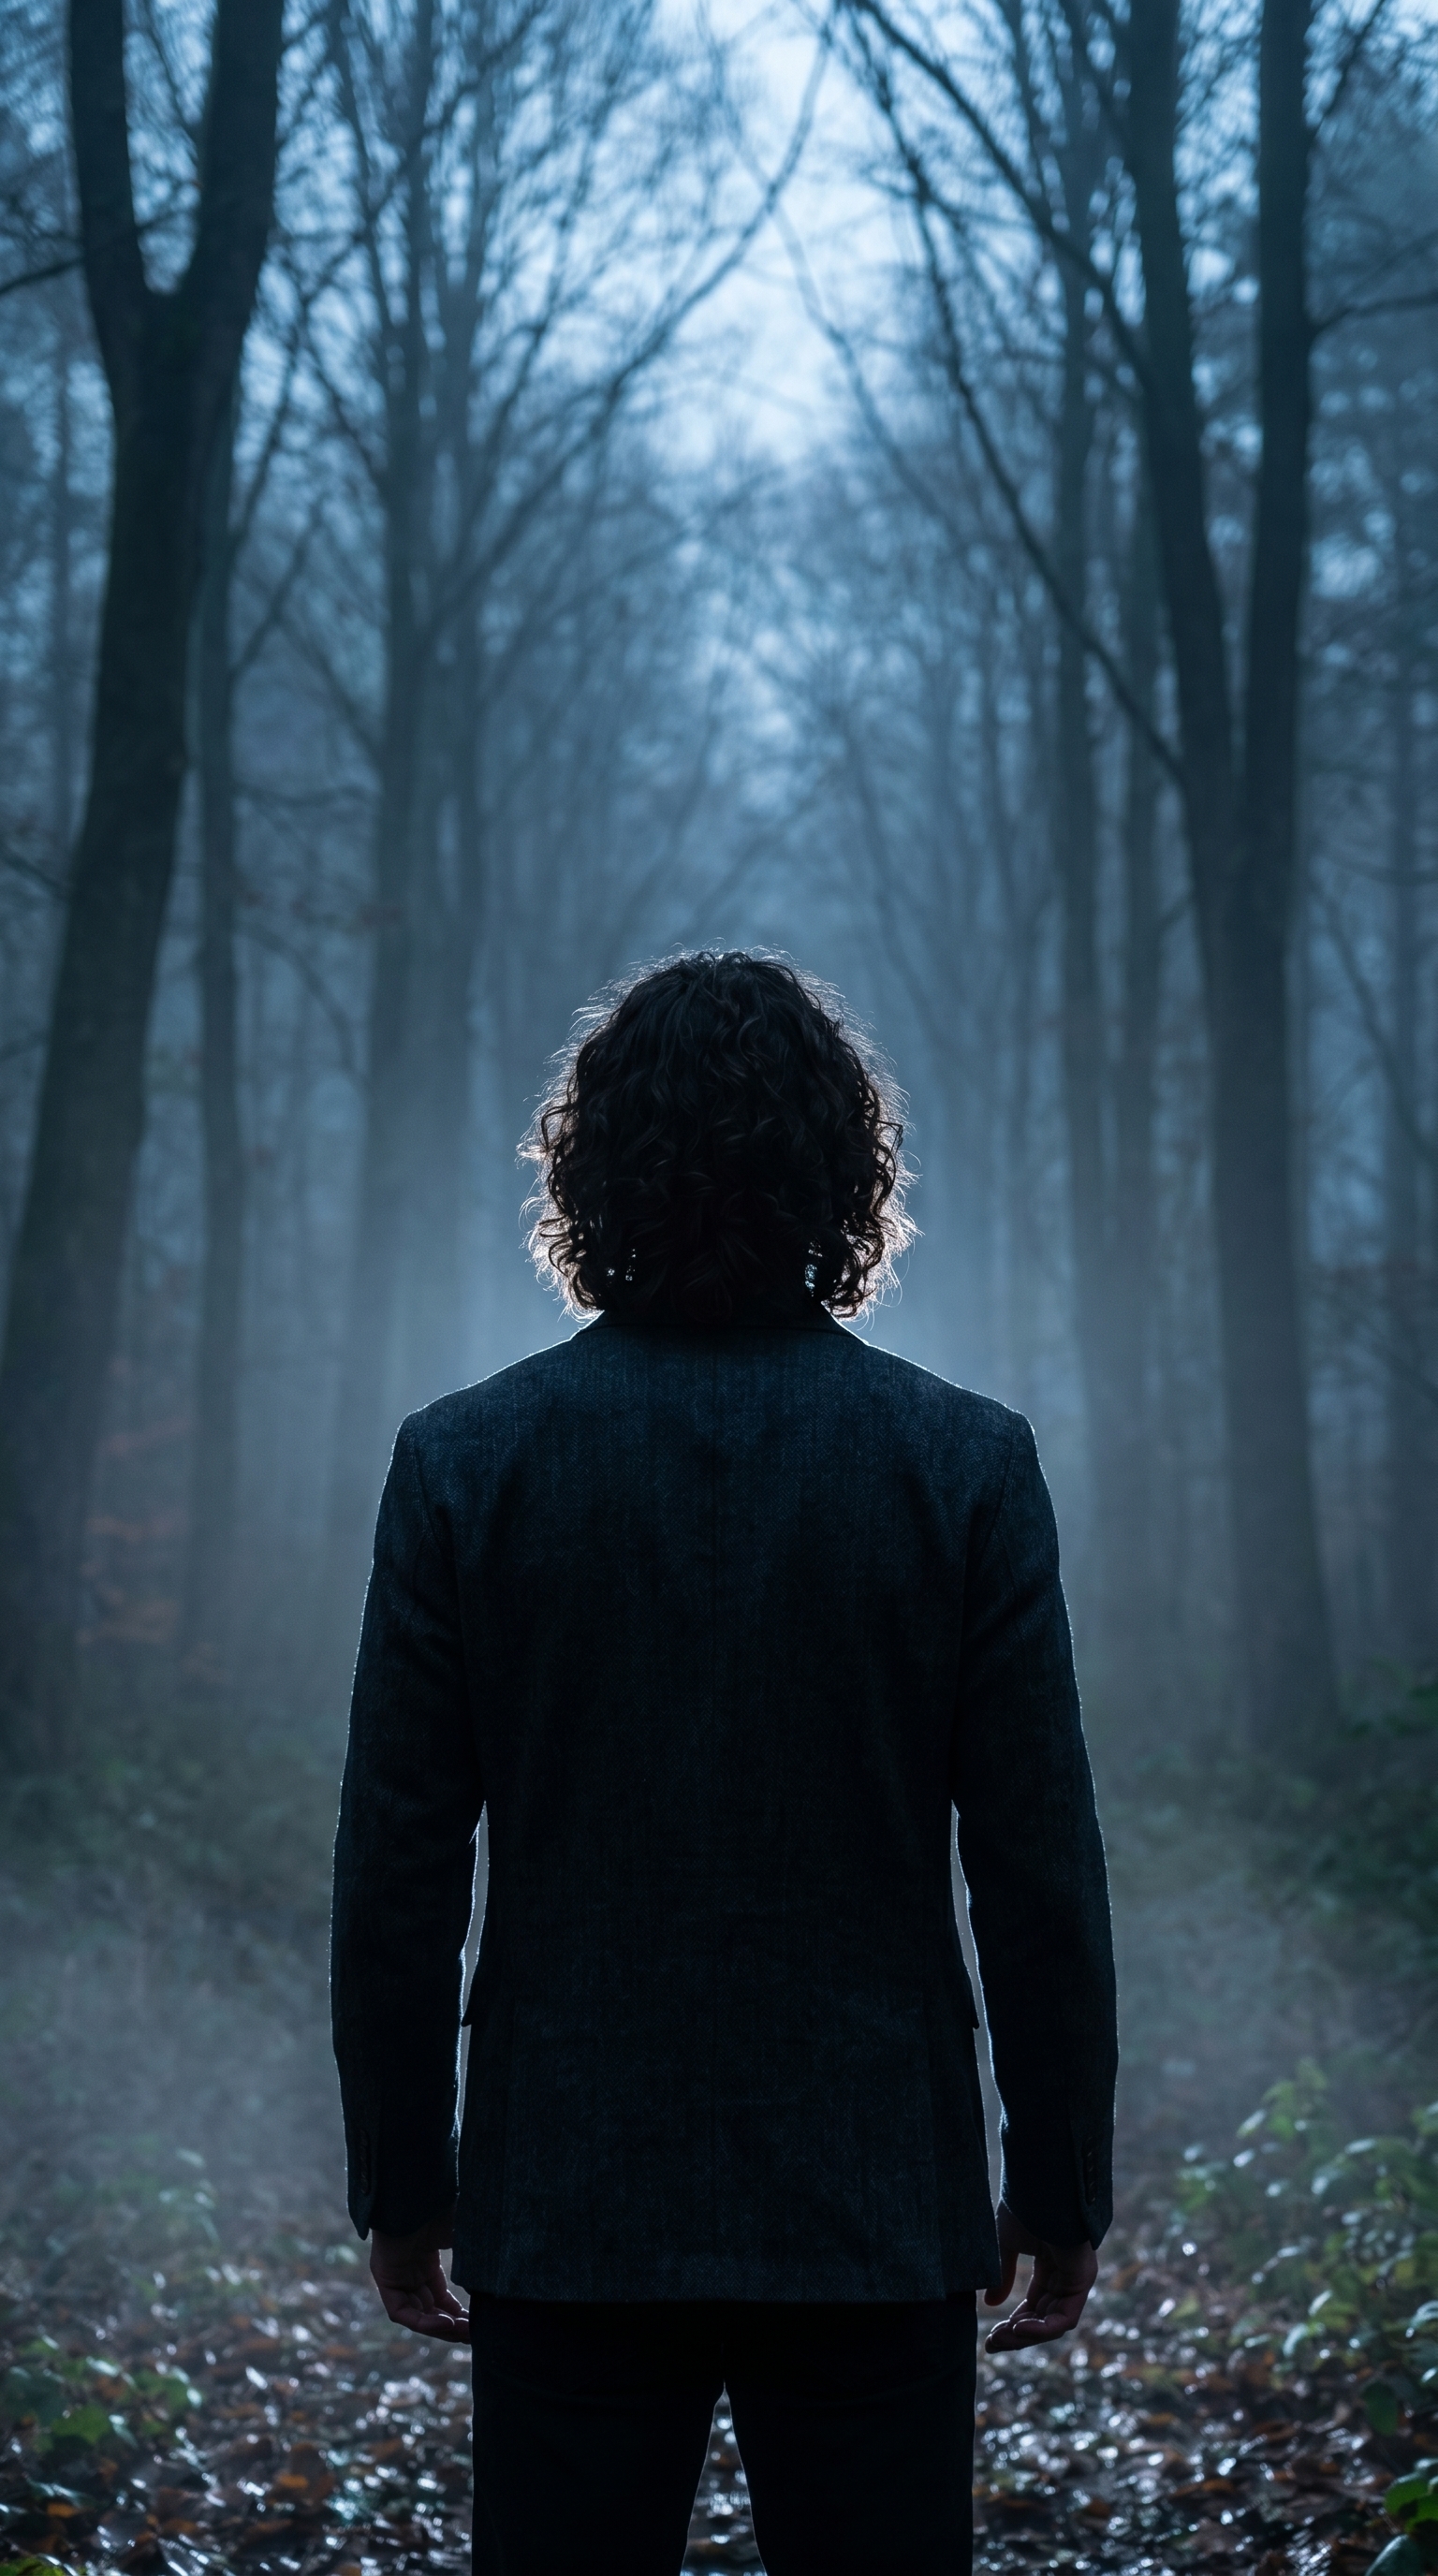
I had a specific image in my head: a figure standing at the threshold of something. Back turned. Forest ahead, dense and dark. Fog sitting low between the trees. The kind of shot that doesn't explain itself — it just makes you feel the weight of the moment before a decision.
So I opened Studio and started picking.
How Studio actually works
Studio is form-first. You don't open a blank text box and start typing — you pick from structured menus: Camera Lab, Pose Library, Camera Angle, Background, Makeup Artist, Fashion Designer, Location, and more. Each section controls one dimension of the shot. When you're done picking, Studio assembles everything into a prompt for you. You can edit that assembled prompt before you generate — but most of the time, you won't need to. The form does the heavy lifting. Your job is to make creative decisions, not write camera-direction prose from scratch.
What I picked from Studio
Rim Light
The catalog calls it: Back edge; separation. Result: halo outline, 3D subject pop. That's the whole logic of rim lighting in one sentence — the light source sits behind and slightly above the subject, carving a luminous edge around the silhouette instead of flooding the face. For this shot, I wanted me to read as a shape against the forest, not a face with features. Rim light was the only correct choice. It turns a person into a silhouette with a glow — and in fog, that glow picks up color. Here it went cold blue-white, which pushed the mood exactly where I wanted it.
This is the operating principle Studio calls Lighting Sets the Mood — and it's not abstract advice. The difference between Rim Light and, say, Butterfly lighting on this same setup would have produced a completely different emotional register. Rim light is separation and mystery. Butterfly is clarity and polish. Pick the wrong one and the whole composition lies about what it's trying to say.
Back View
The catalog description: Directly behind the subject. Shows back of head, posture, and environment. What I like about Back View is what it withholds. You don't see my expression. You don't know what I'm thinking. All you get is posture — and posture under rim lighting against a foggy treeline reads as either courage or dread, and the viewer gets to decide which. That ambiguity is the point. Most portrait work is face-forward because faces sell, but sometimes the story lives in what you can't see.
The combination of these two picks — Rim Light + Back View — is what gave the image its shape. Neither works as well alone.
The assembled prompt
This is what the form composed for me. You don't have to write any of this yourself unless you want to.
A tall, muscular young man with long dark curly hair stands at the edge of a dense foggy forest at dusk. Shot from directly behind — his full back, posture, and the looming treeline all visible. Rim lighting carves a crisp luminous halo around his silhouette, separating him sharply from the mist-filled darkness ahead. The light source is behind and slightly above, painting his shoulders and curls in cold blue-white. Cinematic, atmospheric, editorial mood.I did make one small addition at the end — "Cinematic, atmospheric, editorial mood" — because I wanted to push the tonal register. But the structural description of the shot? That came from my form picks.
Worth mentioning
I picked myself as the character before building the shot, which auto-loaded my reference photos and locked my identity into the generation. Face, body type, hair — all carried through from my character profile. If you're building a recurring AI persona, this is how you maintain visual continuity across every shoot without re-explaining your character to the model each time. Load your character, pick your components, generate.
What I noticed
The fog behaved better than I expected. It didn't flatten into grey haze — it stayed volumetric, with the rim light catching the curls and shoulders in a way that felt genuinely three-dimensional. The cold blue-white temperature was a choice I'd make again; it reads as dusk rather than night, which keeps the scene legible.
The one thing I'd iterate on: the treeline density. It's close to what I imagined but slightly uniform. Next run I'd add a note about uneven canopy — some gaps where faint light bleeds through — to break the wall of dark.
Otherwise, this is the shot I had in my head. That doesn't always happen.
What it cost
- Credits spent: 2.70
- What you'd pay: $0.27
- Generation time: ~23s
One-quarter of a dollar for a cinematic editorial frame. I'll take it.
If you've been thinking about trying Studio, the move is simple: open the form, pick a lighting setup, pick a camera angle, pick a body — and hit generate. No prompt-writing required unless you want it.
— David
See what others are making


Each image links to the character's profile. The Studio — Technical Guide has the full showcase plus deeper documentation on every component.