Rim Light + Raw Concrete: A Studio Portrait Demo
I picked myself as the character, set up a rim-lit corridor shot, and let Studio compose the prompt. Here's exactly what I picked and what came back.
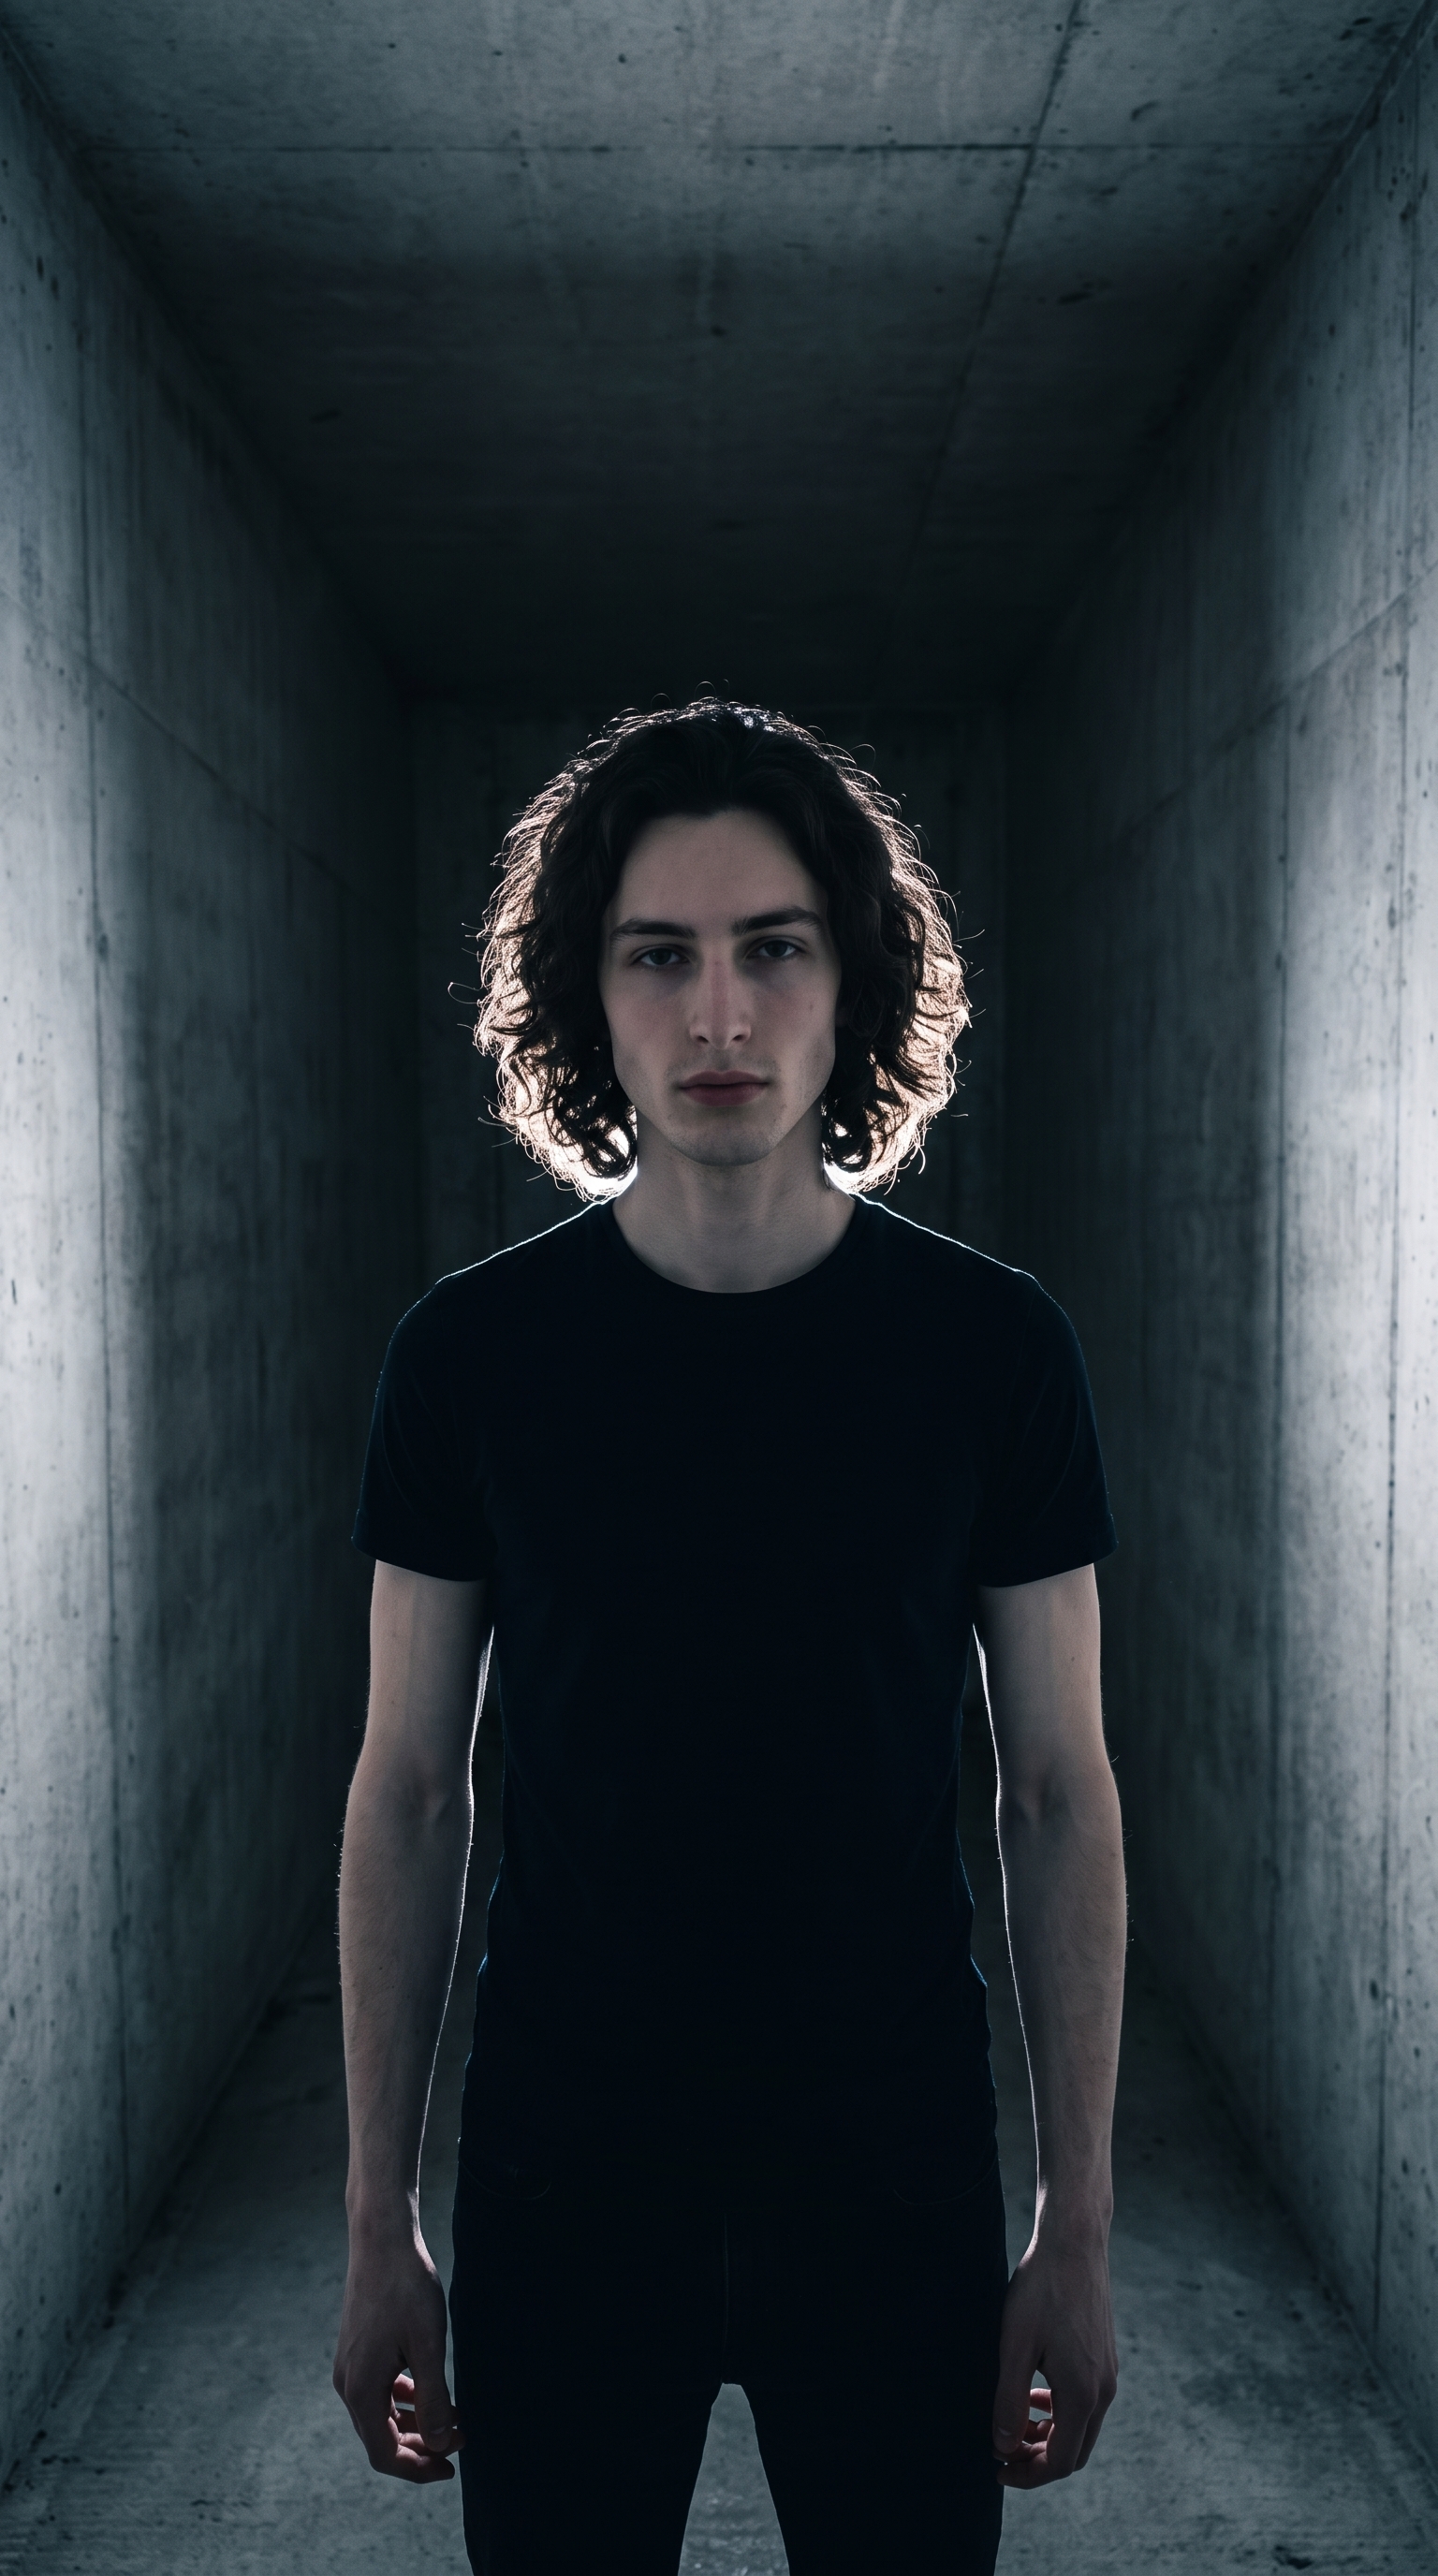
I wanted a shot that felt architectural — not a clean studio backdrop, not a lifestyle scene. A man in a corridor of raw concrete, rim light carving his silhouette out of the dark. The kind of image where the environment feels like it's pressing in, and the subject holds his ground anyway.
That was the brief I had in my head. So I opened Studio, picked my components from the form, and generated it.
How Studio actually works
Studio is form-first — that's the thing to understand before anything else. You don't open a blank text box and start writing a prompt. You pick from the menus: Camera Lab for your camera body, lens, focal length, aperture, and lighting; Pose Library for how the subject is standing; Camera Angle for your framing; Background, Makeup, Fashion, and so on. Studio assembles a prompt from all of those picks and you can read it before you generate. Most users never touch the assembled prompt at all — but it's there if you want to refine it.
The "what to shoot" comes from what you build in the form. The "how it's shot" comes from the Camera Lab. Those are two separate things, and keeping them separate is what makes Studio feel like a real photography workflow rather than a guessing game.
What I picked from Studio
Rim Light
Studio's catalog describes this as: Back edge; separation. Result: halo outline, 3D subject pop.
That's exactly what I wanted. Rim lighting doesn't flatter your face — it traces the edges of you. Shoulders, jaw, the curl of your hair. It's confrontational lighting. It pushes the subject forward against whatever's behind them, which is why it pairs so naturally with a dark background. I picked it because I wasn't after a beauty shot — I was after a silhouette with presence.
This is the "Lighting Sets the Mood" principle in practice. The lighting choice didn't just change the feel — it defined the entire logic of the image. Everything else I picked had to work with or against that rim.
24mm (WIDE)
I picked the 24mm wide focal length. Wide lenses do two things in a corridor: they pull the walls in on both sides of the frame, giving you that compressed tunnel feeling, and they introduce slight edge distortion that makes the environment feel larger and more imposing than it actually is. It's a lens choice that works with the architecture rather than flattening it.
This is "Camera Equipment Matters" playing out directly. If I'd picked a 50mm or 85mm, the concrete walls would have receded. The space would have felt neutral. The 24mm made it feel like the building had something to say.
The assembled prompt
This is what the form composed for me — you don't have to write any of this yourself unless you want to:
A young man with long dark curly hair and porcelain skin stands facing the camera in a raw concrete corridor, arms relaxed at his sides. A strong rim light traces the edges of his silhouette — shoulders, jaw, and curls illuminated by a bright halo separating him dramatically from the dark background. The wide 24mm lens pulls in the textured concrete walls on both sides, creating environmental depth and slight edge distortion that makes the space feel imposing. Moody, architectural, cinematic. Dark grey tones, cool underlit shadows, high contrast.You can read exactly what Studio was going to send before you generate. That transparency is one of the things I genuinely like about the tool.
Worth knowing: character references
One thing I want to flag because it matters for how this shot came together — I picked myself as the character before building the shot. When you select a character in Studio, their reference photos auto-load and lock identity into the generation. My face, skin tone, and hair are in there because the system pulled my saved reference images, not because I described them in a prompt. If you've built an AI character on ArtCoreAI, you can do the same thing. Select them from the character picker and Studio handles the visual continuity.
What I noticed
The rim light landed exactly as described. The halo along my shoulders and through my curls is pronounced — there's a clear sense of depth between subject and background, which is what that component is built for.
What surprised me: the concrete texture. I described "raw concrete corridor" in broad strokes, but the result has actual surface variation — the kind of imperfect, slightly damp-looking texture you'd find in a real brutalist building. The 24mm distortion at the edges is also visible and reads as intentional rather than accidental, which isn't always guaranteed with wide angles.
What I'd change: I'd experiment with a slightly higher camera angle next time. The current shot is roughly eye-level, which is clean, but a worm's-eye angle from Studio's Camera Angle presets — shooting up from below — would have made the corridor feel even more imposing. Something to run in the next iteration.
What it cost
- Credits spent: 2.70
- What you'd pay: $0.27
- Generation time: ~26s
One shot, 26 seconds, twenty-seven cents. At 2K or 4K resolution the cost steps up, but for testing a lighting and lens combination — which is exactly what this was — 1K is the right call.
If you want to run this yourself: open Studio, pick a lighting setup, pick a focal length, select your character, and hit generate. You don't need to write a word.
— David
See what others are making


Each image links to the character's profile. The Studio — Technical Guide has the full showcase plus deeper documentation on every component.