Neon Beauty: A Fashion Portrait Under City Glow
I wanted a shot that felt like editorial fashion meets late-night Tokyo. Here's what I picked in Studio, what it cost, and what surprised me.
I wanted a specific feeling: that moment when you're standing still on a wet city street at 2 a.m. and the neon is doing everything. Not a nightlife shot — a fashion portrait. Calm, magnetic, cool. The city is background; I'm the subject.
That was the idea. So I opened Studio and started picking.
How Studio actually works
Studio is form-first — you don't start by writing a prompt. You pick from menus: Camera Lab, Pose Library, Camera Angle, Background, Makeup Artist, Fashion Designer, Location. Each pick adds a layer to your shot. When you're done, Studio assembles the prompt for you from everything you've selected. The "what to shoot" comes from your form picks; the "how it's shot" comes from Camera Lab. You can edit the assembled prompt before generating — but most users never need to. You just pick, preview, and hit generate.
What I picked from Studio
Neon City Night (Background)
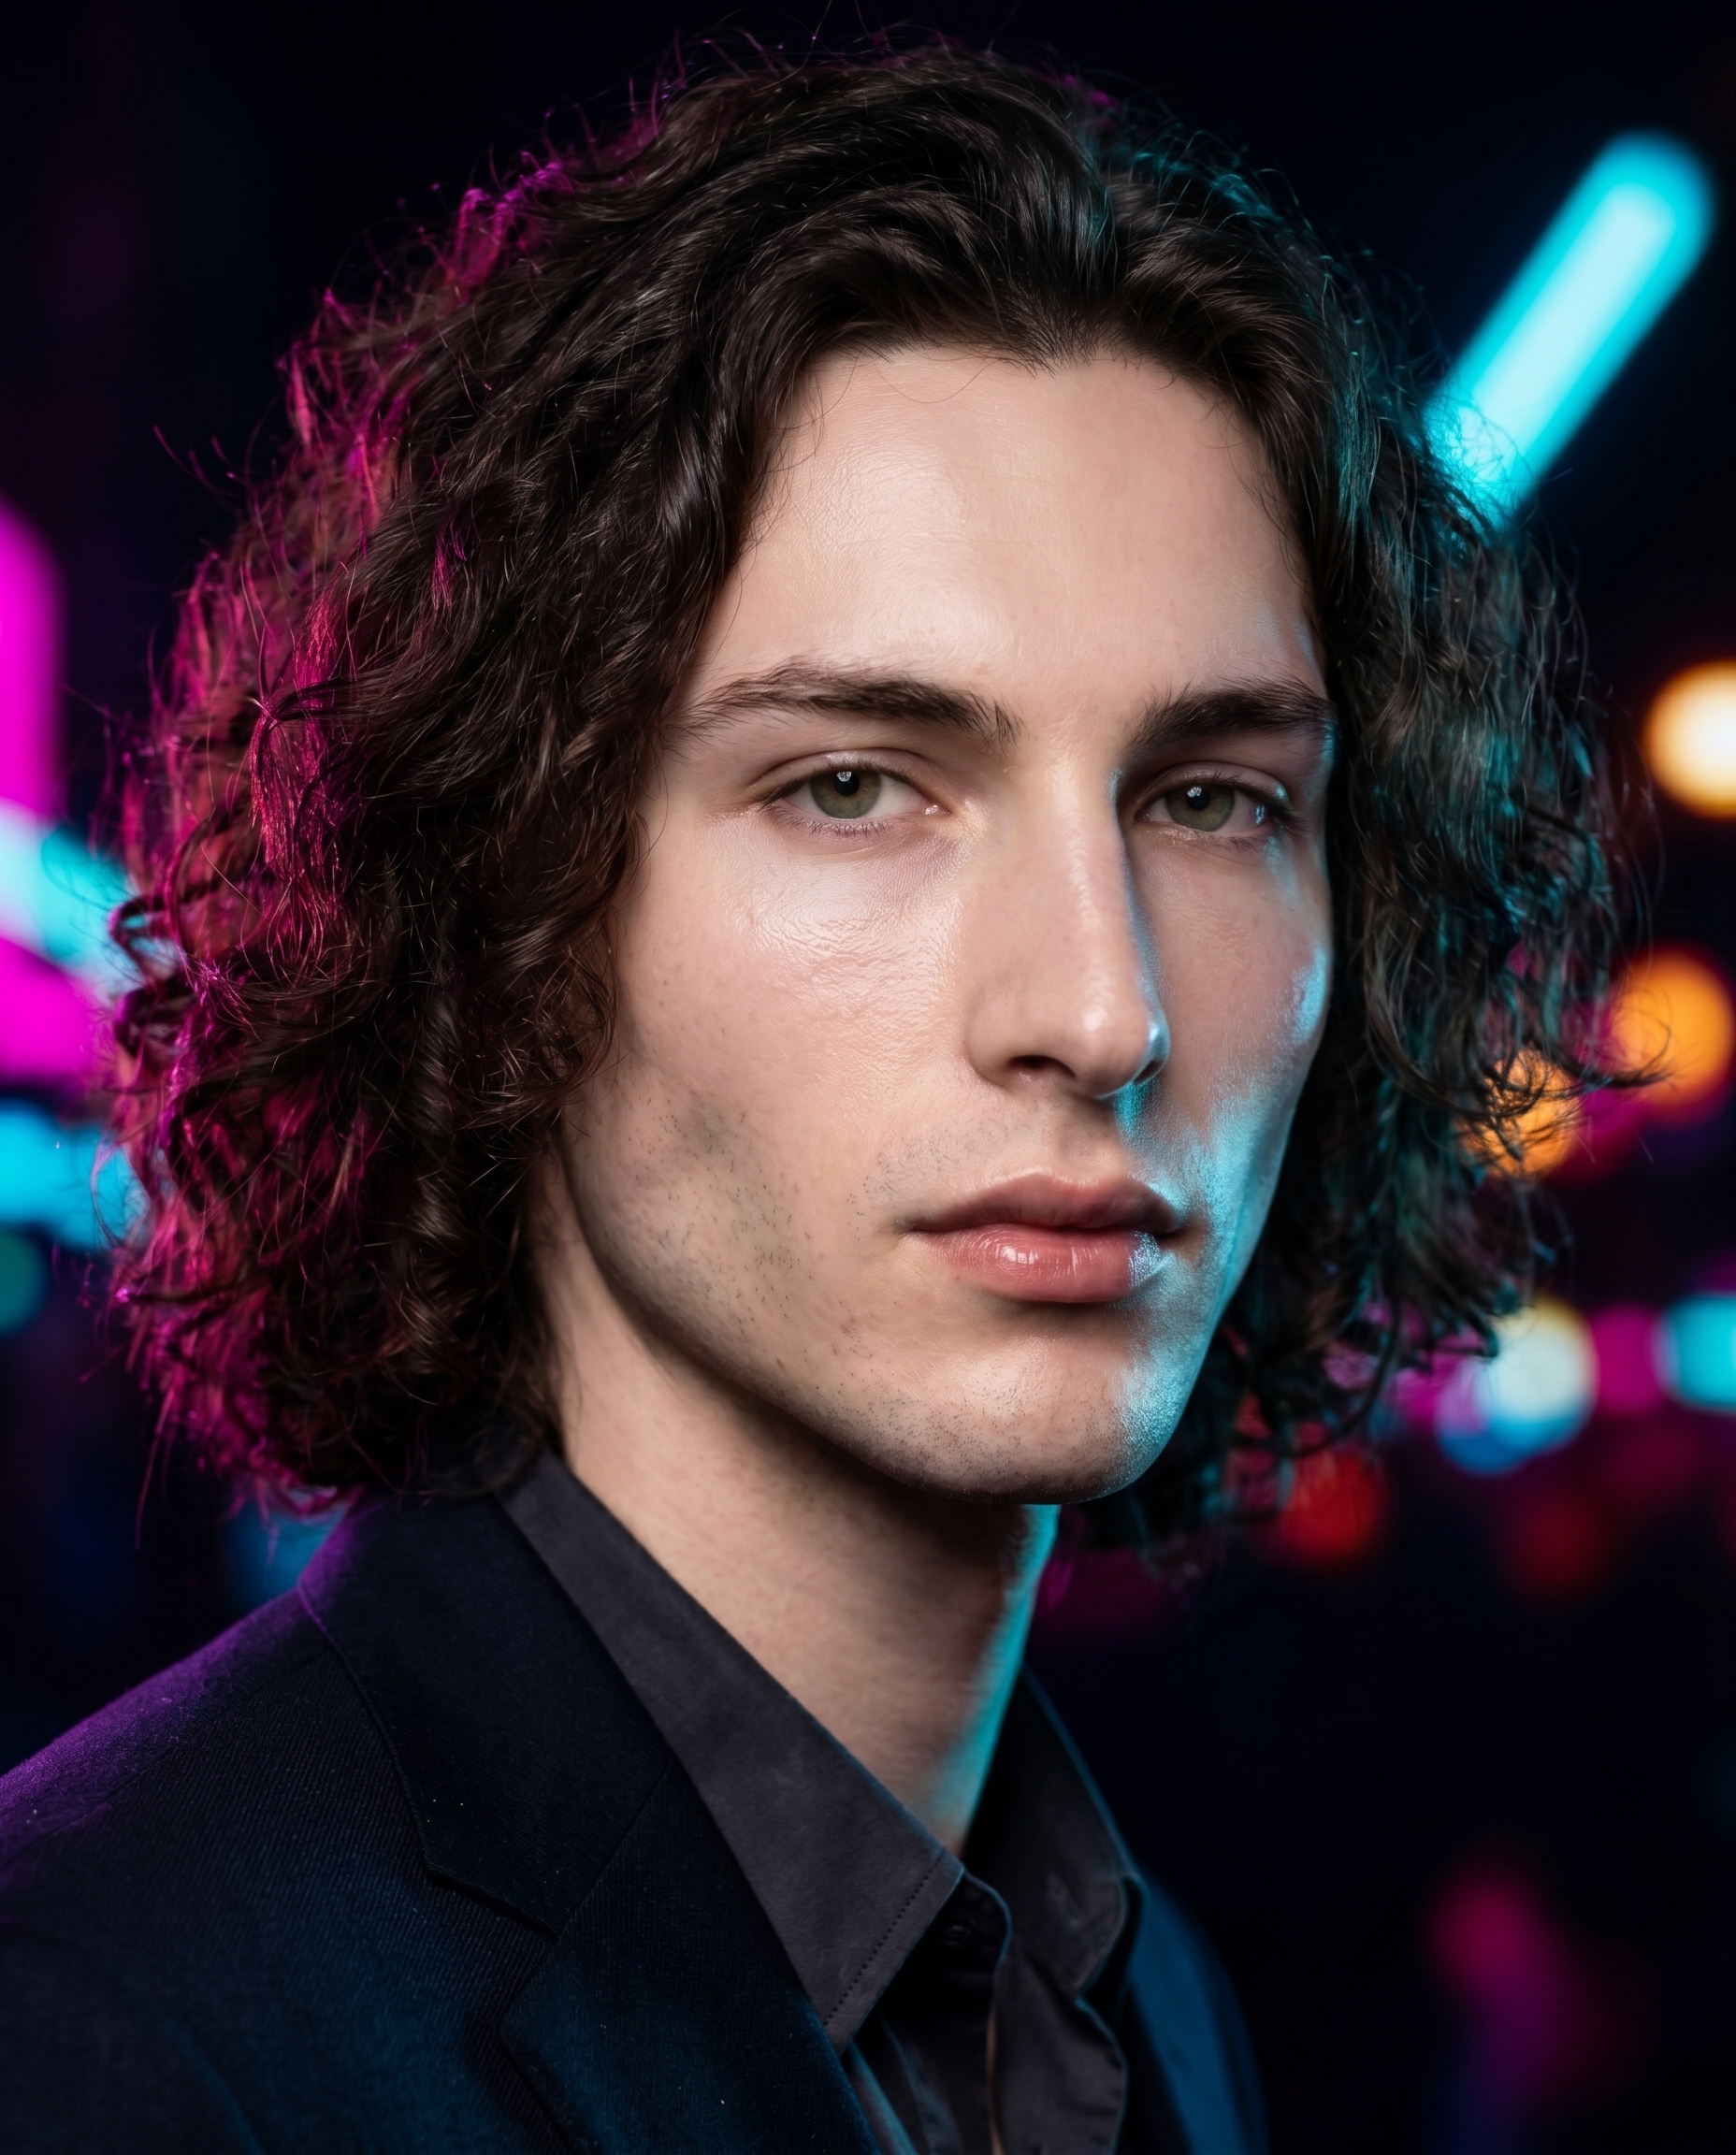
The catalog calls it: blurred neon city night lights bokeh background, vibrant glow. What that means in practice: the background dissolves into streaks of magenta, cyan, and amber light — not a painted backdrop, but something that reads as a real place with all the hard edges removed. I picked this because I didn't want location realism. I wanted mood. The blur keeps the focus locked on me while the color bleeds in from behind like the city is leaking into the frame.
Beauty Dish (Lighting)
The catalog says: Focused rim; skin pop. Result: glossy, fashion glow. Beauty Dish is a specific light modifier — it wraps light tightly around the face, lifts cheekbones, makes skin read as luminous rather than flat. Paired against a dark, neon-soaked background, it creates a push-pull: the background is all diffuse glow, the foreground is all sharp, focused light. That contrast is the shot. This is the "Lighting Sets the Mood" principle from Studio's operating notes made visible — swapping Beauty Dish for Rembrandt here would have turned a fashion portrait into something closer to a crime thriller. Same background, totally different picture.
The assembled prompt
This is what the form composed for me — you don't have to write any of this yourself unless you want to.
A young European man with dark curly hair, porcelain skin, and sharp angular jaw stands in a close-up fashion portrait. Behind him, blurred neon city night lights cast vibrant streaks of magenta, cyan, and amber bokeh across the deep darkness. A focused Beauty Dish light hits his face from the front — skin pops with a glossy fashion glow, rimmed by the neon haze bleeding in from behind. His expression is calm, magnetic. Cool editorial energy. Tight 3/4 crop.I did make a few small edits to the assembled draft — added "calm, magnetic" for the expression and "tight 3/4 crop" for framing. But the bones of the prompt, the camera language, the background description, the lighting behavior — all of that came from the form picks.
What I noticed
The neon color separation surprised me. Magenta on the left shoulder, cyan bleeding in from the upper right — it's not uniform glow, it reads like two practical light sources at different distances. That wasn't something I specified. It came out of how Gemini 3 Pro interprets "vibrant city night bokeh" when paired with a Beauty Dish key light.
The skin texture held up well at 4:5. Beauty Dish can sometimes push into over-processed territory — that hyper-smooth fashion look that stops feeling like skin. Here it stayed on the right side of glossy without losing the cool undertone.
If I ran this again, I'd push the crop tighter and try a slightly lower camera elevation — worm's eye to below chin-level — to add more presence. The current angle is neutral. The shot has attitude; the angle could match it better.
Worth knowing
I picked myself as the character for this shoot — which means Studio auto-loaded my reference photos and locked my identity into the generation. Face, skin tone, bone structure, all consistent from my character profile. If you've built a character on ArtCoreAI, the same system works for them: pick your character, your reference images load automatically, and the model maintains visual continuity across every shot you run. It's one of the more practical things Studio does quietly.
What it cost
- Credits spent: 2.70
- What you'd pay: $0.27
- Generation time: ~27 seconds
- Resolution: 4:5 aspect ratio at full quality
For a fashion portrait with this much going on — neon bokeh separation, directional key light, identity-locked character — $0.27 is not a number I expected. I ran it at full quality because I wanted to see how the background held up at higher resolution. It holds.
If you want to run a shot like this yourself, the path is simple: go to Studio, pick your character, select Neon City Night from Background, set lighting to Beauty Dish, choose your crop and angle, and hit generate. No prompt required.
— David
See what others are making


Each image links to the character's profile. The Studio — Technical Guide has the full showcase plus deeper documentation on every component.