44MP Skin Detail: I Shot Myself in Soft Studio Light
I wanted to see how far Studio could push skin detail in soft light. One camera pick, one lighting style, one hit of generate.
I wanted one thing: real skin
Not smoothed, not retouched-looking, not the hyper-plasticky complexion you get when you ask a model to "look beautiful." I wanted pores. I wanted the micro-contrast that makes a portrait feel like something you'd see in a beauty editorial — the kind of image where you can almost feel the texture.
So I set up a clean studio shot with one goal: push the Lumix S1R MkII to its ceiling in soft light. Here's what came out.
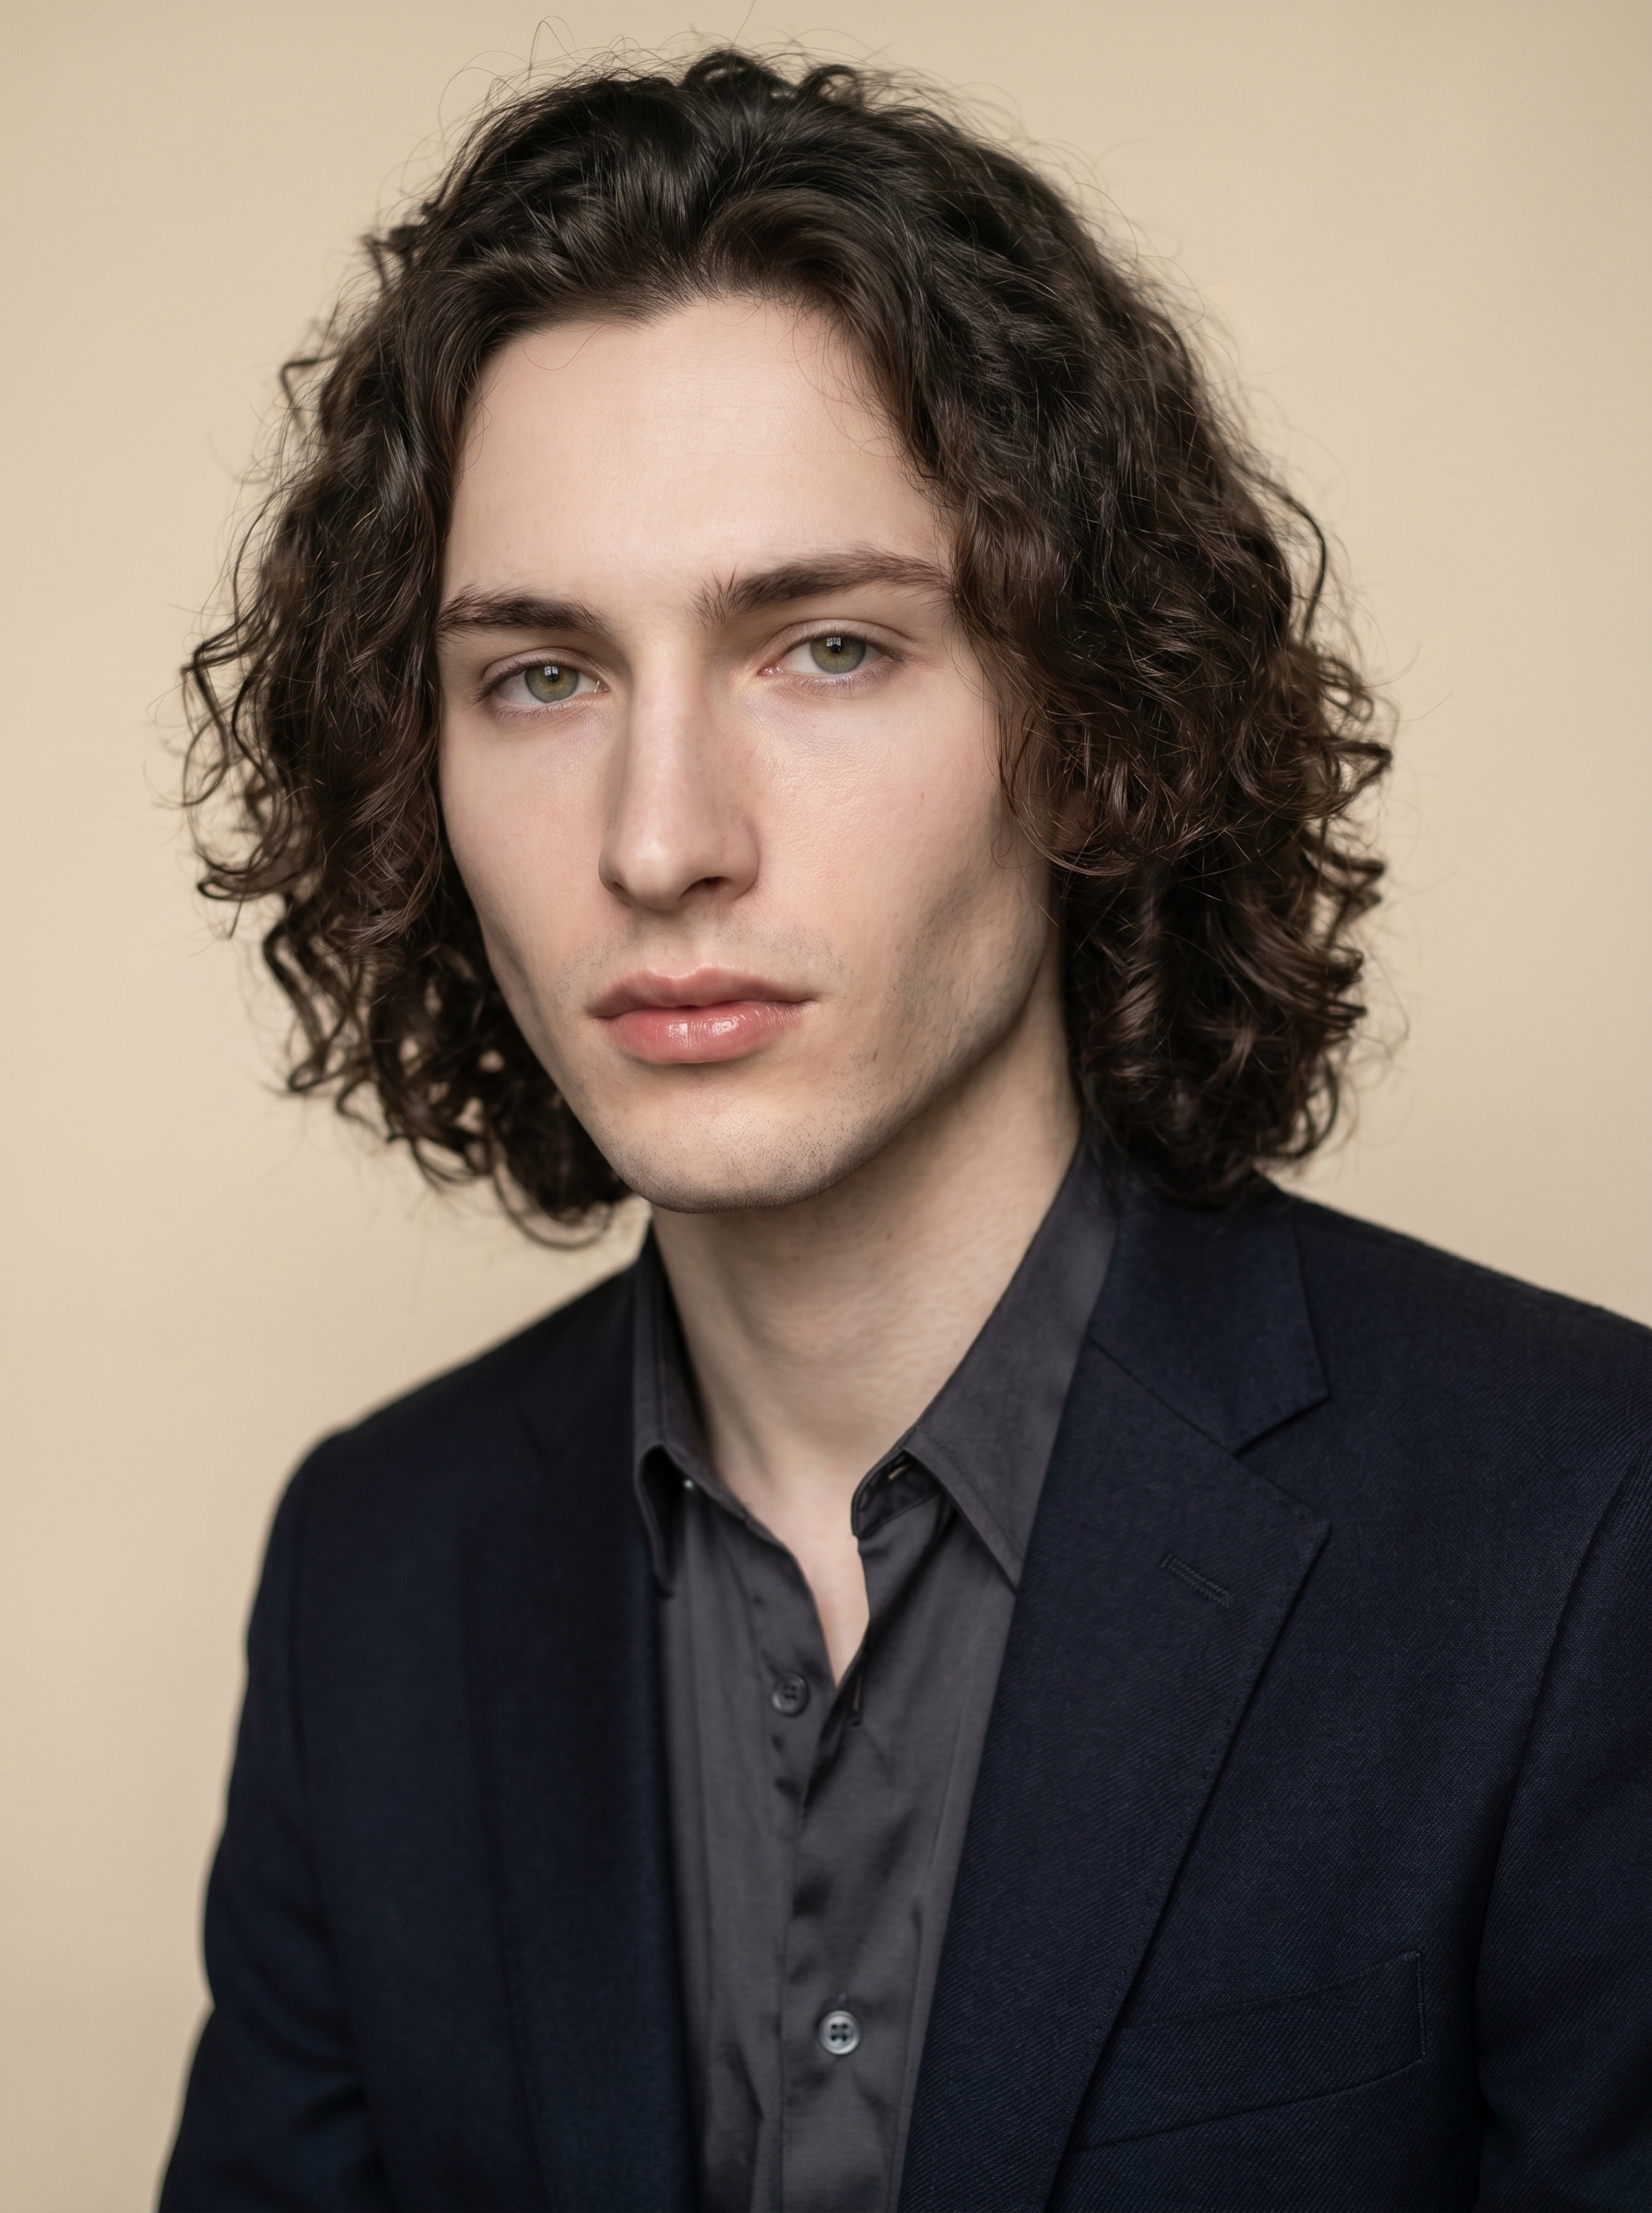
That's me. My face locked in via Studio's character reference system — more on that in a moment.
How Studio actually works
If you've never used Studio, the short version: you don't write a prompt. You pick from forms.
Camera Lab, Pose Library, Camera Angle, Background, Makeup, Fashion, Location — each section is a set of menus and selectors. You choose what you want, and Studio assembles the prompt for you. The "what to shoot" comes from your picks; the "how it's shot" comes from Camera Lab. There is an assembled prompt you can read and edit before you generate — I'll show it below — but most users never touch it. You just pick, preview, and hit generate.
What I picked from Studio
Lumix S1R MkII — Full-Frame · Mirrorless · 44MP
This is the camera body I selected in Camera Lab, and the reason the whole shot exists. The S1R MkII is a 44-megapixel full-frame mirrorless body built for professional client work — weddings, commercials, editorial. Studio's Camera Lab tells you that right in the catalog description: "detailed, built tough." What that translates to in the image is extraordinary resolution in the face — every hair strand, every pore, every subtle tonal shift in the skin reads. I didn't pick this for drama. I picked it because it's the right tool when detail is the brief.
This is the "Camera Equipment Matters" tip in practice: the AI actually simulates the optical behavior of your chosen body. Swap the S1R MkII for a 12MP street-photography body and you'll get a different image — grainier, looser, less clinical. The camera pick is a creative decision, not a technical checkbox.
Lighting: Butterfly
Butterfly lighting — named for the shadow it casts under the nose — is the classic beauty setup. A single light source positioned high and slightly in front of the face, aimed down. It sculpts cheekbones, lifts the eye area, and keeps the overall mood clean and flattering without going dramatic. The Studio tip here is "Lighting Sets the Mood": pair the right lighting style to your intent before you generate. Rembrandt if you want shadow and emotion, Butterfly if you want beauty, High-Key if you want fashion-forward brightness. I wanted clean and intimate — Butterfly was the obvious call.
Background: Cream seamless
Nothing competes with the face. A cream studio seamless keeps the image editorial without going clinical white. It also warmed the tonal palette slightly, which plays nicely against my cool-toned skin.
Worth knowing while you're in there: I picked myself as the character at the top of the Studio form, which auto-loaded my reference photos. Studio locked my face, body type, hair, and skin tone into the generation — visual continuity without me writing a single physical description. If you're building your own AI character, you can do exactly the same thing with your own refs. Load your character, pick your camera, generate.
The assembled prompt
This is what the form composed for me — you don't have to write any of this yourself unless you want to.
A tall, muscular young man with long dark curly hair, porcelain cool-toned skin, green almond eyes, and full lips sits against a cream seamless backdrop. Shot with the Lumix S1R MkII, rendering every pore and hair strand in extraordinary 44MP detail. The Medium Format Masterpiece pack delivers silky, film-like tonal gradations — the background dissolves into a buttery cream wash while the subject's face holds razor micro-contrast. Soft butterfly lighting sculpts the cheekbones. Clean, editorial, intimate.You can edit this before generating. I kept mine as-is.
What I noticed
The skin texture landed. This was the whole point of the exercise, and it held up. The face has genuine micro-contrast — not retouched smooth, not artificially pored-up, just real. The 44MP body selection is doing visible work here.
The background dissolved exactly right. "Buttery cream wash" isn't just prompt language — the seamless genuinely melts away from the subject. There's a soft light wrap at the edges that feels like a real studio setup, not a composited background.
If I ran it again: I'd try a tighter focal length — something in the 85mm range — and open the aperture slightly to push the bokeh on the hair edges. The current result is sharp front-to-back, which is technically correct but I'm curious what a shallower depth of field would do to the mood.
What it cost
- Credits spent: 2.70
- What you'd pay: $0.27
- Generation time: ~24s
For a 44MP-equivalent beauty portrait with real skin detail and soft studio light — that's a reasonable spend for a single test frame. I'd run the 85mm variation without thinking about it.
If you want to try this yourself: go to Studio, pick the Lumix S1R MkII from Camera Lab, select Butterfly lighting, drop in a cream seamless, load your character — and hit generate. You don't need to write a word.
— David
See what others are making


Each image links to the character's profile. The Studio — Technical Guide has the full showcase plus deeper documentation on every component.