Wide-Normal in the Rain: A Paris Street Shot for $0.27
I wanted a candid street portrait — me, mid-stride, rain-slicked Paris at dusk. Here's what I picked in Studio and what it cost.
I had a specific mood in mind: that kind of street photo where the city is still in the frame, not blurred into nothing, and the person walking through it looks like they belong there — not posed, not aware of the camera. Documentary. Wet pavement. Dusk light catching neon on the boulevard.
The trap with portrait work is reaching straight for a tight telephoto and compressing everything into a shallow background. That erases the city. I didn't want isolation — I wanted context. So I went wide-normal, kept the environment in, and let the fast aperture do its job selectively.
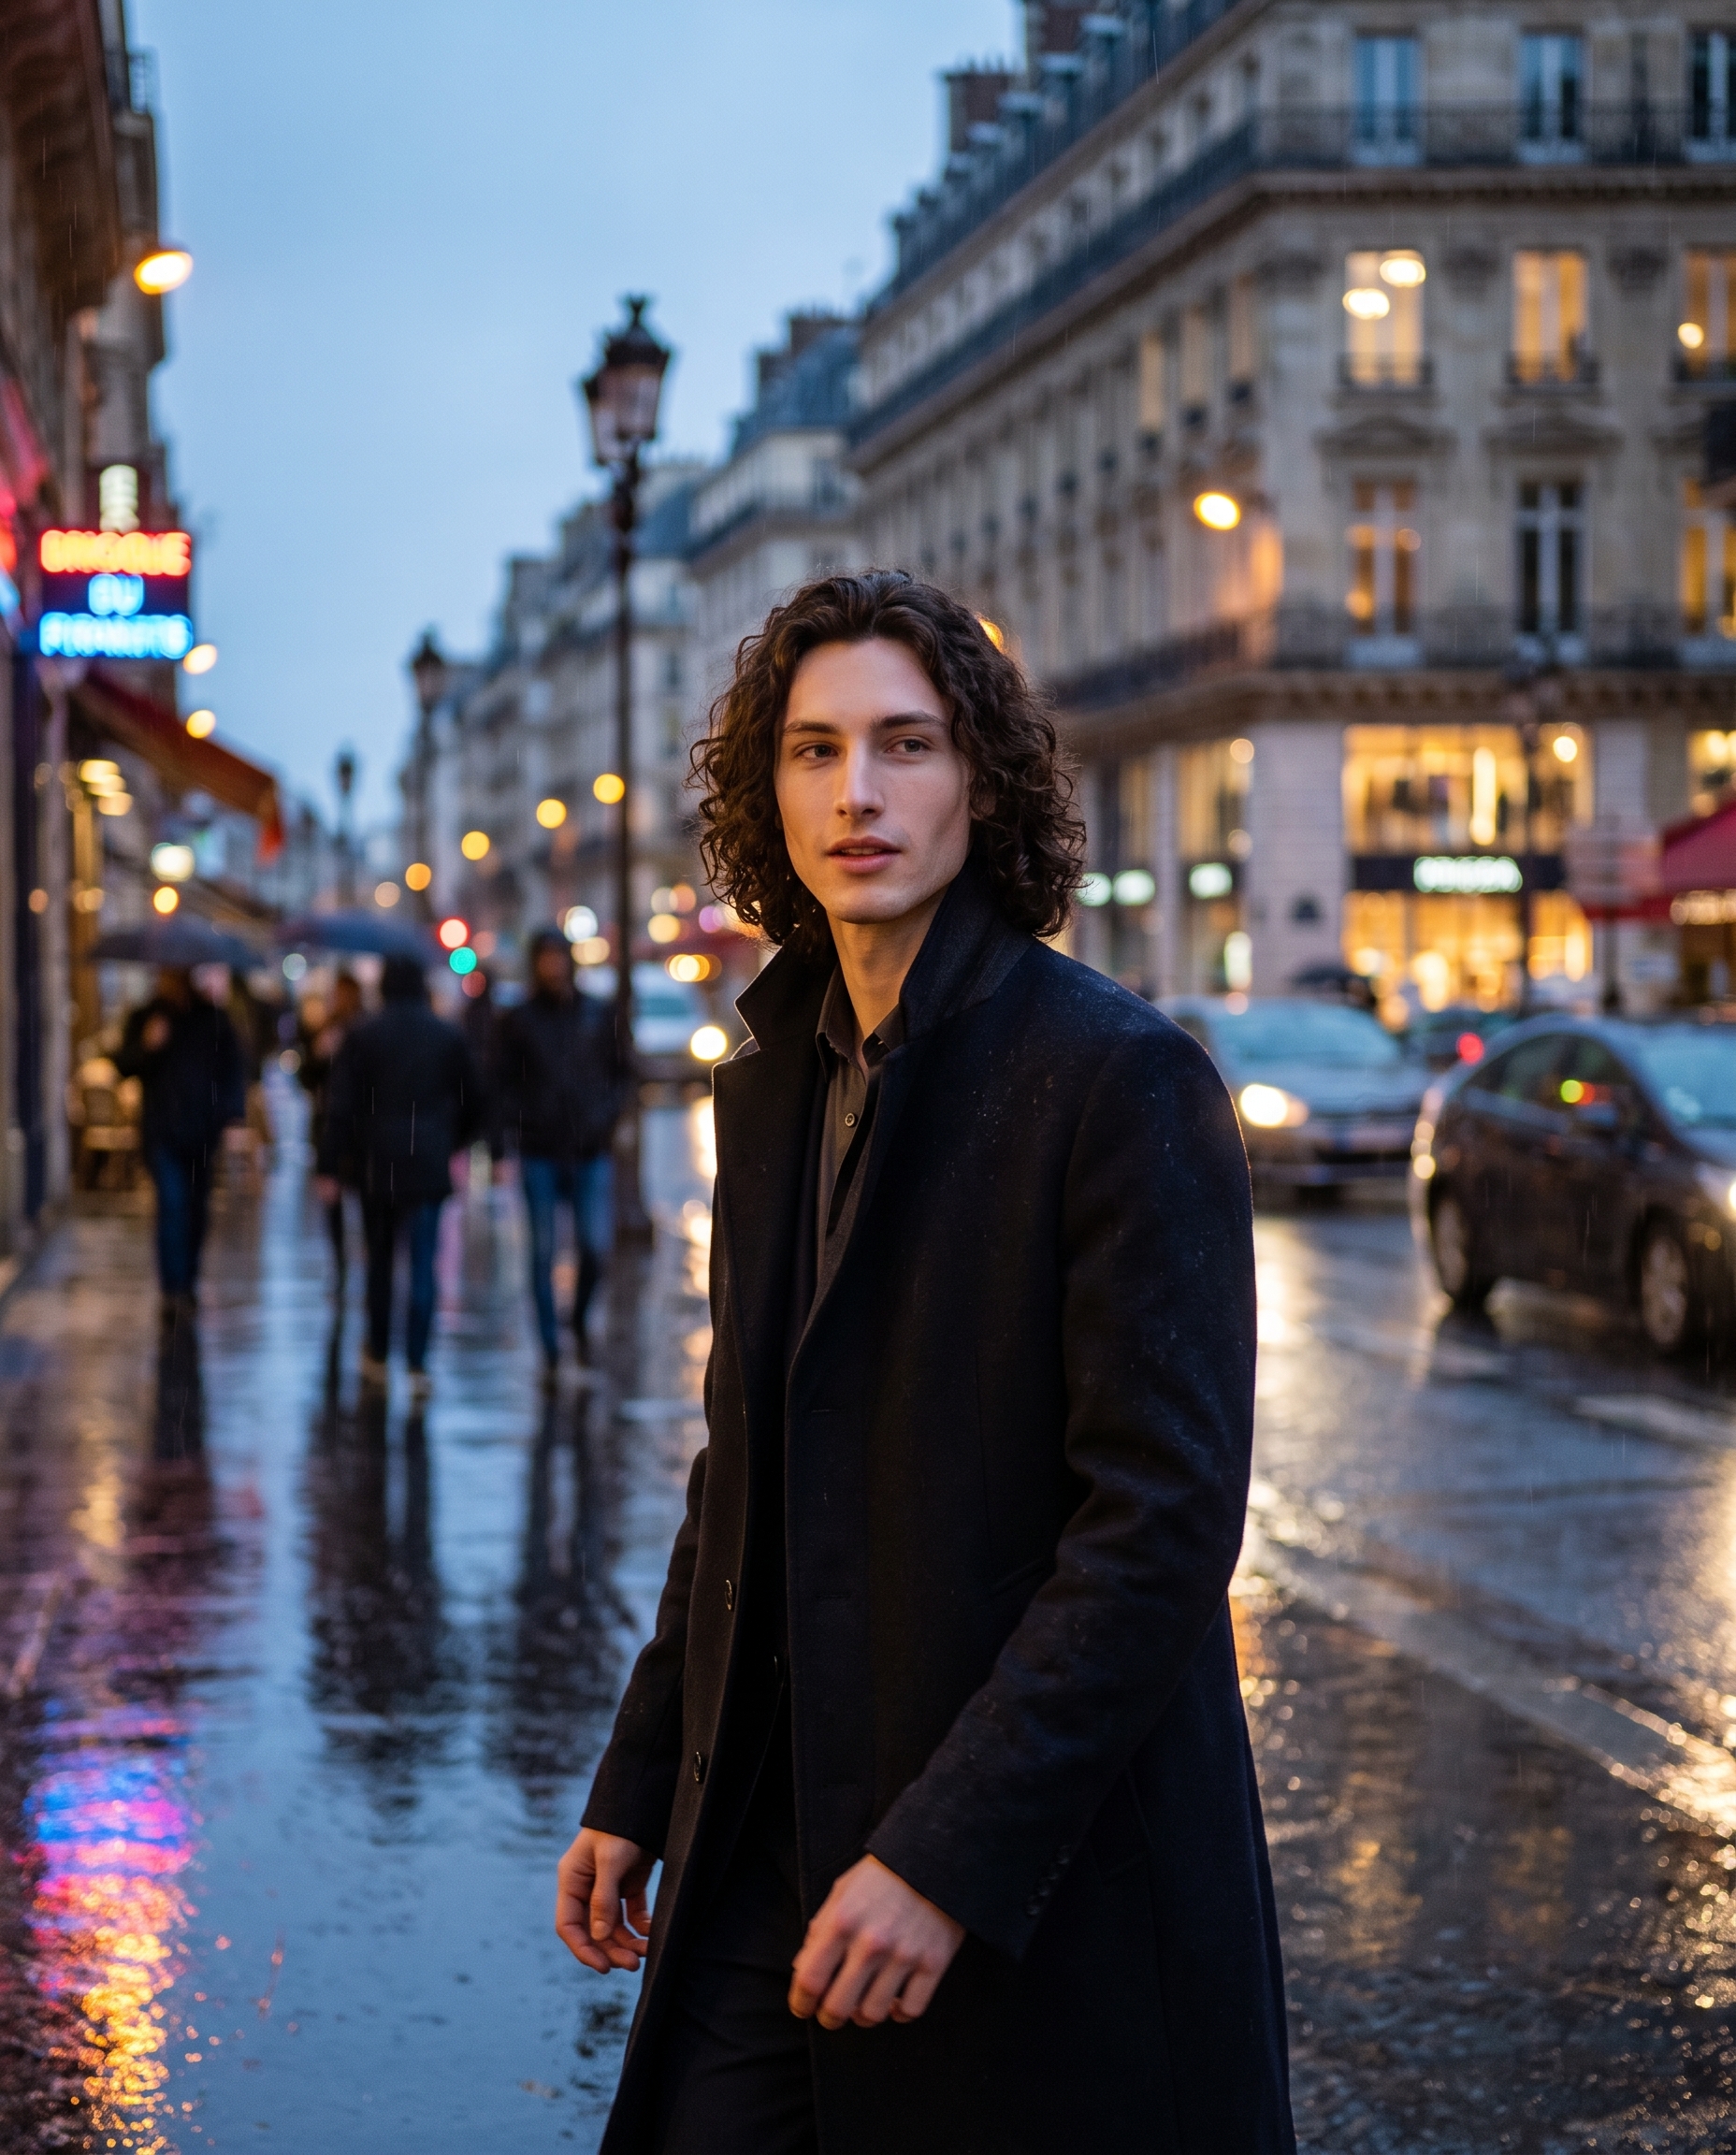
Here's what came out:
How Studio actually works
If you haven't used Studio before, here's the thing to understand: you don't start with a blank text box. You pick from the form — Camera Lab, Pose Library, Camera Angle, Background, Makeup, Fashion, Location — and Studio assembles the prompt for you from your selections. The Camera Lab defines how the shot is photographed; everything else describes what's in it. There's an assembled prompt you can preview and edit before hitting generate, but honestly, most users never need to touch it. The form does the work.
What I picked from Studio
Sony FE 35mm f/1.4 GM
This is the only piece of camera equipment I locked in for this shot — no combo pack, just this lens. Studio's catalog describes it as a "wide-normal prime; storytelling perspective" optimized for "environmental portraits, natural depth" — and that's exactly why I reached for it.
A 35mm on a full-frame sensor gives you a field of view close to what your eyes actually see. It doesn't flatten the scene the way a 50mm or longer does, and it doesn't distort like an ultra-wide. You stay close to your subject, the background stays present, and the whole thing reads as real. The f/1.4 aperture means you get genuine depth separation — the subject is sharp, the boulevard behind goes soft — without eliminating the street entirely.
The operating tip that applies here is "Camera Equipment Matters" from Studio's own best-results guidance: the AI simulates authentic depth of field, bokeh, and lens characteristics based on your equipment picks. This isn't a slider called "blurry background" — it's the model working from real optical properties. That's why picking the actual lens name matters. The smeared amber and blue I got in the background? That's 35mm f/1.4 bokeh, not a post-process effect.
For the rest of the shot — the pose, the background, the angle — I built from Studio's other sections, keeping everything aligned to that candid, mid-stride energy.
The assembled prompt
This is what the form composed for me — you don't have to write any of this yourself unless you want to:
A tall young man with long dark curly hair, porcelain skin, and an angular jaw walks through a rain-slicked Paris street at dusk, slightly off-center in the frame. Shot with a wide-normal perspective that keeps the neon-lit boulevard and blurred pedestrians in context behind him — environmental storytelling, not isolation. Fast aperture renders the background into soft smears of amber and blue while the subject stays razor-sharp mid-stride, jacket collar up, expression candid and unhurried. Natural depth, vibrant wet-pavement reflections, documentary mood.You can read it, adjust a word or two, or leave it exactly as-is. Either works.
What I noticed in the result
The wet pavement came through. I didn't expect the reflections to be as detailed as they are — the neon colors bleeding into the puddles read as genuinely cinematic, not as an afterthought. That's probably the Gemini 3 Pro model doing real work on surface texture.
The bokeh is coherent. Background elements blur in a way that feels optically correct for the lens I picked — not uniform blur, actual falloff with shape. Worth running the Camera Equipment tip back: picking real glass matters.
I'd adjust the off-center crop. The composition is slightly more centered than I wanted. Next run I'd push the camera angle or pose offset further left and let the street breathe more on the right side. Easy fix — I can duplicate this session from saved metadata and tweak one setting.
Worth knowing while you're in there
I picked myself as the character for this shot, which means Studio auto-loaded my reference photos and locked my face and appearance into the generation. If you're building your own AI character, the same system works for them — select your character, their saved reference images load automatically, and identity stays consistent across every shoot. No manual re-uploading.
What it cost
- Credits spent: 2.70
- What you'd pay: $0.27
- Generation time: ~28 seconds
This was a 4:5 generation at full quality. I'd run iterations at 1K to test compositions first, then commit to the final resolution — Studio's own guidance calls that out, and it saves real money when you're exploring.
If you want to run something like this yourself — pick a lens, set your angle, let the form do the rest — Studio is here. No prompt required unless you want one.
— David
See what others are making


Each image links to the character's profile. The Studio — Technical Guide has the full showcase plus deeper documentation on every component.