Low-Key Lighting in Studio: Evening Fashion Editorial
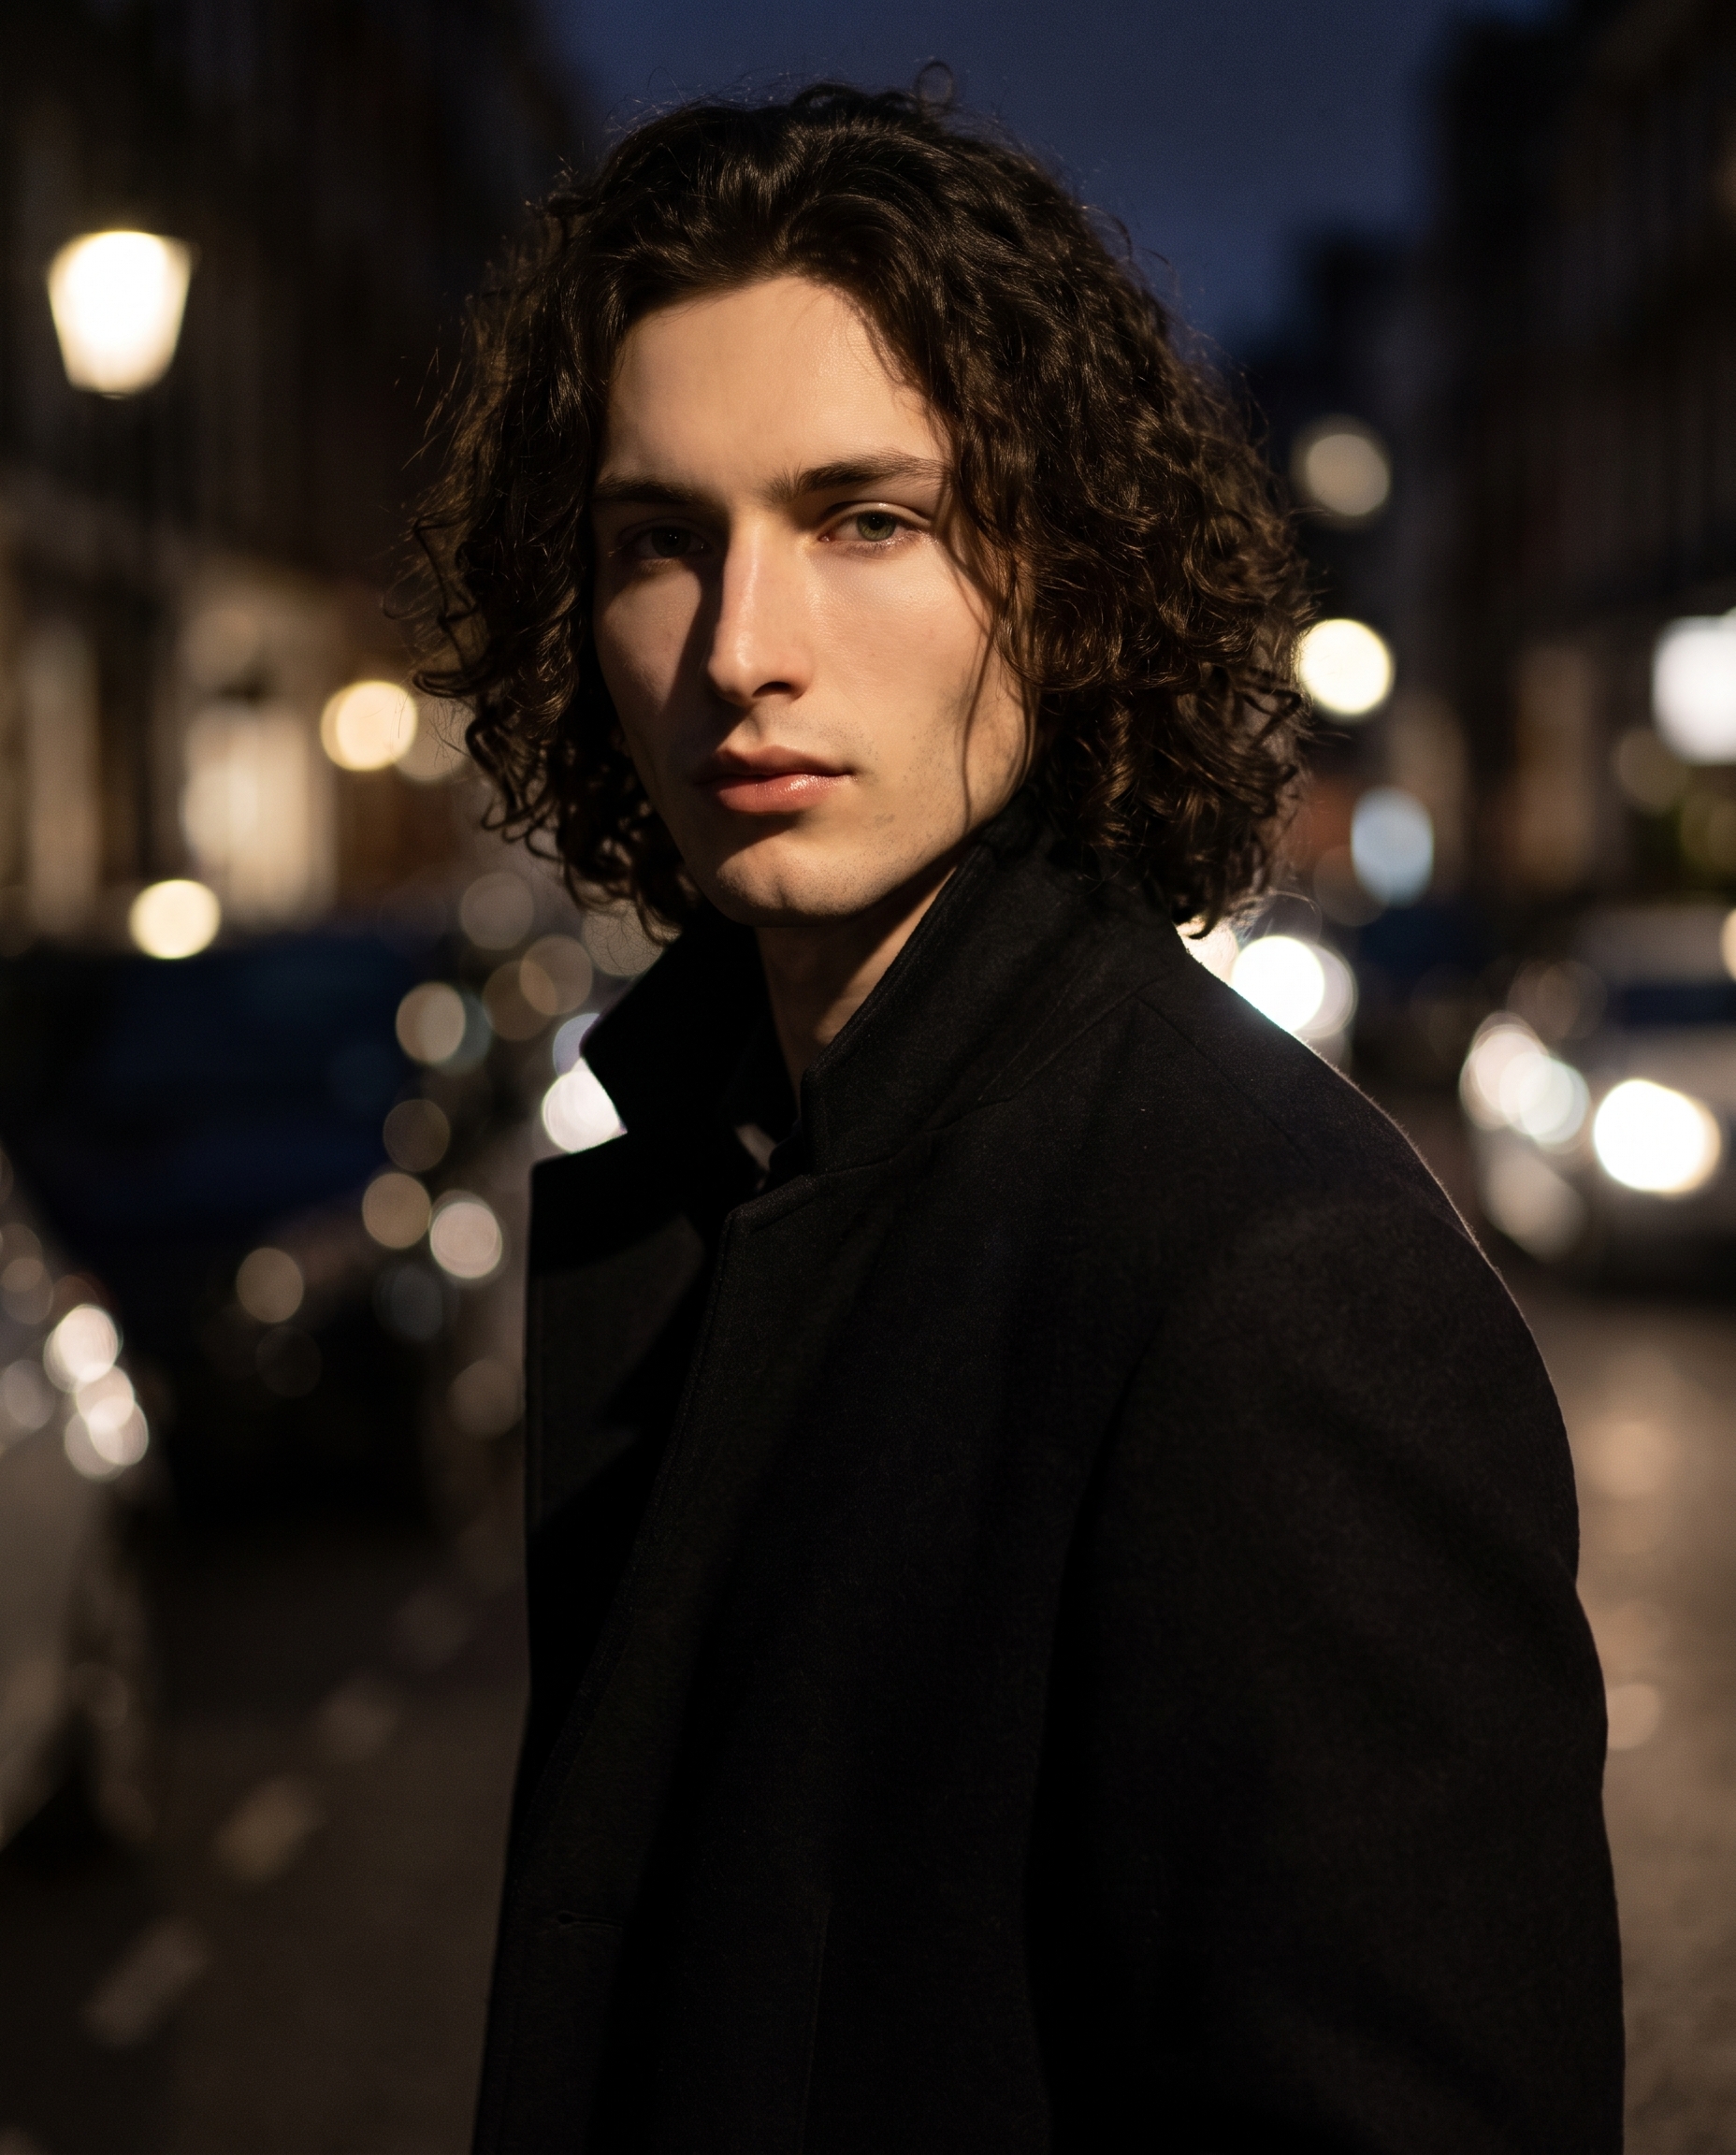
I wanted a moody, cinematic portrait — dark wool overcoat, street-lamp bokeh, dramatic shadow. Here's what Studio built from a handful of form picks.
I wanted one thing from this shot: tension.
Not a cheerful lifestyle photo. Not a clean white-background test. I wanted the kind of image you'd see on the inside page of a fashion magazine — the one with no product to sell, just a mood to land. Dark. Intimate. A single light source carving a face out of shadow.
So I opened Studio and started picking.
How Studio actually works
Before I walk through my picks — a quick note for anyone who hasn't opened Studio yet.
You don't write a prompt to use it. You pick from the form: Camera Lab, Pose Library, Camera Angle, Background, Makeup, Fashion, Location. Each section controls a different layer of the image. When you're done picking, Studio assembles the prompt for you. The "what to shoot" comes from your form choices; the "how it's shot" comes from Camera Lab. You can edit the assembled prompt before generating — it's fully visible and editable — but most users never need to touch it. The form does that work.
What I picked from Studio
Low-Key — This is the lighting setup I chose from Studio's catalog, and it's the decision that drove everything else. The catalog describes it as: dark/dramatic; strong shadows. Result: moody, mysterious. In practice, what that means is a single concentrated light source positioned to carve contrast — not illuminate evenly, but sculpt. One side of the face lit, the other falling into deep black. The background nearly disappears. Every highlight earns its place.
The operating tip I keep coming back to is "Lighting Sets the Mood" — and this shot proves it. I didn't touch the scene description much. The lighting selection did most of the atmospheric heavy lifting before a single word of prompt was written.
I'll also say this: Low-Key is not a subtle pick. If you want warmth or openness, it's the wrong tool. But if you want the image to feel like something is at stake — it's exactly right.
The assembled prompt
This is what the form composed for me — you don't have to write any of this yourself unless you want to.
A tall, muscular young man with long dark curly hair, porcelain cool-toned skin, almond green eyes, and an angular jaw stands in a dimly lit evening street. Dressed in a tailored dark wool overcoat, collar turned up. The scene is bathed in moody shadow — a single concentrated light source carves dramatic contrast across his face, leaving deep blacks in the background. Creamy bokeh halos from distant street lamps bleed softly behind him. Intimate, atmospheric, high-fashion editorial. Rich shadows, cinematic tension.The detail in there — the collar turned up, the bokeh halos, the "cinematic tension" — came from Studio working off my form selections. I picked myself as the character, which automatically loaded my reference photos and locked my face, build, and features into the generation. That's how the prompt knows to describe long dark curly hair, porcelain skin, almond green eyes. That identity lock is the character reference-images system doing its job. If you have your own AI character built on ArtCoreAI, you get exactly the same thing: pick your character, and Studio pulls their refs automatically.
What I noticed
What worked: The shadow depth is real. The left side of my face disappears almost completely into the background — that's the Low-Key setup doing exactly what it promises. The bokeh behind me (those soft street-lamp halos) added warmth without breaking the mood, which surprised me. I expected the background to be flat black. Instead it has texture and distance.
What surprised me: The overcoat reads as genuinely tailored. The collar-up detail landed — it contributes to the sense of someone caught mid-movement on a cold street. I didn't specify the material in detail; the prompt did, and Gemini 3 Pro rendered it with actual cloth texture.
What I'd change: The camera angle could go lower. A slight worm's-eye would add presence and make the figure feel more commanding against the dark street. That's a one-click adjustment in Studio's Camera Angle section — 12 presets, or full manual control with azimuth and elevation sliders. I'll run that variation tomorrow.
What it cost
- Credits spent: 2.70
- What you'd pay: $0.27
- Generation time: ~24s
For a 4:5 editorial portrait at this quality level, that's not a number I'd argue with.
Worth knowing while you're in there: Studio also has a Location component that pulls real-world places from Google Maps — Street View imagery feeds directly into the scene as reference. If I'd wanted this shot to happen on a specific Paris street rather than a generic evening street, I could have dropped a pin and Studio would have used the actual location as reference. That's a feature I'm planning to run a dedicated demo on soon.
If any of this looks like something you want to run yourself: open Studio, pick a character, select Low-Key from the lighting menu, hit generate. You don't need to write the prompt. The form builds it. The image is yours in about 24 seconds.
— David
See what others are making


Each image links to the character's profile. The Studio — Technical Guide has the full showcase plus deeper documentation on every component.