50mm on a Paris Side Street — Studio Streetwear Demo
I ran a streetwear editorial in Studio today — picked the outfit, the lens, and the mood from the form, hit generate, and got this.
The idea
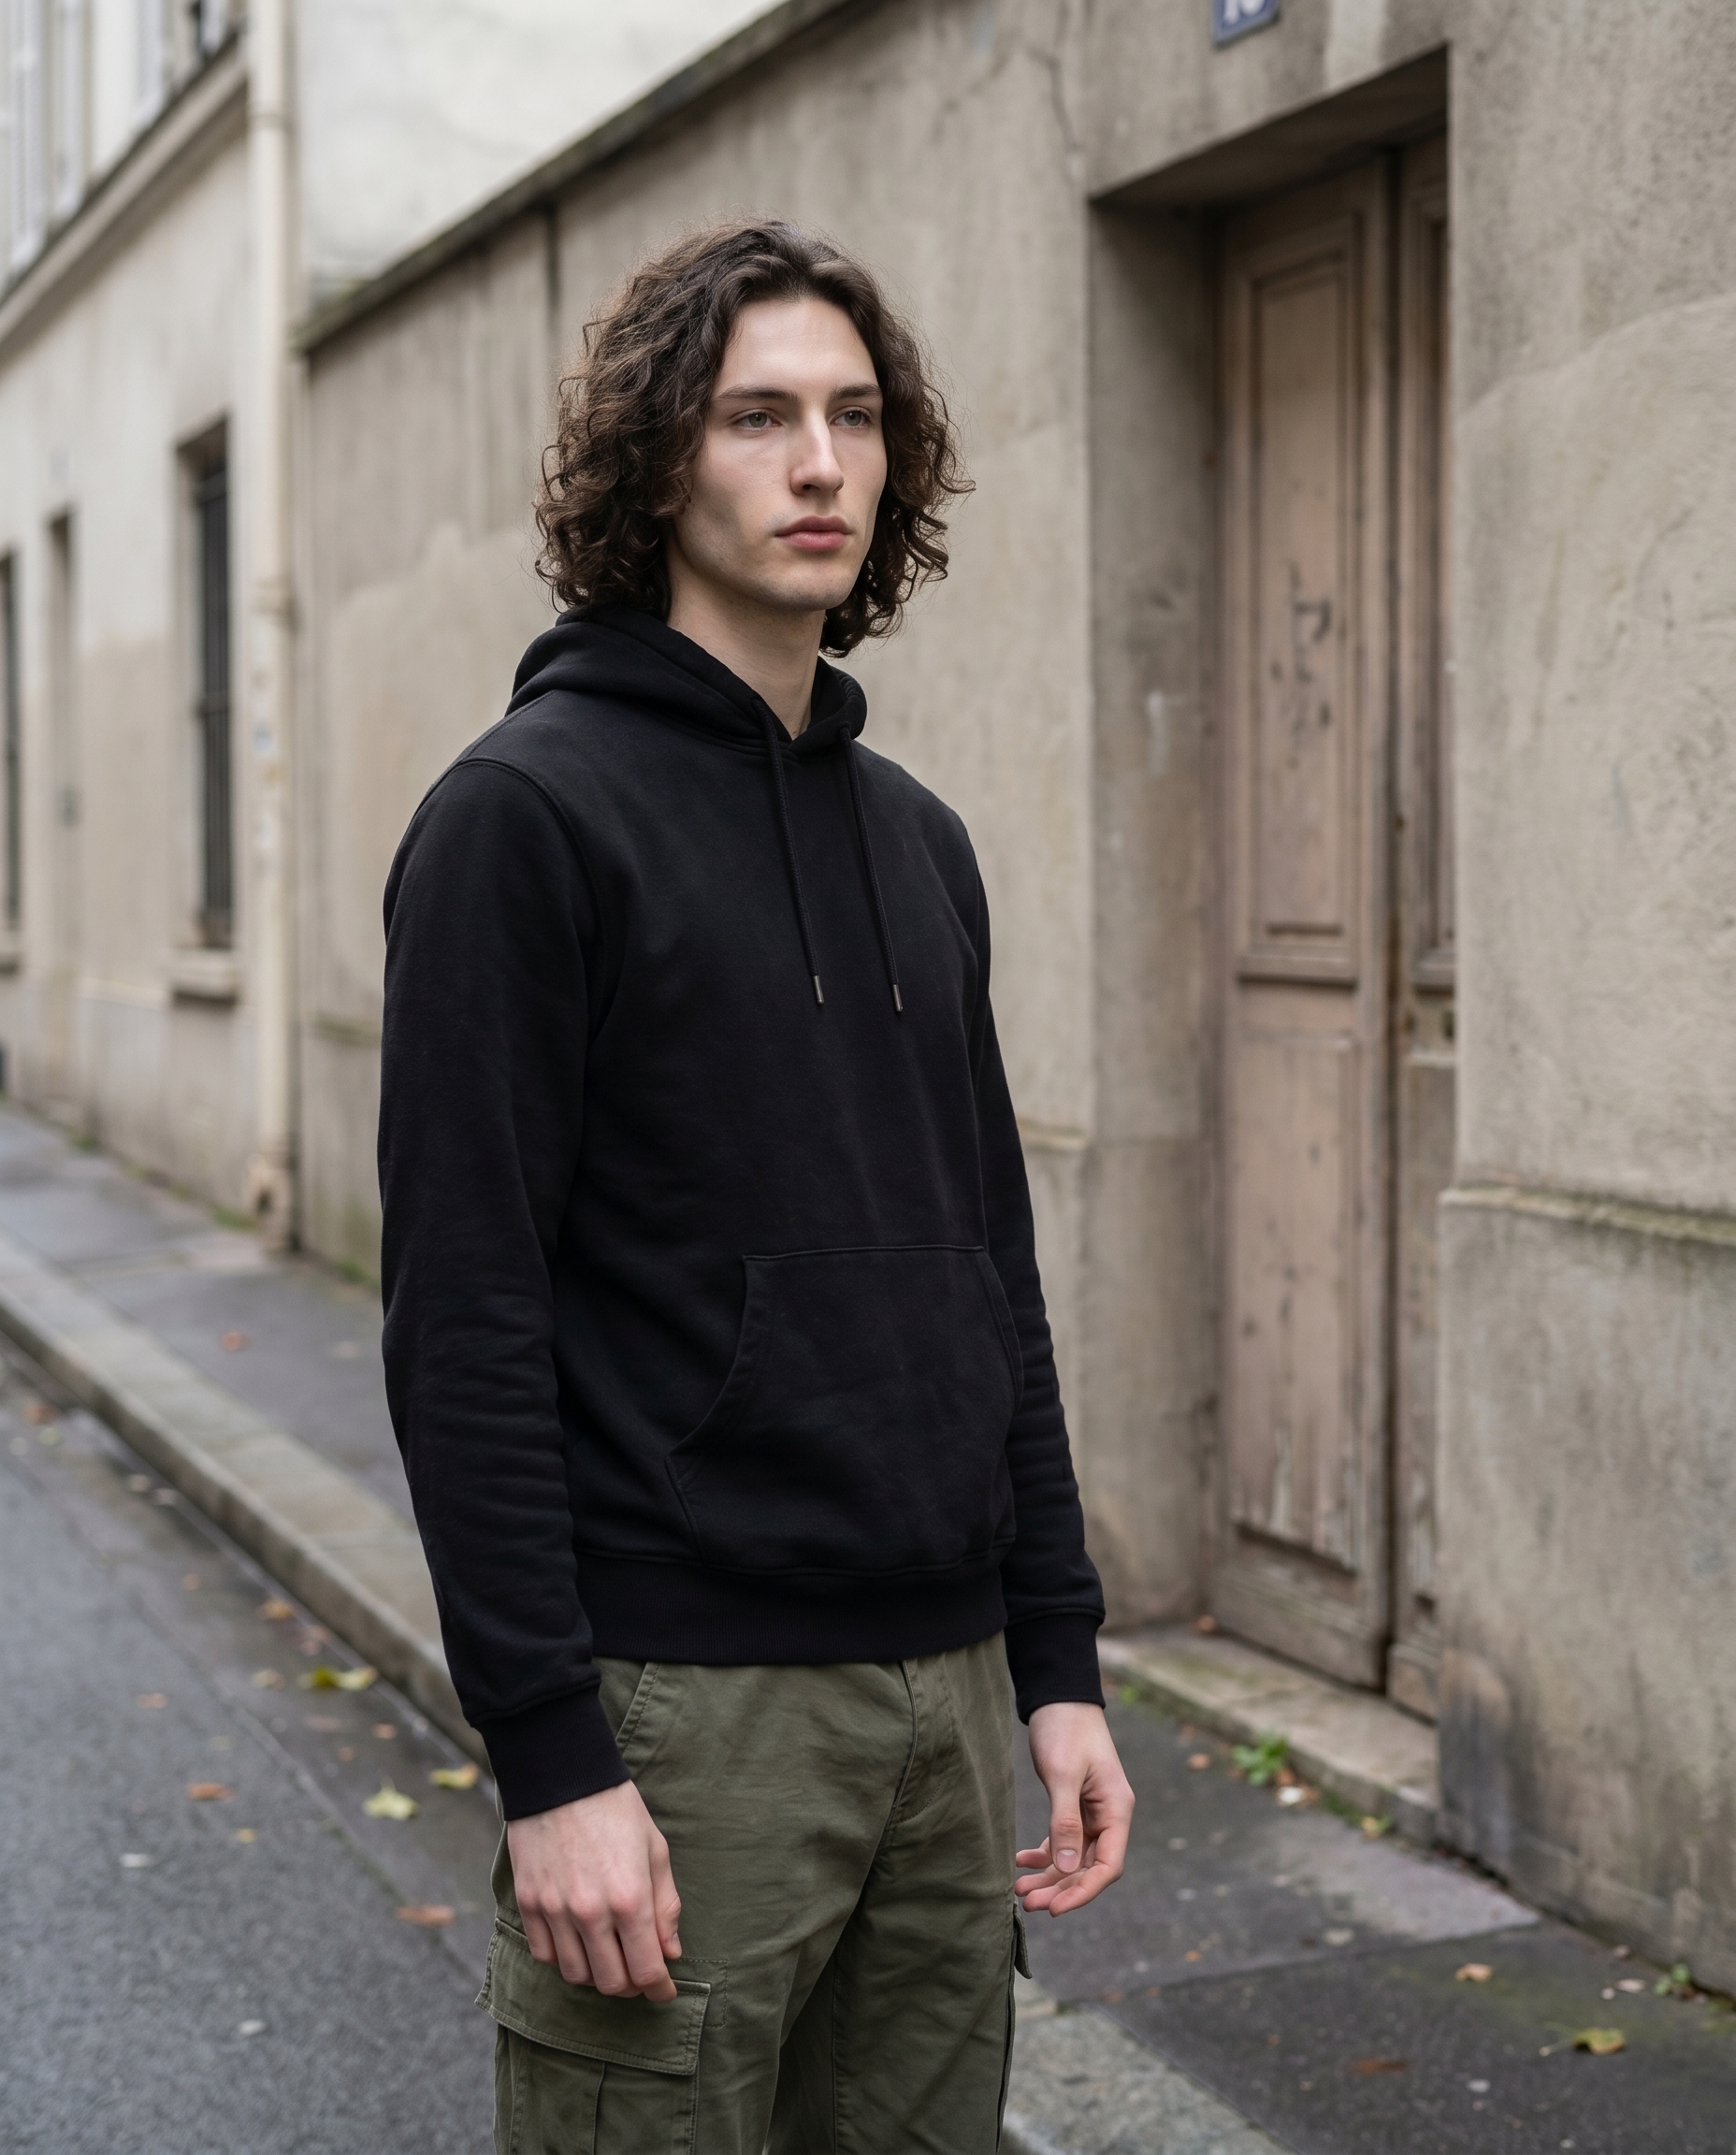
I wanted something unglamorous. No dramatic lighting setup, no fashion-week backdrop — just me on a quiet Paris side street, overcast afternoon, dressed like I actually dress. The kind of image that reads as documentary rather than editorial, even if it was composed shot-by-shot in a creative AI tool.
The challenge with that kind of image is restraint. It's easier to generate something cinematic than something honest. So I set myself a constraint: one lens choice that would force neutral proportions, one outfit that leans street rather than stage, and a background that doesn't do any heavy lifting. Let the light and the framing carry it.
How Studio actually works
Before I walk through my picks: Studio is a form-first workspace. You do not have to write a prompt. You open Studio, pick your character, and then work through sections — Camera Lab, Pose Library, Camera Angle, Background, Makeup, Fashion, Location — choosing named options from each. When you're ready, Studio assembles those choices into a full prompt and hands it to Gemini 3 Pro.
The form defines what to shoot. The Camera Lab defines how it's shot — the camera body, lens, aperture, and lighting that shape the photographic look. You can edit the assembled prompt before generating if you want to push something specific, but most users never need to touch it. The form handles it.
What I picked from Studio
Streetwear Edge
Studio's Fashion Designer lets you build an outfit garment by garment — top, bottom, outerwear, shoes, accessories — each with its own style, color, and material. I didn't want to compose from scratch today, so I picked the Streetwear Edge preset. The catalog description is exactly what it sounds like: black cotton hoodie with olive cargo pants. No irony, no elevation — just the clothes. That's exactly the energy I was after for a street-documentary mood. The cotton texture reads clearly in the result, and the olive/black contrast gives the image enough tonal range without forcing a colour story.
50mm
This is the Camera Lab pick that shaped everything else. The 50mm is listed as Standard in the catalog — "mimics the human eye, neutral portraits, true-to-life proportions." That catalog line is understated. What a 50mm actually does is remove the lens from the conversation. A 35mm tilts the world slightly wide; an 85mm starts to compress and flatten faces into something a bit heroic. The 50mm just... shows you. No flattery, no distortion. For a shot trying to feel like you caught someone on the street rather than photographed them, that's the right call.
The Studio best-results guide puts it well: Camera Equipment Matters — the AI simulates authentic depth of field, bokeh, compression, and lens characteristics based on your equipment choices. I felt that here. The proportions in the result look like a phone photo shot by someone who knows what they're doing, not a render.
One more thing worth knowing
When I opened Studio and selected myself as the character, it auto-loaded my reference photos and locked my identity into the generation — face, body, skin tone. That's the character reference-images system. If you have AI characters saved on ArtCoreAI, the same thing works for them: pick your character, and Studio maintains visual continuity across every shot you generate. You don't have to re-describe who's in the frame — the reference does that work.
The assembled prompt
This is what the form composed for me. You don't have to write any of this yourself unless you want to.
A young man with dark curly hair and porcelain skin stands on a quiet Paris side street under a flat overcast sky, wearing a black cotton hoodie and olive cargo pants. Shot at 50mm — neutral proportions, no compression, just honest framing. 3/4 angle, hands loose at sides, relaxed posture. Soft diffused daylight wraps his face evenly. Concrete walls, a faded doorway behind him. Street documentary mood, calm but watchful.What I noticed
The diffused light delivered. Flat overcast sky meant no harsh shadows, and the result shows it — the light wraps evenly and the skin tone reads cleanly. For a porcelain complexion, overcast is kinder than directional sunlight. I'd have gotten a more dramatic image with Rembrandt lighting, but dramatic wasn't the brief.
The 3/4 angle and loose hands felt real. This is where I was genuinely surprised. Hands at rest are notoriously difficult — AI tends to either hide them or make them look posed. The relaxed posture instruction carried through, and the 3/4 angle gave just enough depth to the frame without tipping into dramatic.
What I'd change: I'd push the background slightly. The concrete wall and faded doorway work, but a bit more environmental detail — a shuttered shop front, a scooter parked at the edge of frame — would give the image more location. Next run I'd use the Location component and drop a real Paris address from Google Maps to give Studio a Street View reference to work from.
What it cost
- Credits spent: 2.70
- What you'd pay: $0.27 (1 credit = $0.10 on ArtCoreAI)
- Generation time: ~28s
This was a 4:5 image at standard resolution. For context: 4K would cost more, 1K costs less. If you're iterating on a look, run at 1K until you've locked your picks, then step up.
If you want to run a shot like this yourself — pick a lens, pick an outfit, pick a character — open Studio and start with the form. No prompt required.
— David
See what others are making


Each image links to the character's profile. The Studio — Technical Guide has the full showcase plus deeper documentation on every component.