Vintage Prep in Afternoon Light — A 35mm Studio Demo
I wanted a warm editorial shot — relaxed, sun-caught, real. Here's what I picked in Studio and what came back.
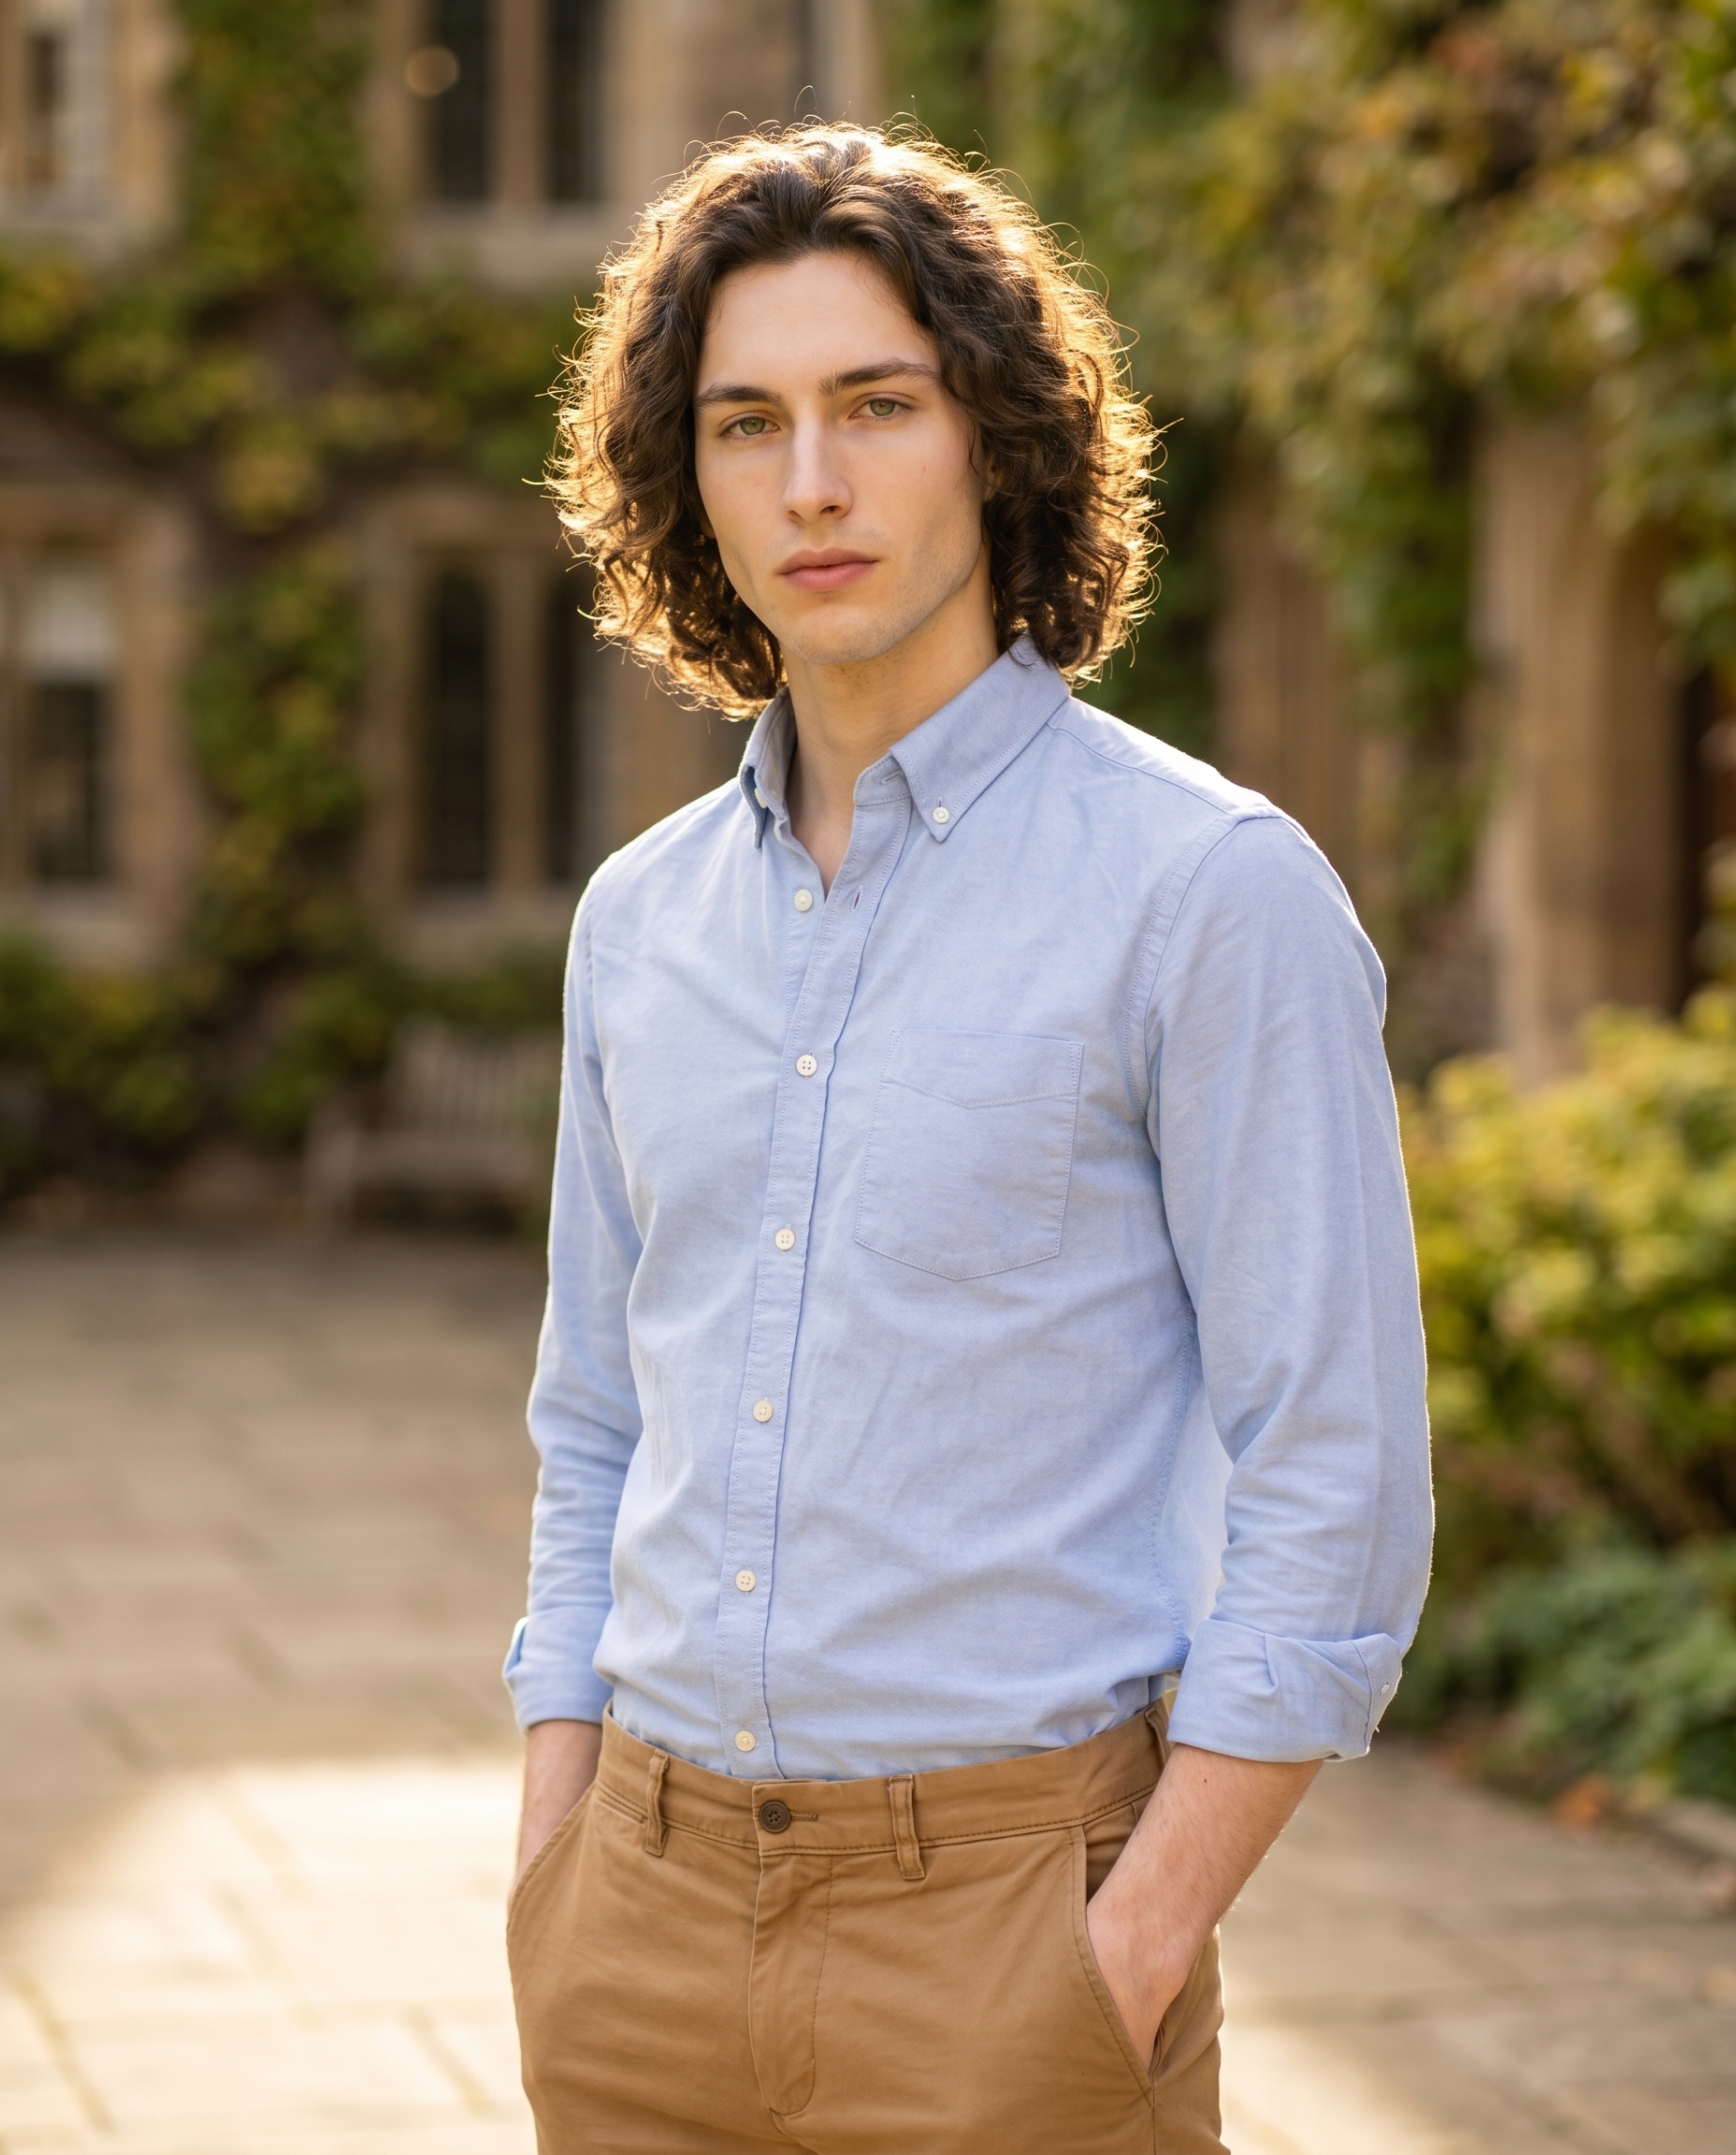
I had a specific image in my head: me, late afternoon, university courtyard, dressed like I just wandered out of a library and into golden light. Not fashion-campaign polished. Something quieter — a story in a single frame.
So I opened Studio and built it from the menus.
How Studio actually works
Studio is form-first. You don't start with a blank prompt box — you start with picks: Camera Lab, Pose Library, Camera Angle, Background, Makeup Artist, Fashion Designer, Location. Each section feeds a structured component, and Studio assembles everything into a full prompt for you before generation. The Camera Lab defines how the shot is taken — equipment, optics, light. Your description of the scene defines what's in it. Once the form is built, you can read the assembled prompt, edit it if you want, or just hit generate. Most people never touch it. I read mine, made no changes, and ran it.
What I picked from Studio
Sony FE 35mm f/1.4 GM
The Camera Lab catalog describes this as a "wide-normal prime; storytelling perspective. Style: environmental portraits, natural depth." That's exactly the register I was after. A 35mm doesn't flatten or compress the way a longer lens does — it keeps the environment in the frame, gives you a sense of where the person is, not just who they are. The f/1.4 aperture means real bokeh separation, but not the exaggerated soap-bubble blur you get from an 85mm. The ivy-covered stone walls behind me go soft, but you can still read the courtyard. The lens earned its keep.
This is what the best-results tip "Camera Equipment Matters" is actually pointing at: the AI simulates the optical characteristics of the real lens. Pick a different body or focal length, and the result genuinely looks different — compression, depth of field, edge rendering. It's not cosmetic.
Vintage Prep
The outfit preset catalog entry: "Classic preppy: sky blue cotton oxford with camel chinos." I picked this because the palette fits the light. Sky blue reads as clean and open in afternoon sun without going cold. Camel chinos are warm-neutral — they hold together with the courtyard stone. I had Studio add sleeves rolled once at the wrist in the prompt, which gave it slightly less buttoned-up energy. The outfit section in Studio lets you specify garment type, color, fabric, and style — Vintage Prep loaded the full combination as a starting point, and the form filled in the rest.
Worth knowing: character reference images
I picked myself as the character in Studio, which automatically loaded my reference photos and locked my identity into the shot — my face, hair, skin tone, body. The model used those refs to keep me visually consistent with every other image in my back catalog. If you're building your own AI character on ArtCoreAI, this is the same system you'd use: pick your character, their refs load, your identity is locked. You can also upload up to 6 object refs — a specific jacket, a logo, a product — and reference them with @tags in the prompt. I didn't use object refs for this shot, but the system is there when you need exact design fidelity across images.
The assembled prompt
This is what the form composed for me — you don't have to write any of this yourself unless you want to:
A tall young man with dark curly hair, porcelain skin, and green almond eyes stands relaxed on a sunlit university courtyard, hands loosely in the pockets of camel chinos. He wears a crisp sky blue cotton oxford shirt, sleeves rolled once at the wrist. The Sony FE 35mm f/1.4 GM renders the scene with natural environmental depth — warm bokeh softening ivy-covered stone walls behind him while his face stays tack-sharp. Golden afternoon light falls across him at a 3/4 angle. Upper body framing, slight 3/4 left camera angle. Editorial, warm, confident.What I noticed
The light landed right. Golden afternoon at 3/4 angle gives you that one-side catch that makes a face feel three-dimensional without dramatic shadow. It's warm without being golden-hour saturated. Exactly what I asked for.
The 35mm kept the story. You can see enough of the courtyard to feel the setting — stone archway softened in the background, greenery blurred but readable. A longer lens would have compressed that out. This is the specific argument for choosing your focal length with intention.
What I'd change next time: I'd push the camera angle slightly lower — bump the elevation down a few degrees to get just a hint of upward perspective. Not dramatic, just enough to make the posture read as confident rather than neutral. Easy to adjust in Camera Angle's manual sliders for the next iteration.
What it cost
- Credits spent: 2.70
- What you'd pay: $0.27 (1 credit = $0.10)
- Generation time: ~26 seconds
- Resolution: 4:5 — ready for Instagram as-is
Run your own
Open Studio, pick a camera body and lens from Camera Lab, choose an outfit from Fashion Designer, and hit generate. The form does the rest — you don't have to write a single line of prompt to get a result worth publishing.
— David
See what others are making


Each image links to the character's profile. The Studio — Technical Guide has the full showcase plus deeper documentation on every component.