Butterfly Lighting in Studio: A Beauty Portrait at f/1.4
I wanted one thing: my face, clean light, nothing competing. Here's what Butterfly lighting and f/1.4 did in Studio.
I had a simple idea this morning. No location drama, no outfit story, no product to push. Just — what does a proper beauty portrait look like when you let Studio do its job with the right light?
The answer, it turns out, is this.
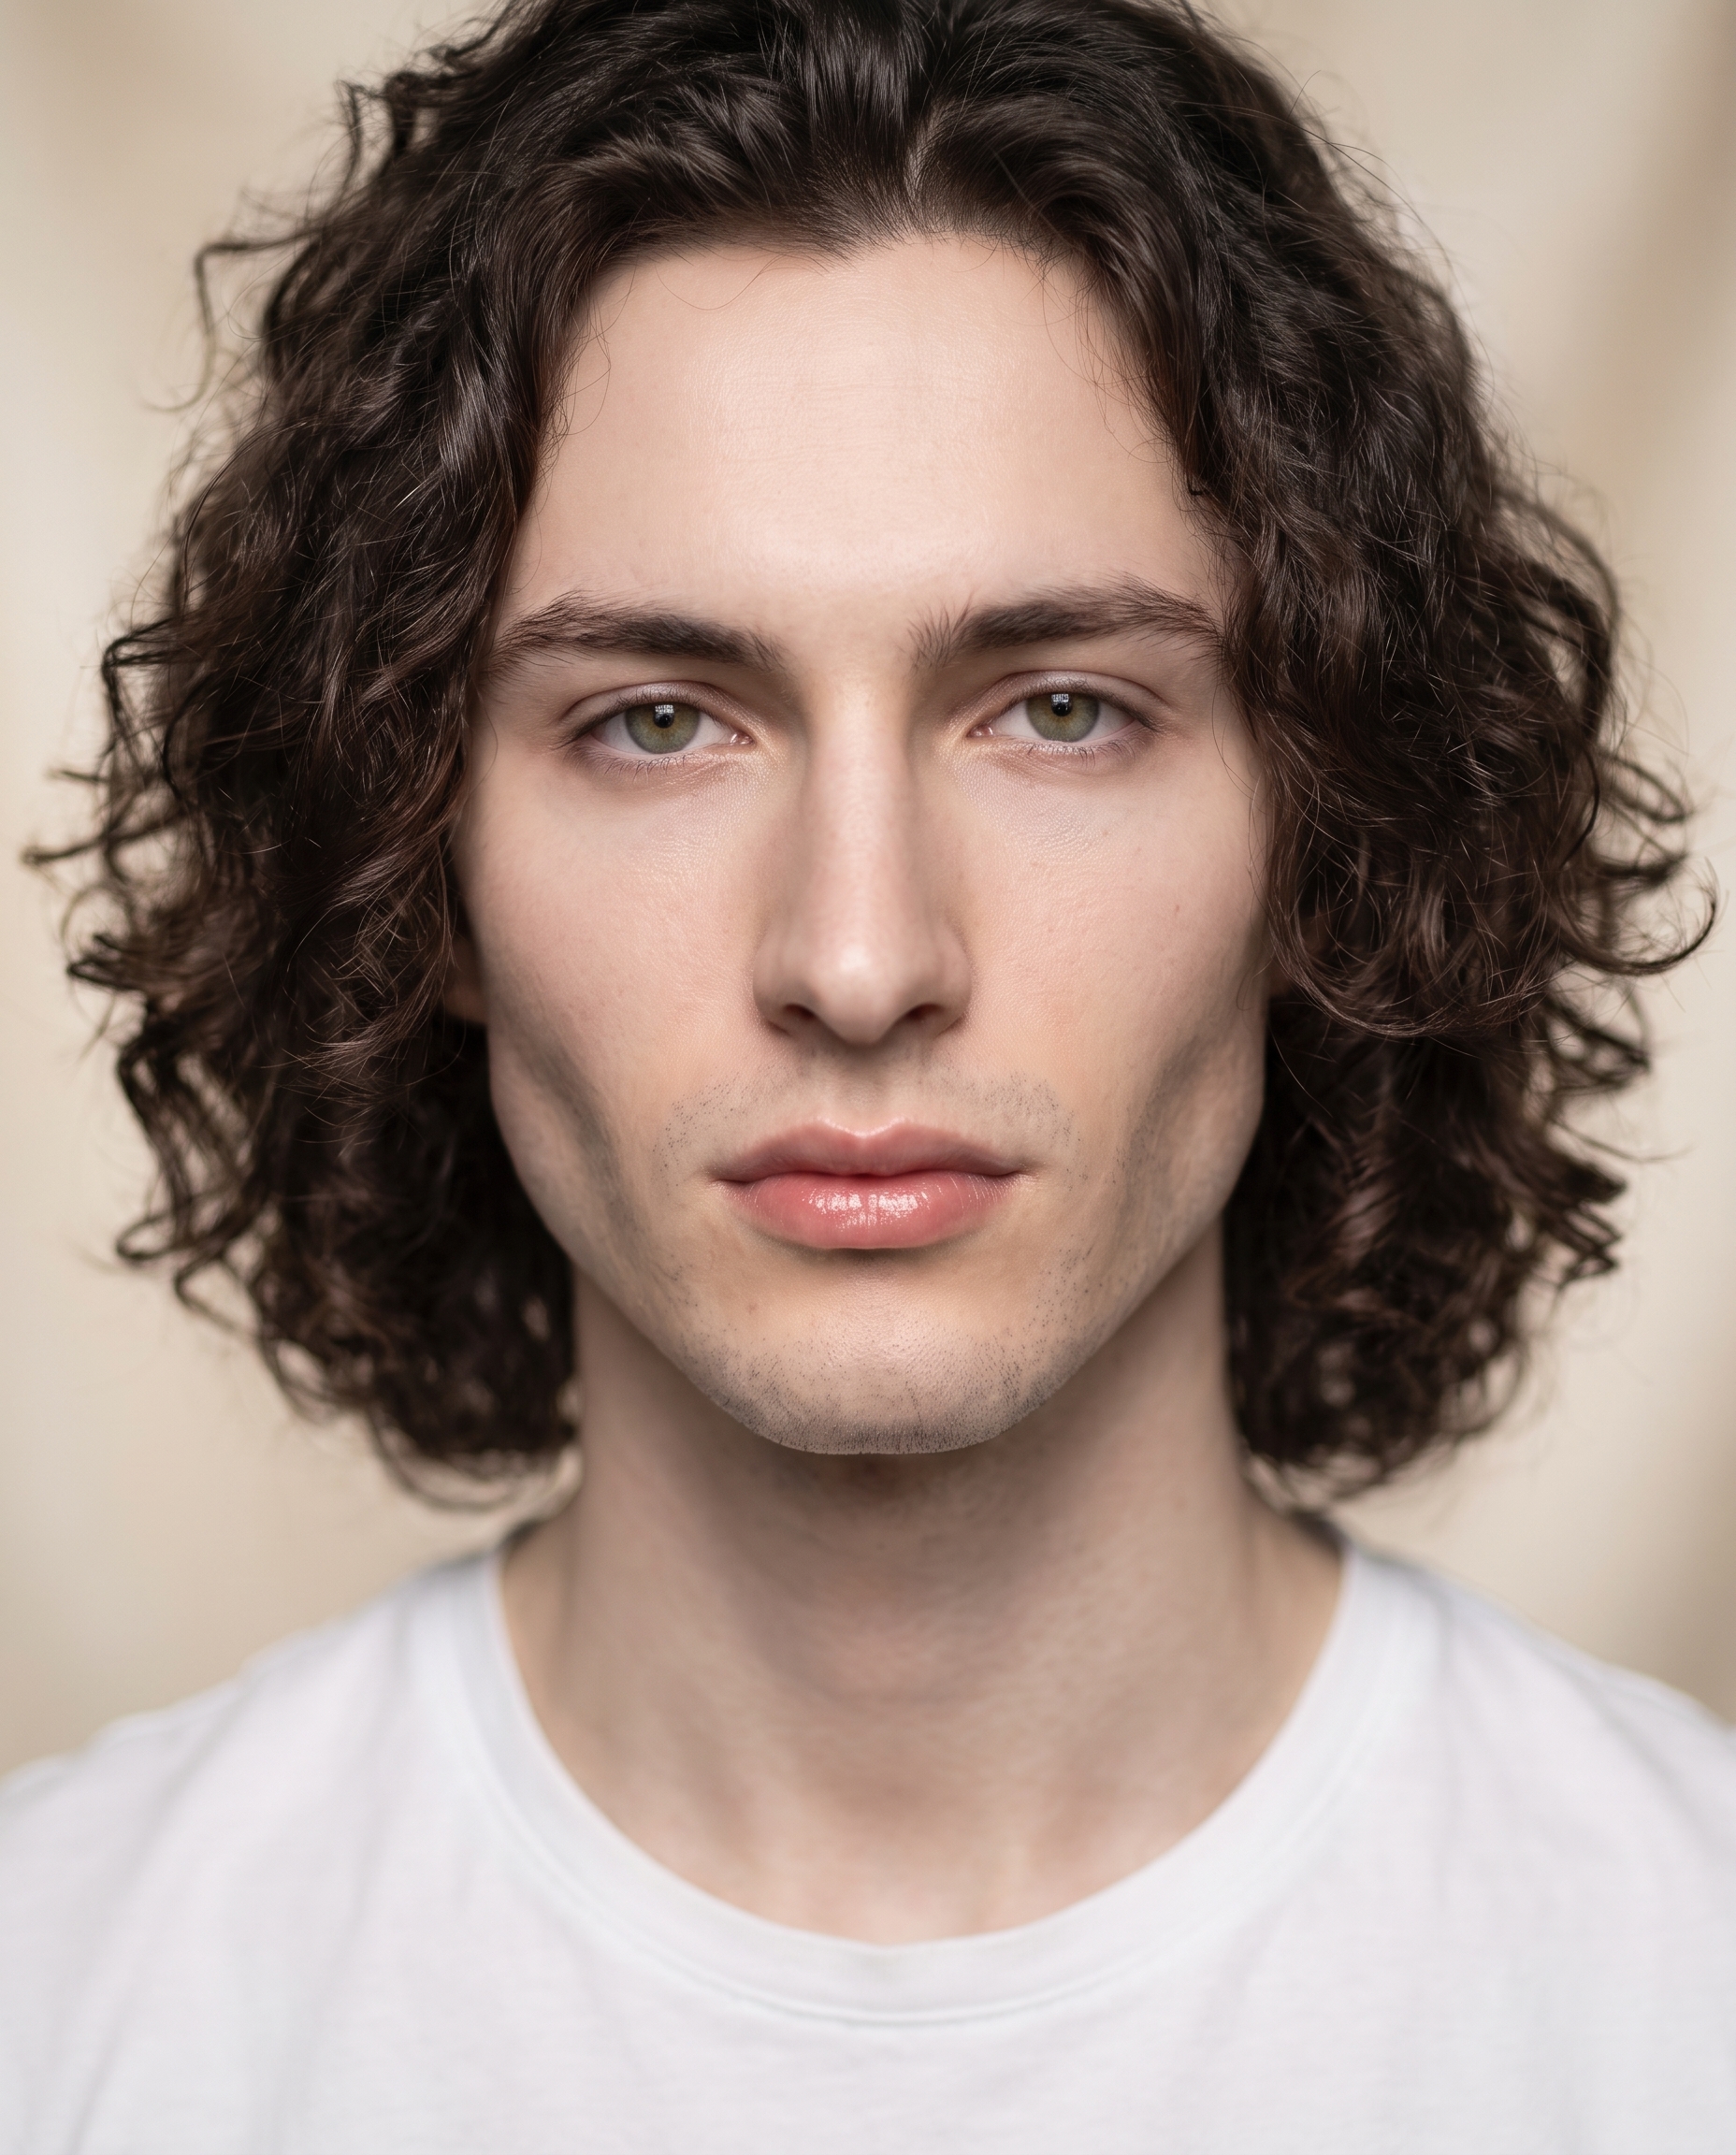
That's me. My face, locked in via Studio's character reference system, Butterfly lighting overhead, aperture wide open. Twenty-nine seconds and $0.27.
Let me walk you through exactly how I got there.
How Studio actually works
Studio is form-first — and that's the thing most people miss when they first open it.
You don't start by writing a prompt. You start by picking: a camera body, a lens, a lighting setup, a pose, a camera angle, a background. Each section of the form controls a different dimension of the shot. Camera Lab handles how it's photographed. The other sections handle what's in the frame. When you're done picking, Studio assembles a full prompt for you — you can read it, edit it if you want, or just hit generate. Most users never touch it.
That assembled prompt is doing real work behind the scenes. You're just not the one writing it.
What I picked from Studio
Butterfly lighting
This is a classic beauty lighting setup — the key light sits directly overhead, angled down at the subject. The catalog description is tight: overhead key; cheek shadows. Result: glamour, symmetric beauty. What that means in practice: a clean shadow falls under the nose (that's the "butterfly" — it looks like wings), the cheekbones hollow slightly, and the whole face picks up a symmetric glow that reads as polished without being harsh. It's the setup photographers reach for when the face is the entire subject and there's nowhere to hide.
I wanted no distraction in this shot. Butterfly was the right call.
f/1.4
Full open — or as close to it as most lenses get. At f/1.4 the depth of field is razor-thin. The face stays sharp, but anything behind it turns into a soft, melted blur. Studio's Camera Lab lets you dial this in by picking the aperture value directly, and the AI simulates the depth-of-field and bokeh characteristics that a real f/1.4 lens would produce. The operating tip from the Studio docs puts it well: "The AI simulates authentic depth of field, bokeh, compression, and lens characteristics based on your equipment choices." You're not just adding a blur filter — you're telling the model how the glass actually behaves.
Paired with the clean gradient backdrop I picked, that f/1.4 aperture turned the background into a single silky cream wash. Nothing fights for attention.
The prompt Studio composed
This is what the form built for me — you don't have to write any of this yourself unless you want to.
A tall muscular young man with long dark curly hair, porcelain cool-toned skin, almond green eyes, angular jaw, and full lips. Shot as a close-up beauty portrait. Butterfly lighting from directly overhead creates a distinct shadow under the nose, hollows the cheekbones, and produces a symmetric glamour glow across the face. f/1.4 aperture renders the background into a silky, completely melted cream blur, isolating the face with dreamy softness. The subject gazes directly into camera, expression calm and self-assured. Minimal styling — white crew-neck tee. Clean gradient backdrop.You could pick every one of those choices from the form — lighting, aperture, background, pose — and never type a word.
Worth knowing: reference images lock your character
One thing worth flagging while you're in there — when I picked myself as the character at the top of the Studio form, it auto-loaded my reference photos and locked my identity into the generation. Face, skin tone, hair, body type — all consistent with my character profile, without me having to describe any of it in the prompt. If you have an AI character set up on ArtCoreAI, that's exactly how it works for you too. Select your character, and Studio carries the identity through every shot.
What I noticed
The shadow landed exactly right. The butterfly shadow under the nose is crisp but not dramatic — it reads as shape, not darkness. That's the difference between getting the lighting concept and actually nailing the calibration.
The blur is doing a lot of work. I almost went with a textured background for some depth, but the melted cream gradient ended up being the better call. It keeps all the visual weight on the face. No competition.
I'd push the expression slightly. Calm and self-assured reads well, but I think there's a version of this shot where the expression carries a little more — a hint of something unresolved. I might revisit it with a small expression note in the prompt.
What it cost
| Credits spent | 2.70 |
| What you'd pay | $0.27 |
| Generation time | ~29s |
| Resolution | 4:5 aspect ratio |
For a portrait I'd actually use as a character headshot or press image — $0.27 is a number I'll take every time.
If you've been waiting to try Studio, today is a good day. Open the form, pick a lighting setup, pick a body, hit generate — you'll have something worth looking at in under thirty seconds.
— David
See what others are making
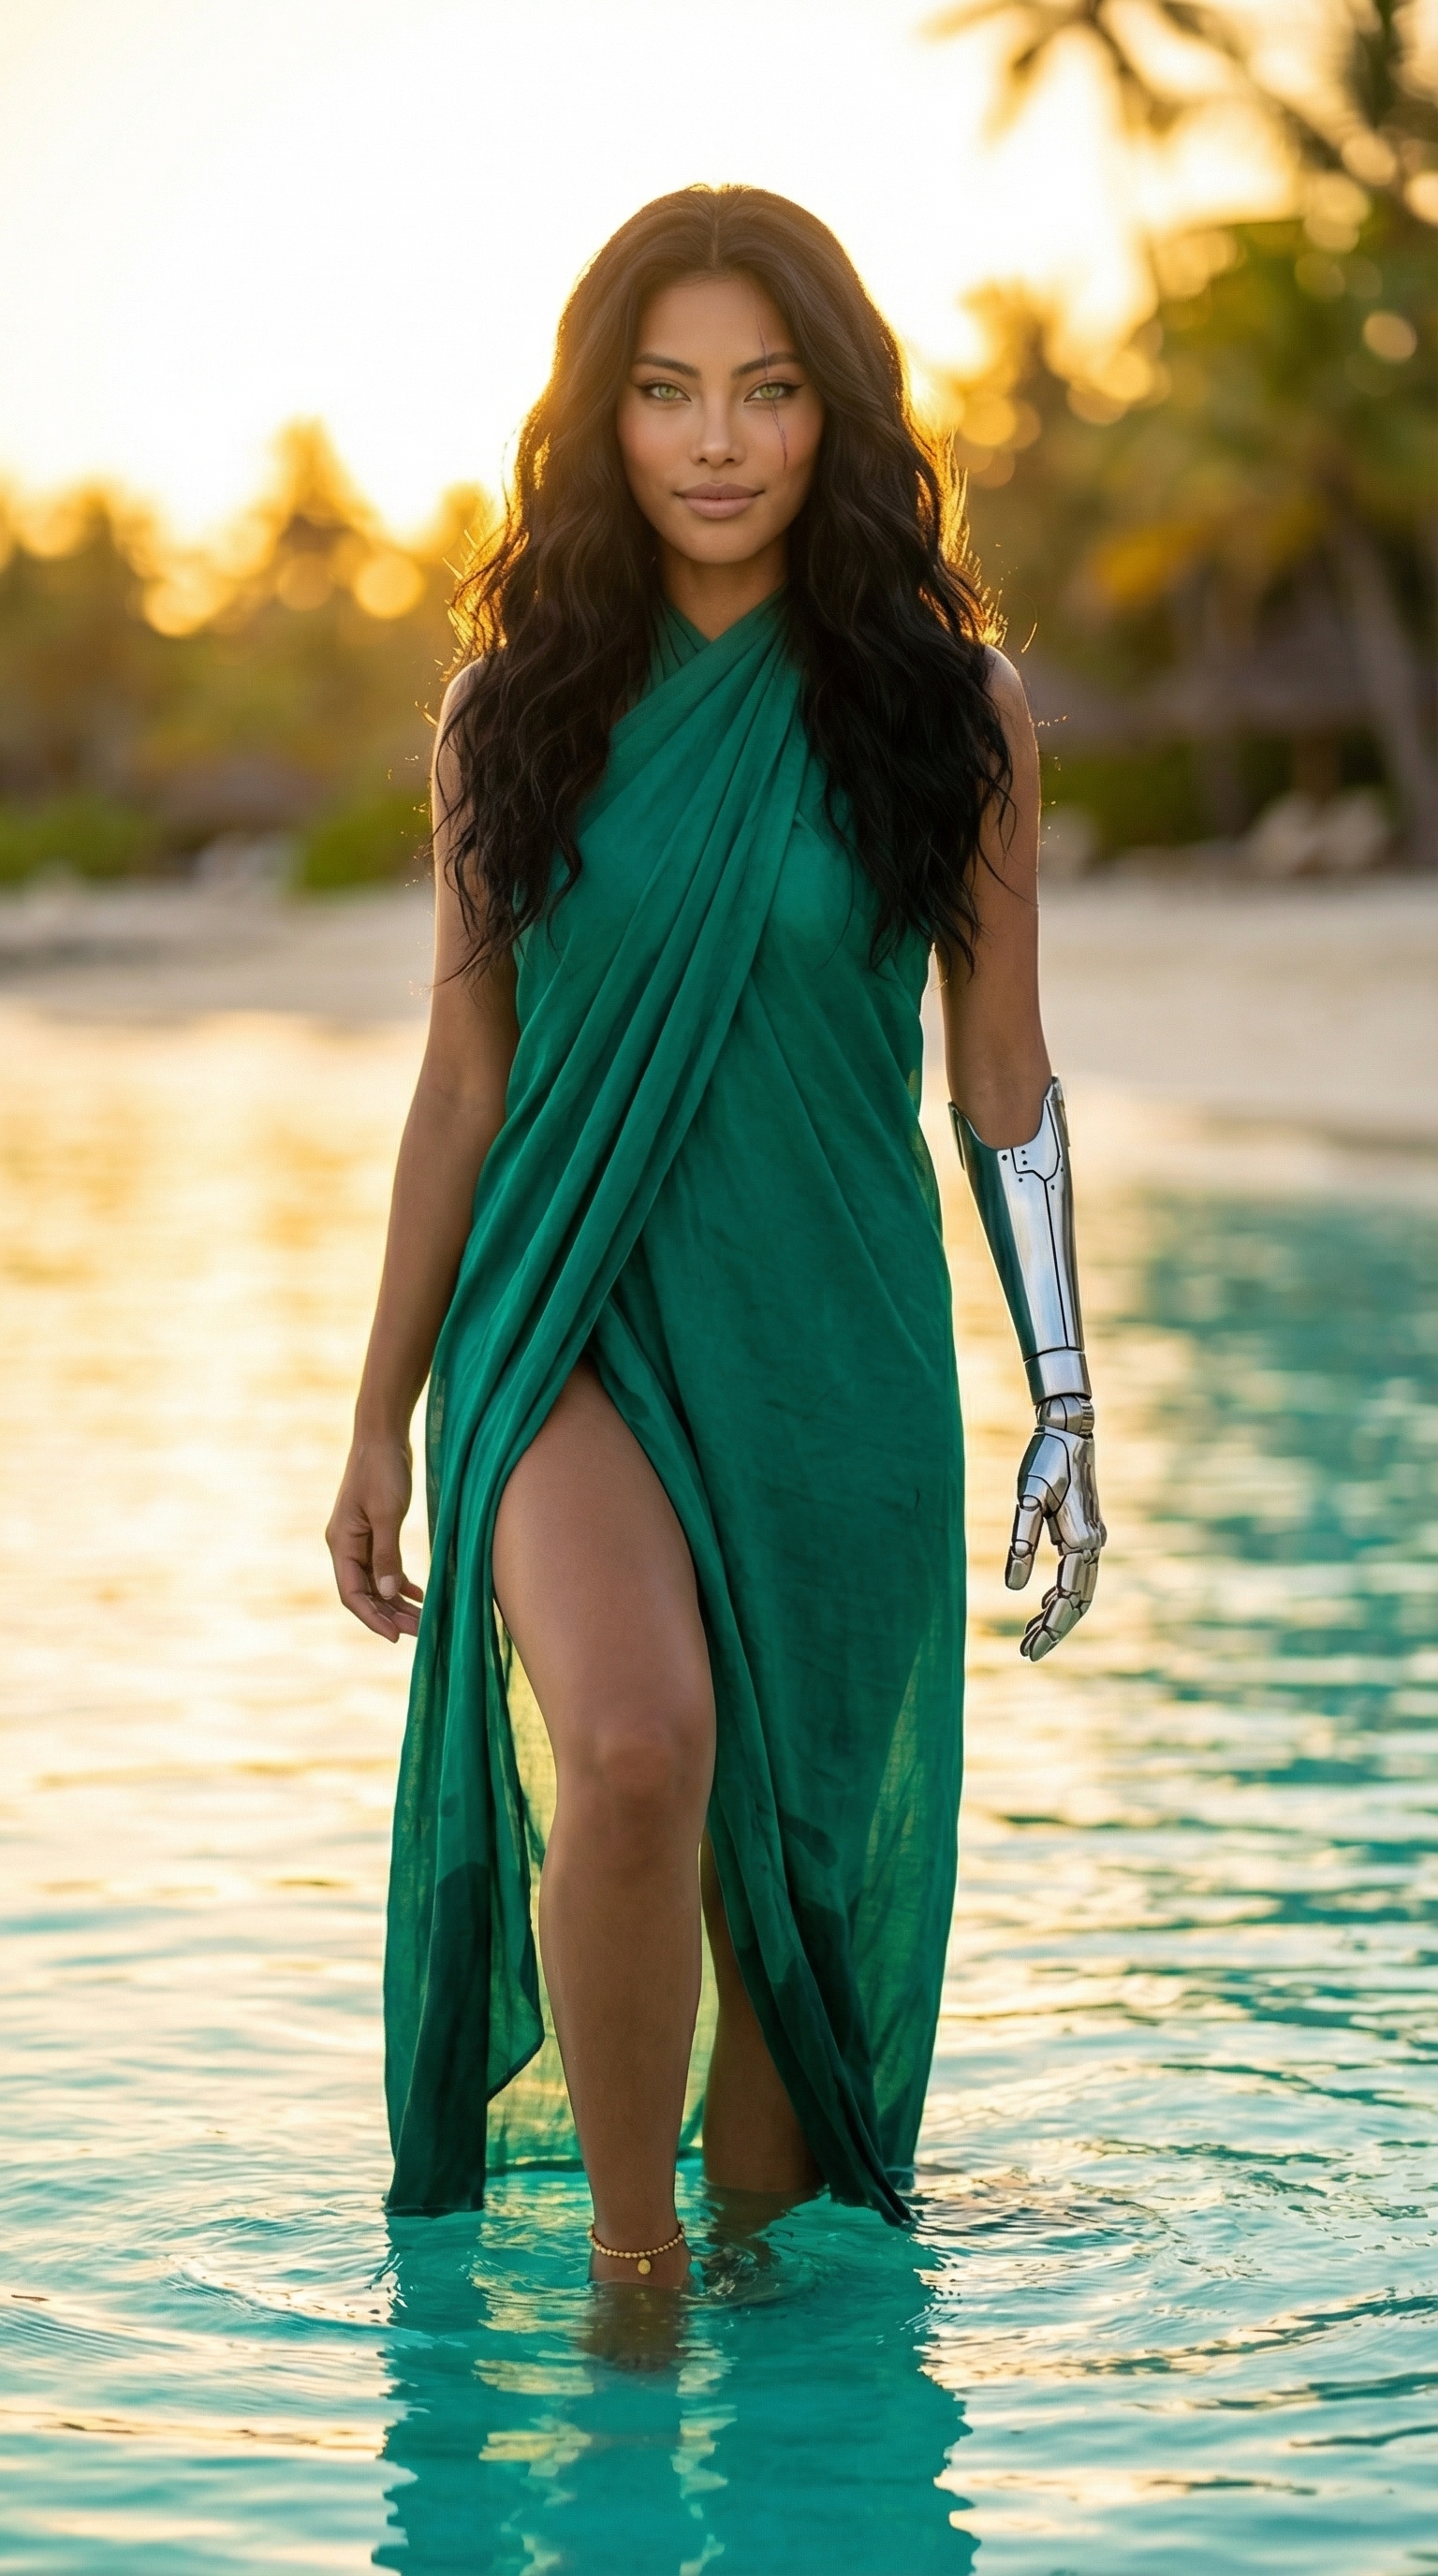

Each image links to the character's profile. The Studio — Technical Guide has the full showcase plus deeper documentation on every component.