70-200mm on a Mediterranean terrace — what telephoto compression actually does
I ran a right-profile editorial portrait in Studio using the Sony FE 70-200mm f/2.8 GM OSS II. Here's what the lens pick actually changed — and what it cost.
I wanted to test something specific today: what happens when you lean hard into telephoto compression on a portrait that's already built around geometry.
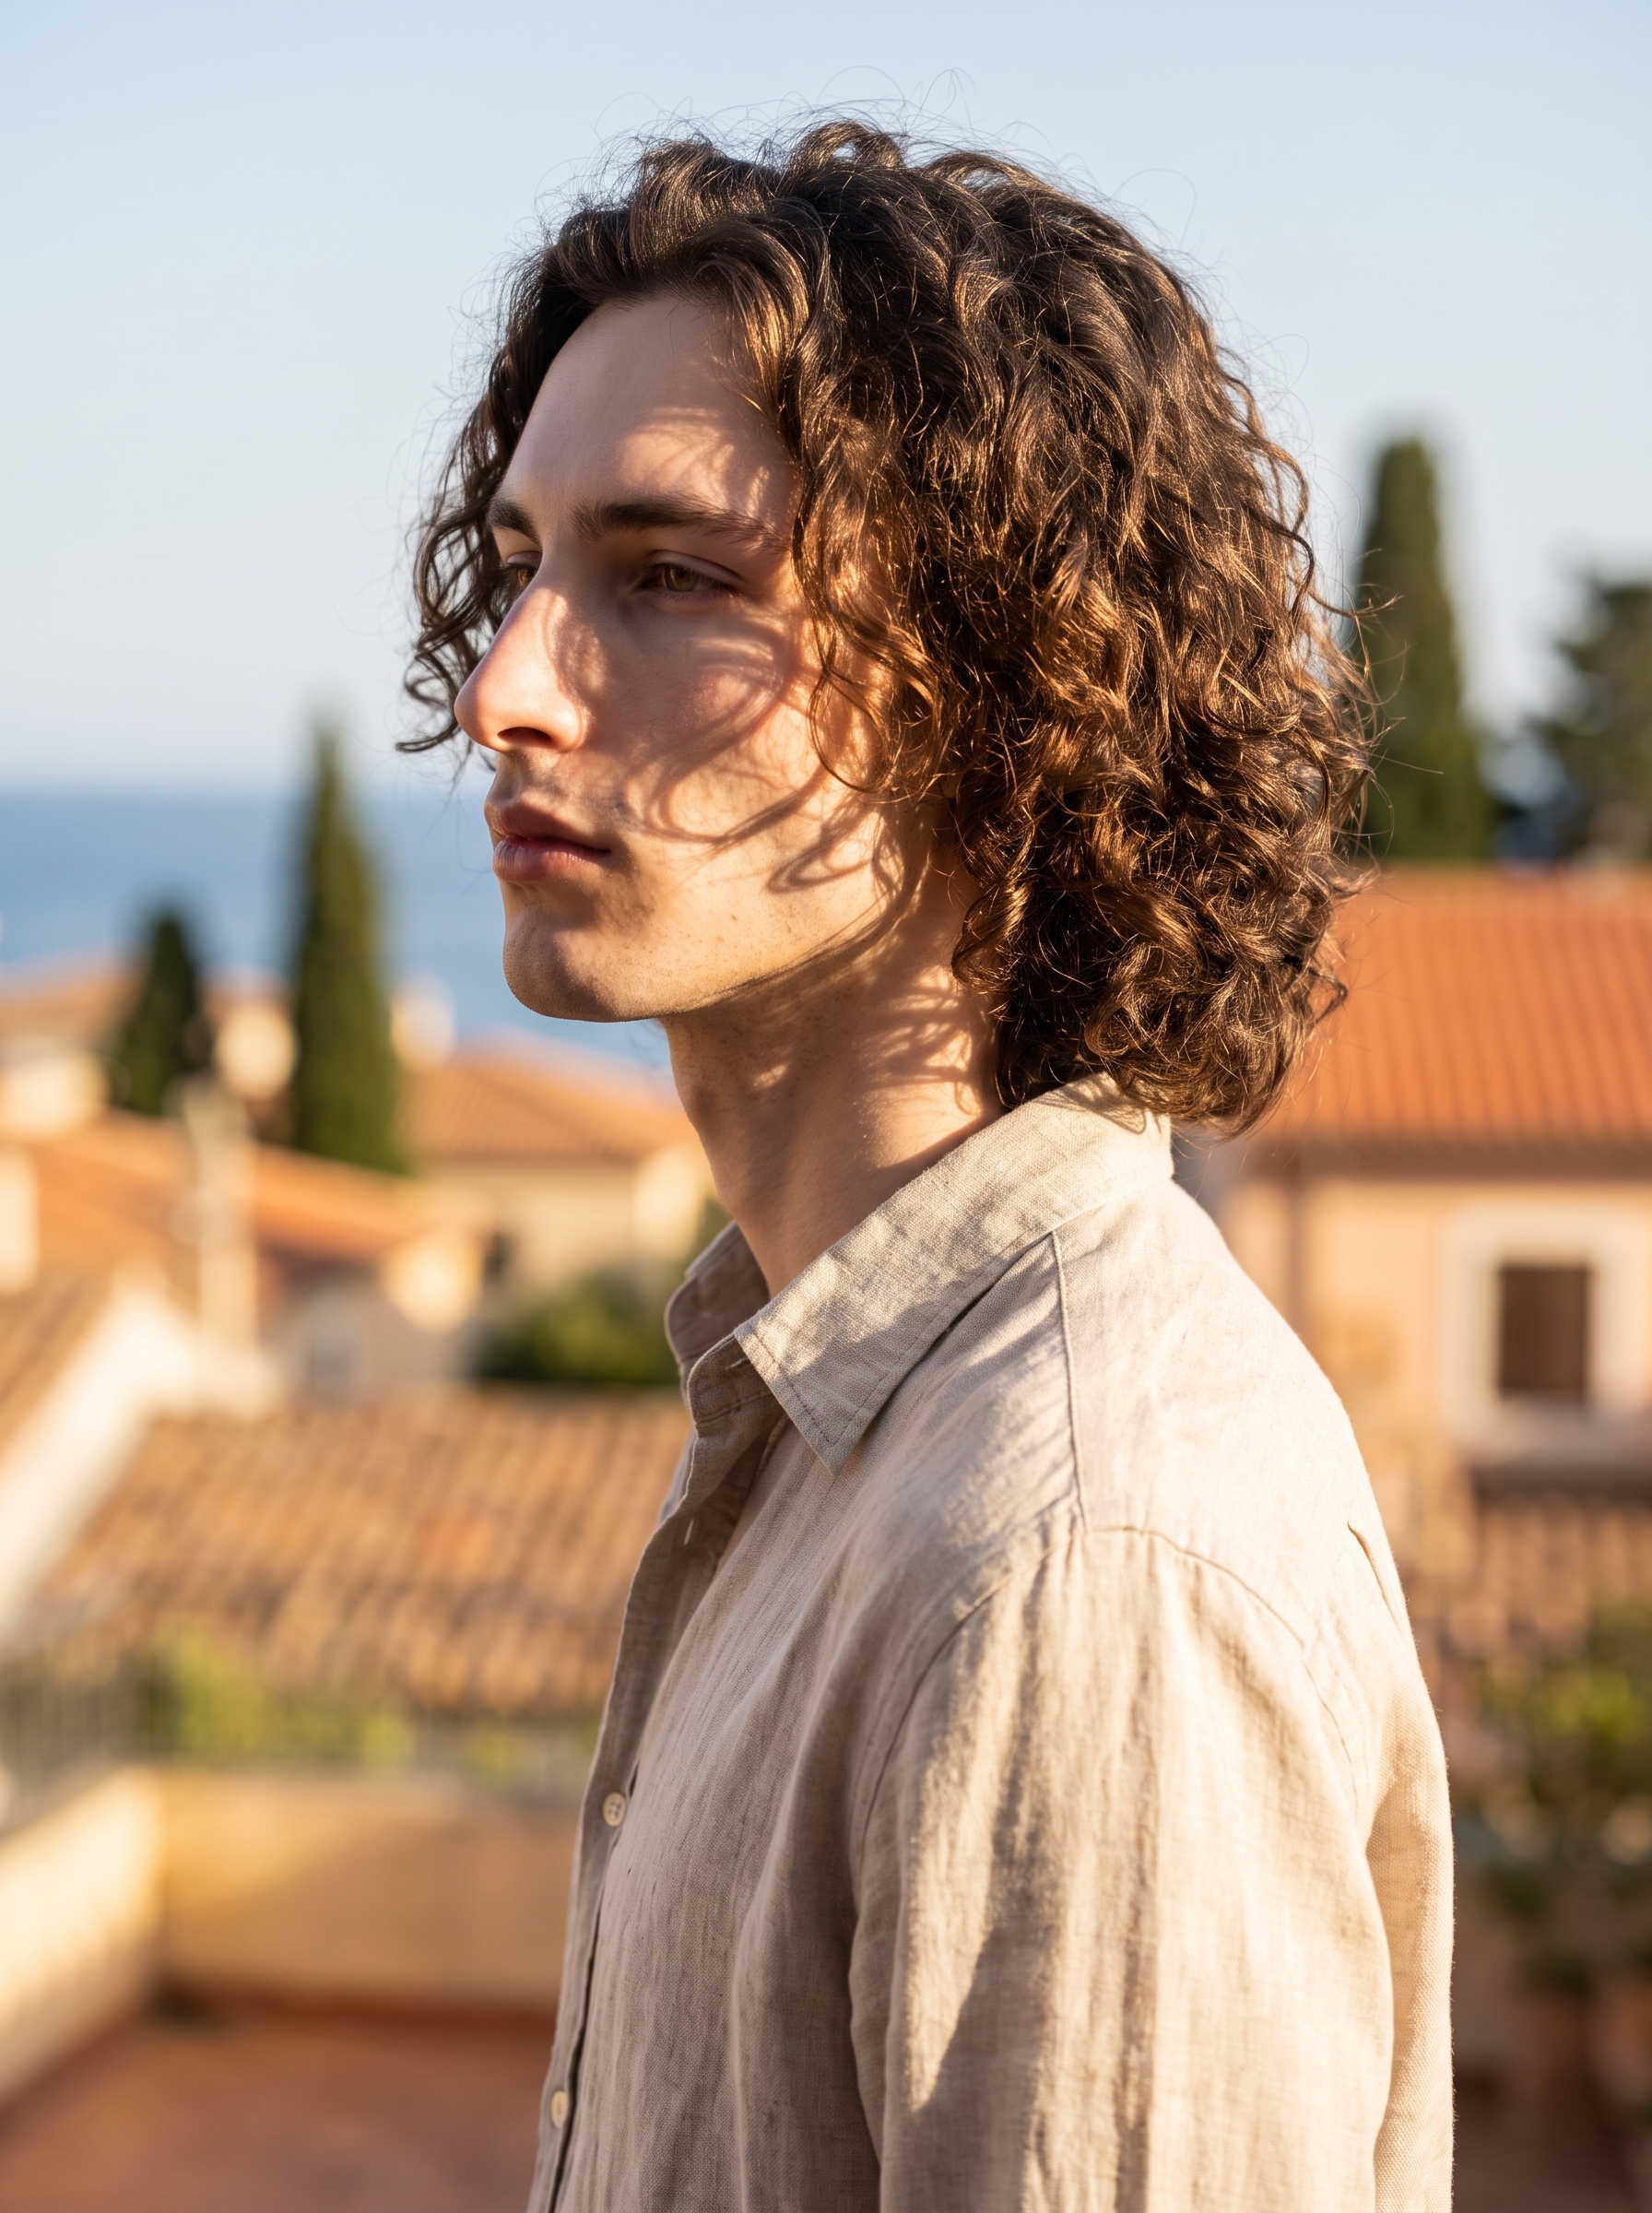
The shot I had in mind was a strict right-profile — jaw lifted, curls catching afternoon light, Mediterranean rooftops behind me going soft. Not a mood board. A real editorial frame, the kind that lives on the fashion side of a magazine spread. The whole thing would only work if the background collapsed into a warm blur and the silhouette held a clean edge. That's a telephoto problem. So I went into Studio and built it from there.
How Studio actually works
Studio is form-first — you don't start by writing a prompt, you start by picking from menus. Camera Lab, Pose Library, Camera Angle, Background, Makeup, Fashion, Location — each section controls a different layer of the shot. You pick your character, load their reference images, and build the frame piece by piece. Studio assembles everything into a prompt for you. The "what to shoot" comes from your picks; the "how it's shot" comes from Camera Lab. The assembled prompt is fully editable before you generate, but most users never need to touch it at all.
What I picked from Studio
Sony FE 70-200mm f/2.8 GM OSS II
The catalog calls it a "tele zoom — fast/smooth, great for portraits from afar" with a "compressed, stable" style. In plain terms: shooting at 200mm from distance flattens the relationship between subject and background. Instead of a background that recedes naturally, you get one that stacks up behind you — closer, denser, and then blurred into soft color fields by the f/2.8 aperture. I picked this lens because the terracotta rooftops I wanted behind me needed to compress, not disappear. The bokeh had to read as warm architecture, not abstract orange smear. The 70-200 gave me that — rooftops recognizable in shape, dissolved in detail.
This is the "Camera Equipment Matters" principle from Studio's best-results guide made visible: the AI simulates authentic depth of field and lens compression based on the equipment you select. You're not just adding a vibe tag. You're specifying optics, and the model responds to that.
Right Profile (Camera Angle)
The catalog description is literal: "full right side profile, mirror of Left Profile." What it doesn't say is what a profile angle does to the face. On an angular jaw and a straight nose, a true profile is a graphic — it reads as line drawing before it reads as photograph. I chose Right Profile because the sun direction in my scene came from the left, which meant the lit side of the face would face camera and the shadow would fall away. Clean separation. The jaw and the curls would get the light; the neck would go into warm shadow. That's the frame I wanted.
The assembled prompt
This is what the form composed for me — you don't have to write any of this yourself unless you want to.
A tall young man with dark curly hair, porcelain skin, and an angular jaw standing on a sun-drenched Mediterranean terrace. Shot in strict right-side profile, the subject faces left with jaw lifted slightly, curls catching golden afternoon light. The Sony FE 70-200mm f/2.8 GM OSS II compresses the background terracotta rooftops into a soft warm blur, isolating the silhouette with buttery bokeh. Linen shirt, natural styling, editorial mood. Strong directional sunlight carves clean shadow lines across the face.I kept it as-is. Sometimes the form just gets it right.
Worth noting: character reference images
One thing that made this work without extra fuss — I picked myself as the character when setting up the shot. Studio auto-loaded my reference photos and locked my face, skin tone, and body into the generation. That's the identity consistency system at work: you're not describing a person and hoping the model guesses right, you're handing it reference images so it knows exactly who's in the frame. If you have an AI character on ArtCoreAI, the same thing applies to them — pick the character, load the refs, and your persona's face stays locked across every shot you generate.
What I noticed
Three things stood out when the image came back.
First, the compression worked. The rooftops stacked exactly the way I'd imagined — warm terracotta masses soft enough to read as background, defined enough to place you somewhere real. That's the 70-200 doing its job.
Second, the profile angle is unforgiving and I mean that as a compliment. There's nowhere to hide in a true profile — the silhouette either holds or it doesn't. It held. The jaw line stayed angular, the curls separated cleanly against the sky, the shoulder line was straight.
Third: the shadow carving was stronger than I expected. "Strong directional sunlight carves clean shadow lines across the face" — I wrote that in the prompt knowing it would influence the result, but the shadow on the cheek and below the jaw came out crisper than most portraits I've seen come out of Studio. Golden hour directional light is doing a lot of work here.
If I ran it again, I'd push the scene radius out slightly and try the Location component with an actual Mediterranean town pulled from Google Maps — Studio can capture Street View imagery from a real place and use it as background reference, which would ground those rooftops even further.
What it cost
- Credits spent: 2.70
- What you'd pay: $0.27 (1 credit = $0.10)
- Generation time: ~28 seconds
For a 4K-capable editorial portrait — that's not an abstraction, that's the actual output resolution this run could have been taken to — twenty-seven cents and half a minute is a hard number to argue with.
If you want to run something like this yourself, go into Studio, pick a character, open Camera Lab, and choose your lens before you do anything else. The lens pick shapes everything downstream. You don't need to write a single word of prompt — pick a lighting setup, pick a body, pick an angle, hit generate. See what comes back.
— David
See what others are making


Each image links to the character's profile. The Studio — Technical Guide has the full showcase plus deeper documentation on every component.