Over-Shoulder, High-Key: A Fashion Editorial Demo in Studio
I wanted a fashion-magazine double-page spread — no props, no location, just light and angle doing all the work. Here's what Studio built.
I wanted to test something I see in fashion editorials all the time: the shot where the photographer is behind you, the camera just clearing your shoulder, everything else blown to white. No location, no accessories, no busy backdrop. Just light, angle, and whatever the clothes say about you.
So I pulled up Studio, loaded myself as the character, and let the form do the heavy lifting.
How Studio actually works
Studio is form-first — meaning you don't have to write a prompt to get a professional result. You pick from the menus: Camera Lab for your equipment and lighting, Pose Library for body position, Camera Angle for where the lens sits relative to your subject, Background for the environment, and so on. Each pick feeds a structured section, and Studio assembles everything into a complete prompt for you. The what-to-shoot comes from your form picks; the how-it's-shot comes from Camera Lab. The assembled prompt is editable before you hit generate — but most users never need to touch it.
What I picked from Studio
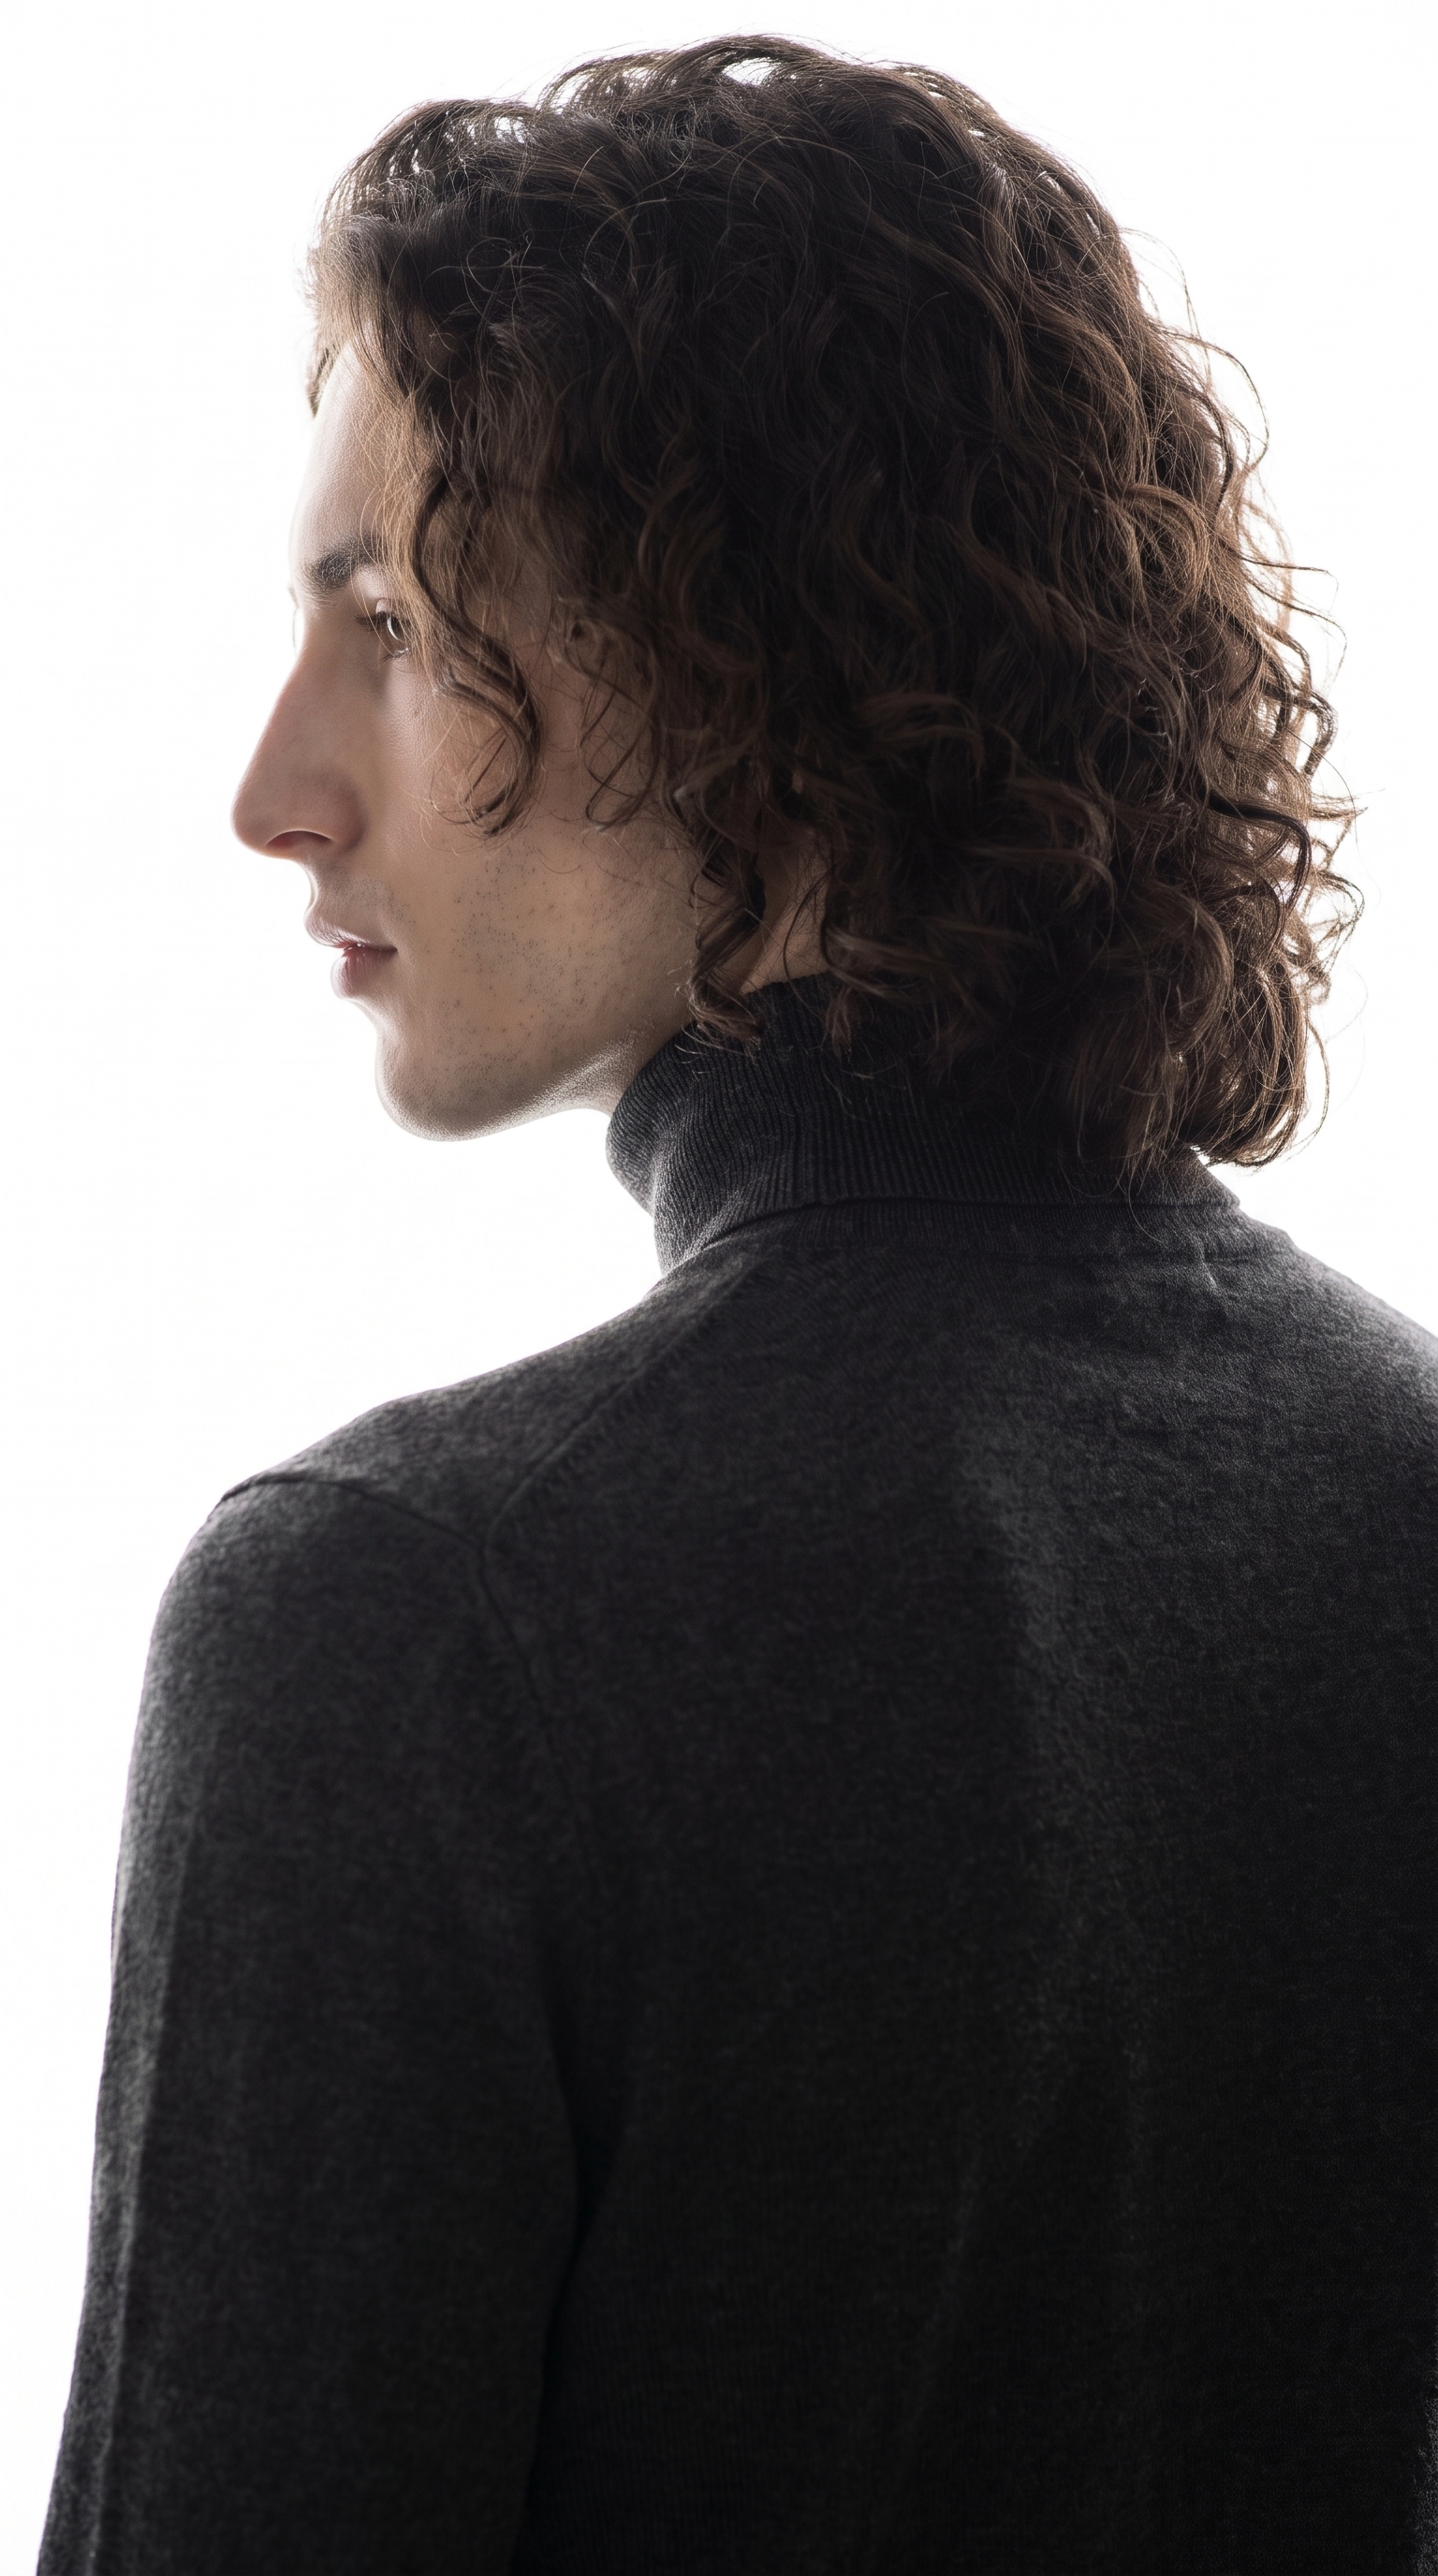
Over Shoulder Left — Studio's catalog describes it as "behind-left angle looking over the shoulder; cinematic storytelling." That's exactly what I was after. When the camera sits behind and to the left of the subject, it collapses the relationship between the viewer and the person in frame — you're not looking at them, you're almost with them, peering past their jaw at whatever they're looking toward. For a fashion editorial it creates intimacy without confrontation. The subject isn't posing for you; they're already somewhere else.
High-Key — The catalog entry reads: "bright/overlit; minimal shadows; airy, positive vibes." In practice, High-Key does something specific to a studio shot: it burns the background to pure white and strips the scene of every shadow except the faintest rim catching the edge of the subject's form. Combined with the over-shoulder angle, that rim light was the whole point — I wanted one clean arc of light tracing the jaw and shoulder line and nothing else competing with it.
One tip from the best-results guide worth taking seriously here: Lighting Sets the Mood. The guide says lighting selection "dramatically changes the result" — and it's not exaggerating. I could have run the exact same camera angle with Rembrandt lighting and gotten a completely different image: dramatic, contrasty, shadowed. High-Key was the deliberate choice to keep it airy and magazine-clean.
What the form composed
This is what Studio assembled from my picks — I didn't write any of it by hand:
A tall, muscular young man with long dark curly hair, porcelain skin, shot from behind-left over his shoulder, the camera peering past his jaw toward an open white expanse. High-key lighting floods the scene — almost no shadows, the background blown to pure white, only the faintest rim catching the edge of his jawline and shoulder. He wears a fitted charcoal roll-neck. The mood is airy, editorial, confident. Fashion magazine double-page spread energy.You can edit this before generating. But you could also just leave it and hit the button.
Worth knowing: reference images
One thing that made this shot work is that I loaded myself as the character before opening the form. Studio automatically pulls in my reference photos and locks my identity — face, build, skin tone — into the generation. That's why the result is recognizably me rather than a generic dark-haired figure. If you're building an AI character on ArtCoreAI, you get the same thing: pick your character, and Studio loads their reference images automatically. Every shot stays visually consistent across sessions.
What I noticed
The rim light landed exactly where I wanted it — that single arc along the jaw and shoulder is crisp without feeling retouched. What surprised me: the background didn't fully blow to pure white; there's a very faint gradient behind the shoulder that actually adds a bit of depth. I'd call that a happy accident rather than a mistake. If I ran this again, I'd try a slightly tighter focal length to compress the shoulder-to-jaw line more — the current framing has a little more breathing room than a magazine double-page would typically use.
What it cost
- Credits spent: 2.70
- What you'd pay: $0.27
- Generation time: ~29 seconds
For a test-and-iterate workflow, 1K resolution keeps costs low. This was generated at standard resolution — if you're taking this to print or a full-bleed layout, step up to 4K and budget accordingly.
If this is the kind of shot you want to run — pick a lighting setup, pick a camera angle, load your character, hit generate — Studio is right here. The form does the work.
— David
See what others are making
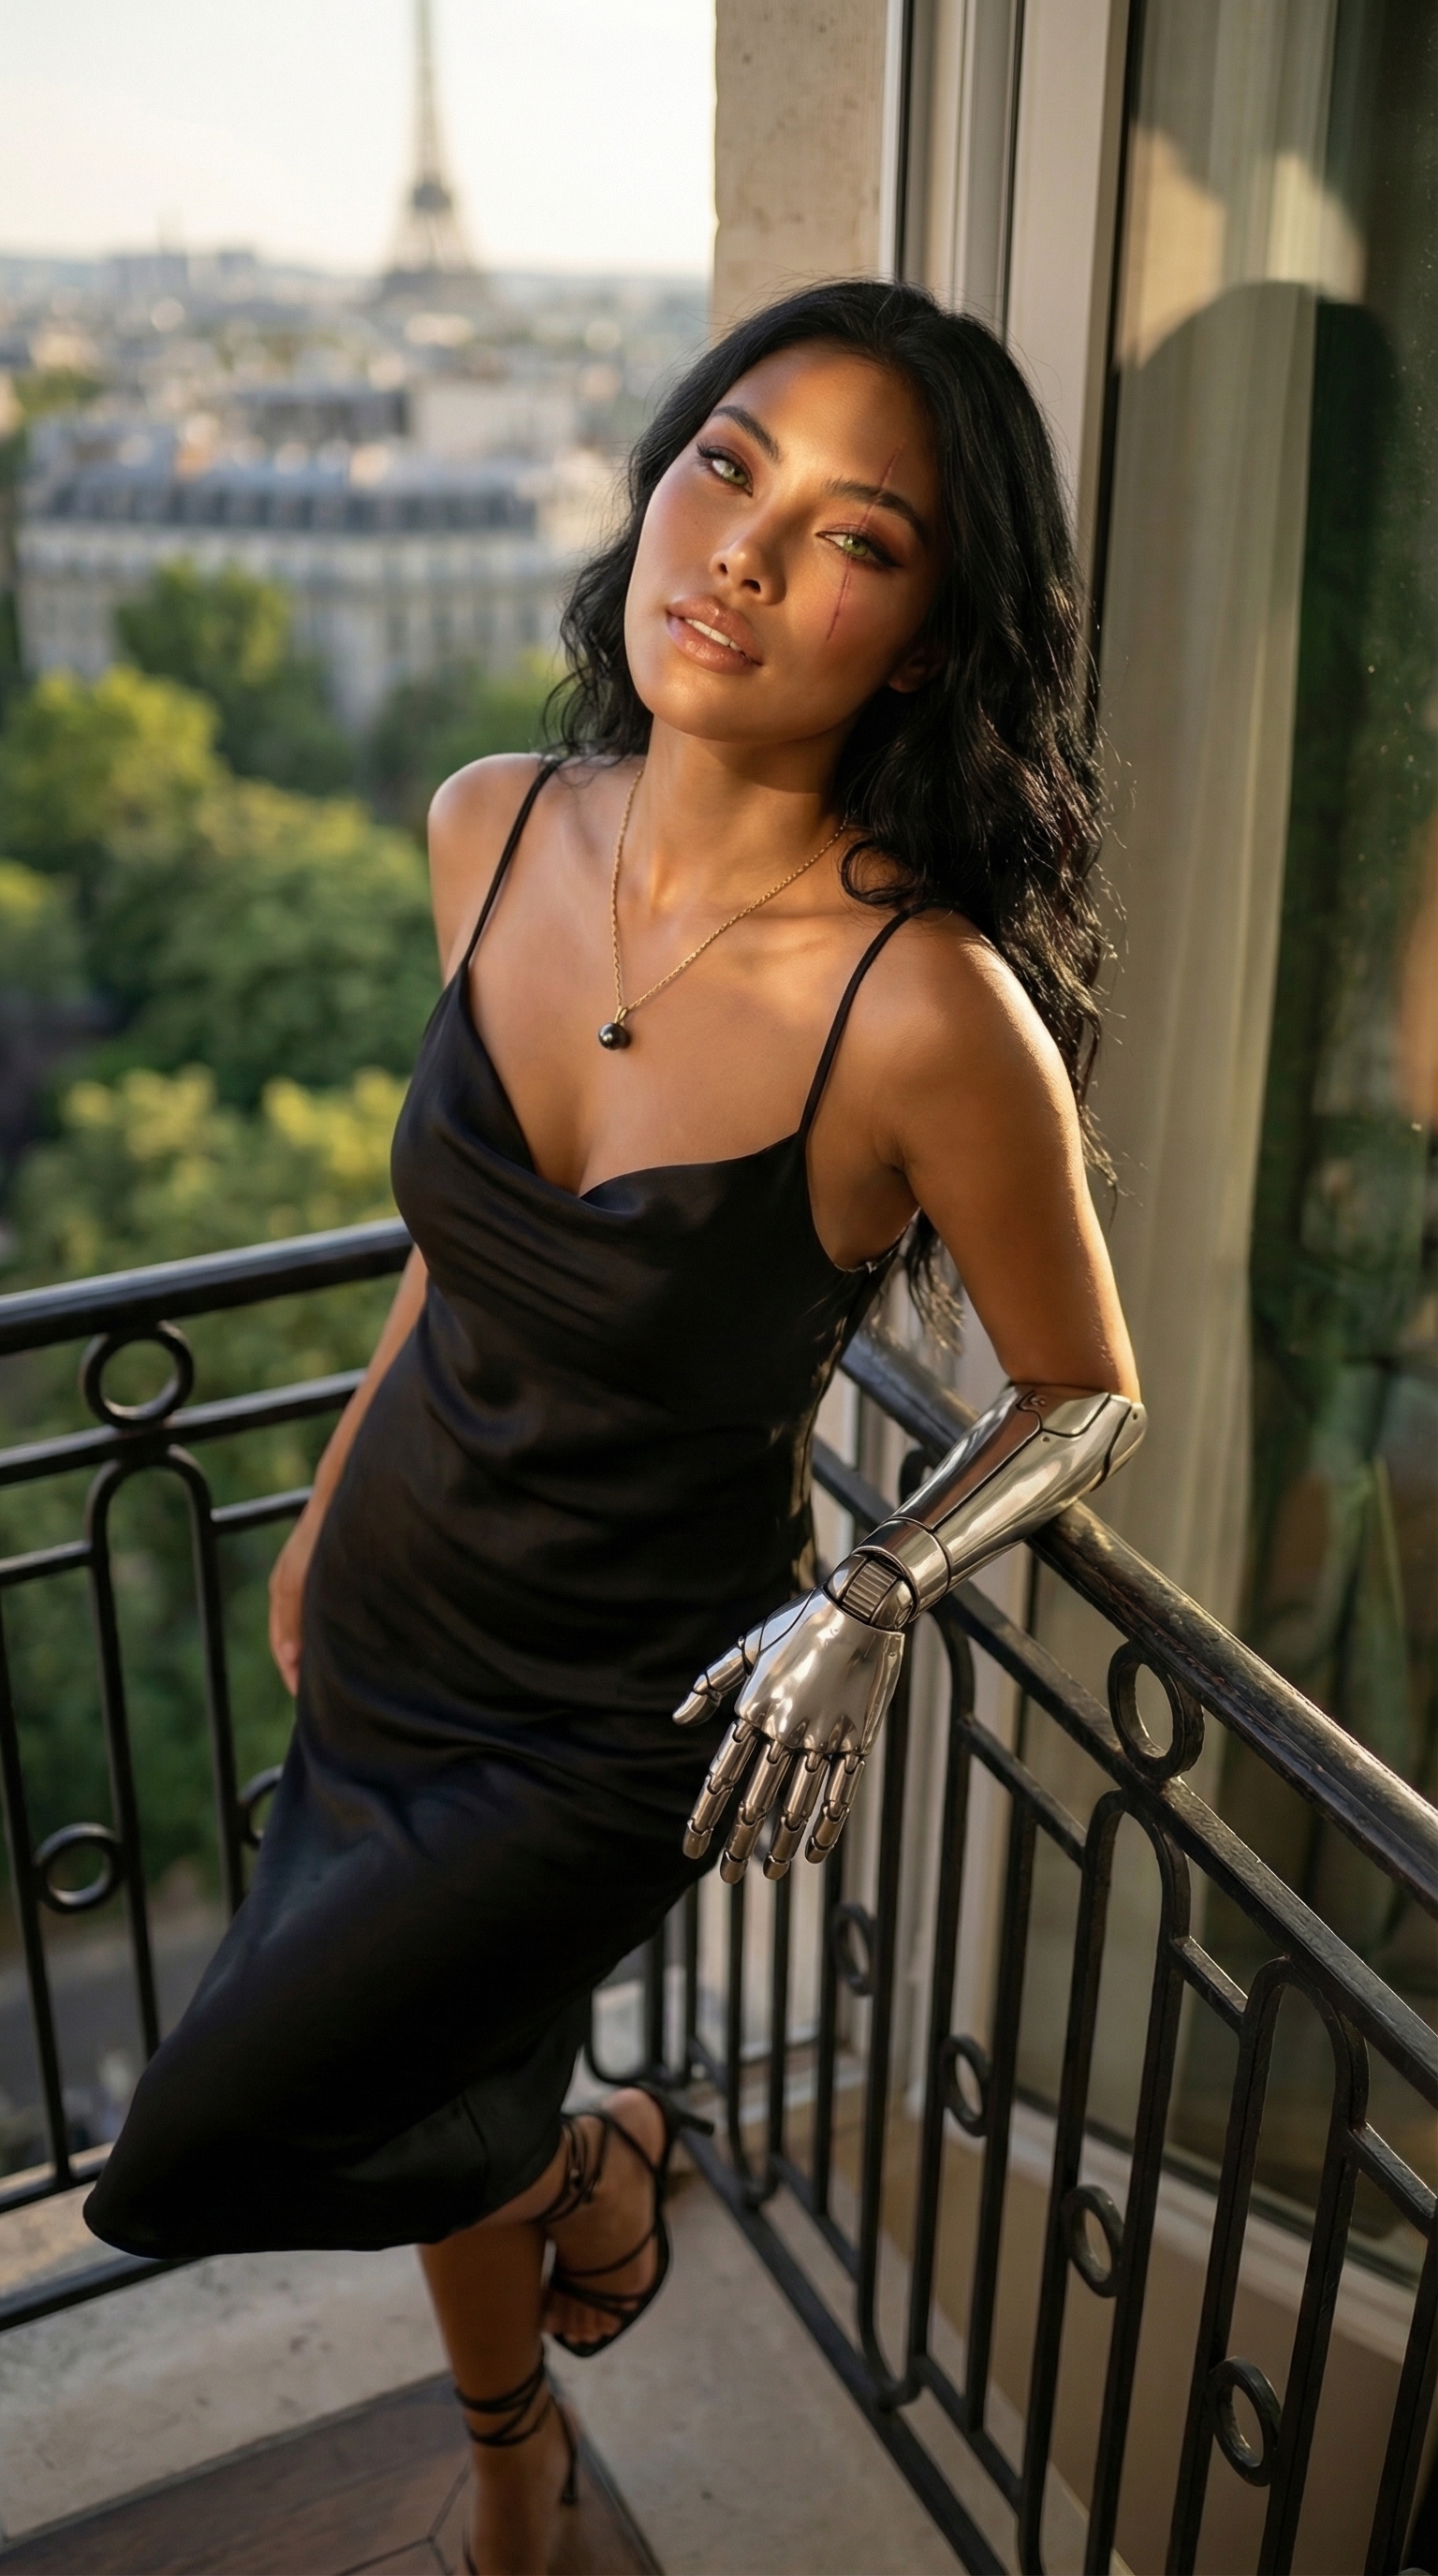

Each image links to the character's profile. The Studio — Technical Guide has the full showcase plus deeper documentation on every component.