Rain-Wet Railing, City Lights Below: A Studio POV Demo
I wanted first-person immersion — hands on a rain-soaked railing, neon bokeh below. Here's what Studio built for me, and what it cost.
I wanted to feel inside a shot, not just look at one.
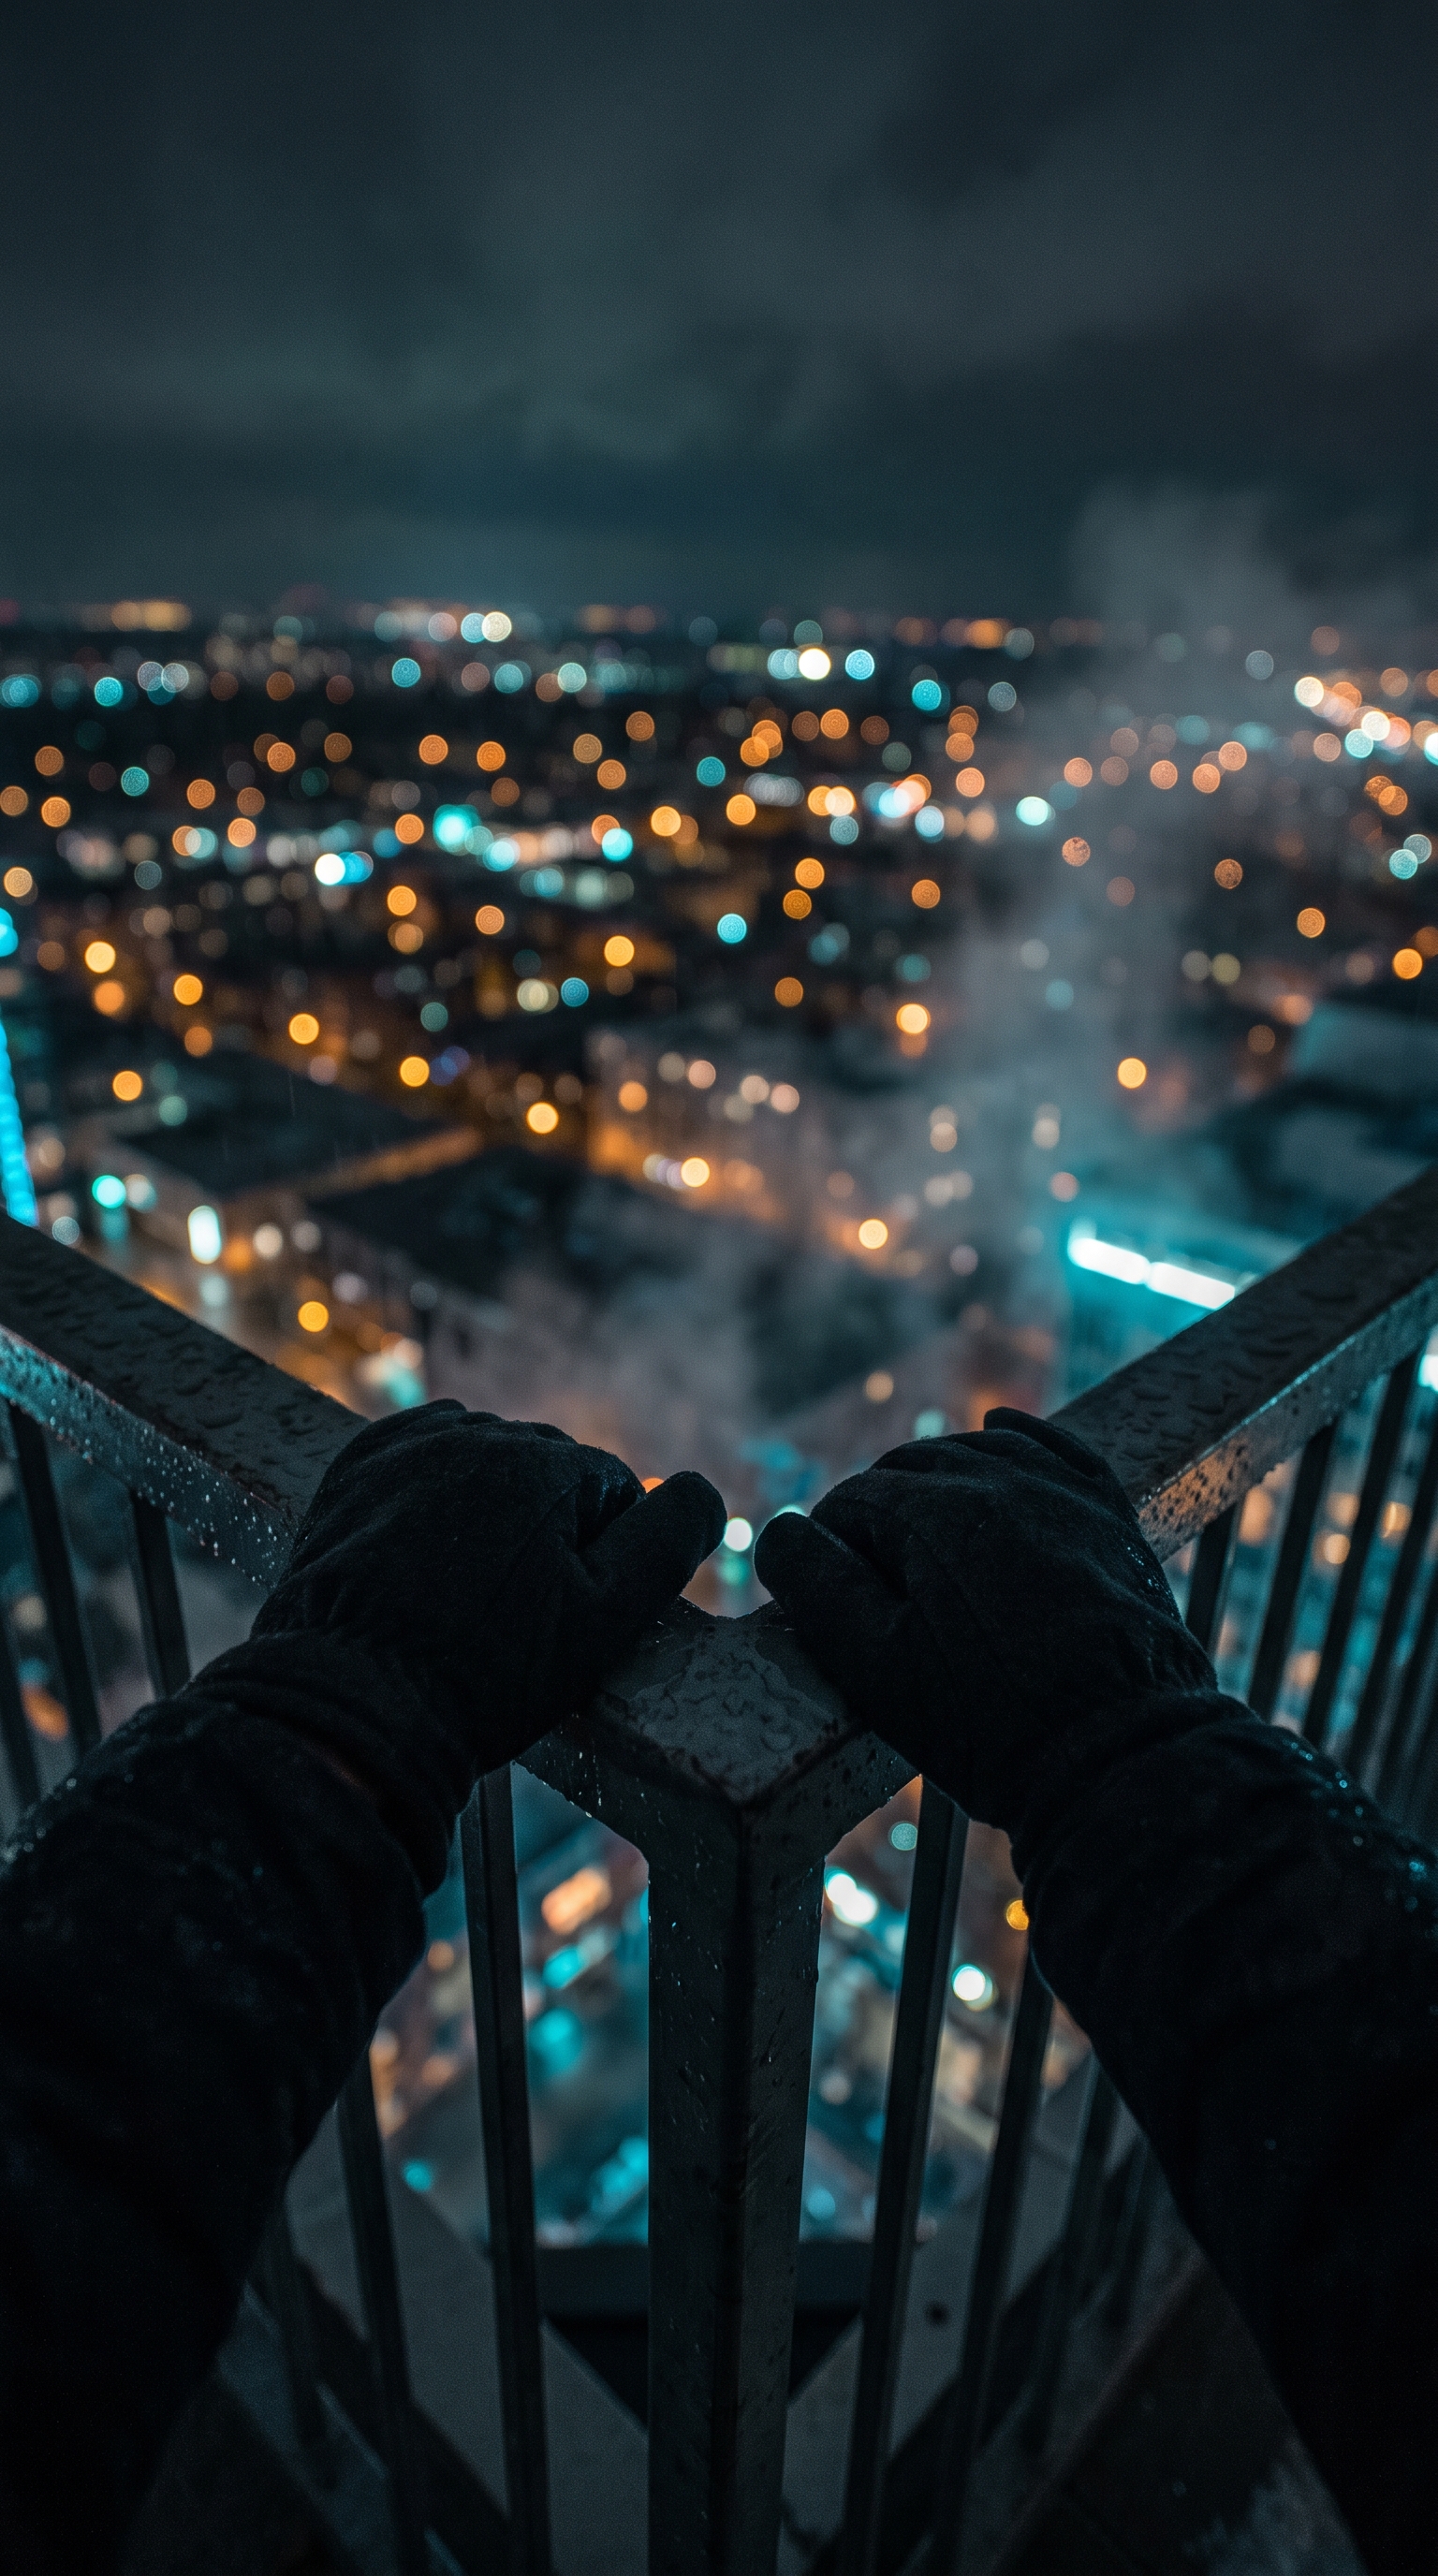
The idea was simple: a rainy night rooftop, first-person perspective, hands gripping a wet railing while the city dissolves into creamy bokeh far below. No character face. No posed subject. Just you — the viewer — standing there in the mist with neon light bleeding across every wet surface. Intimate, cinematic, a little lonely in a good way.
This is the kind of shot that lives or dies on framing. Get it wrong and it's just a photo of hands. Get it right and it places you somewhere.
Here's what Studio made.
How Studio actually works
If you haven't used Studio before, here's the short version: it's form-first. You don't write a prompt — you pick from menus. Camera Lab lets you choose a real camera body, lens, focal length, and aperture. Pose Library gives you named poses. Camera Angle, Background, Makeup, Fashion, Location — each section covers a different layer of the shot. Once you've made your picks, Studio assembles the prompt for you from all those structured choices. The assembled prompt is fully editable before you generate, but most users never need to touch it. The form does the heavy lifting.
What I picked from Studio
POV — "First-person immersion"
This is a framing and movement pick from Studio's catalog. POV tells the model to treat the camera as the viewer's own eyes — no subject standing in front of you, no third-person observer position. The result is that mid-ground gap where a face or body would normally sit gets replaced with first-person anchors: hands, foreground objects, the near edge of a surface. It's a surprisingly specific instruction. A lot of AI image tools let you describe a POV shot in your prompt and get something vaguely first-person. Studio's POV pick is categorical — it locks the compositional logic from the start rather than leaving it to interpretation.
I chose it here because the rooftop railing idea only works if you're on the railing. Third-person would turn this into a photo of someone looking over a city. POV makes it an experience.
On the operating side: POV framing pairs well with the "Describe the Scene" tip — your prompt tells the model what is in the foreground (the wet railing, the hands, the mist), while the POV pick handles the compositional logic of how you're placed relative to it. Those two layers working together is what gives the shot its sense of presence rather than just its subject matter.
What the form composed
This is what Studio assembled for me — you don't have to write any of this yourself unless you want to:
First-person point-of-view looking down at a pair of hands gripping a rain-wet rooftop railing, city lights blurring into creamy amber and teal bokeh far below. Wide aperture dissolves the urban skyline into painterly circles of light while the rain-slicked metal railing stays razor-sharp in the foreground. Cool night air, mist rising from below, dramatic low-light atmosphere with rich deep shadows and glowing neon reflections on every wet surface. Intimate, immersive, cinematic.Worth knowing while you're in Studio: the Location component lets you drop a real place from Google Maps — Street View imagery comes in as reference, and the model generates your scene at that actual location. For a shot like this, picking a specific Tokyo or Hong Kong rooftop would have pushed the city-lights backdrop from generic to somewhere real. I kept it abstract today, but that tool is there when specificity matters.
What I noticed
Three things stood out.
The bokeh separation was cleaner than I expected. The wide-aperture instruction in the assembled prompt produced genuine depth — the railing edge is sharp, the city behind it is genuinely dissolved into light circles, not just blurred. The amber and teal color split in the bokeh felt like actual neon light sourcing, not a filter.
The wet surfaces held up at 9:16. Vertical format can compress a scene awkwardly, especially when the interesting information is spread across a wide skyline. Here the verticality worked — the railing anchors the bottom third, the bokeh fills the upper two-thirds, and the mist gives the middle register something to do. The format matched the shot.
If I ran this again: I'd add a Camera Lab pick — a specific lens and aperture rather than relying on the prompt language to carry the optical logic. "Wide aperture" in a prompt is a description. A 50mm f/1.4 selected in Camera Lab is an instruction the model treats differently. Per Studio's operating tips, camera equipment selection actually simulates authentic depth of field and bokeh characteristics — that's a lever I left on the table today.
What it cost
- Credits spent: 2.68
- What you'd pay: $0.27
- Generation time: ~26s
One generation, 9:16 aspect ratio, ~half a minute. For a shot this atmospheric I'd call that a reasonable first pass — especially since the next run with a Camera Lab pick costs the same.
If you want to try it: go to Studio, pick a framing mode, pick a lighting setup, pick a background — and hit generate. The form writes the shot for you.
— David
See what others are making


Each image links to the character's profile. The Studio — Technical Guide has the full showcase plus deeper documentation on every component.