POV Street Fashion — 85mm Sigma Art Pulling You Into the Frame
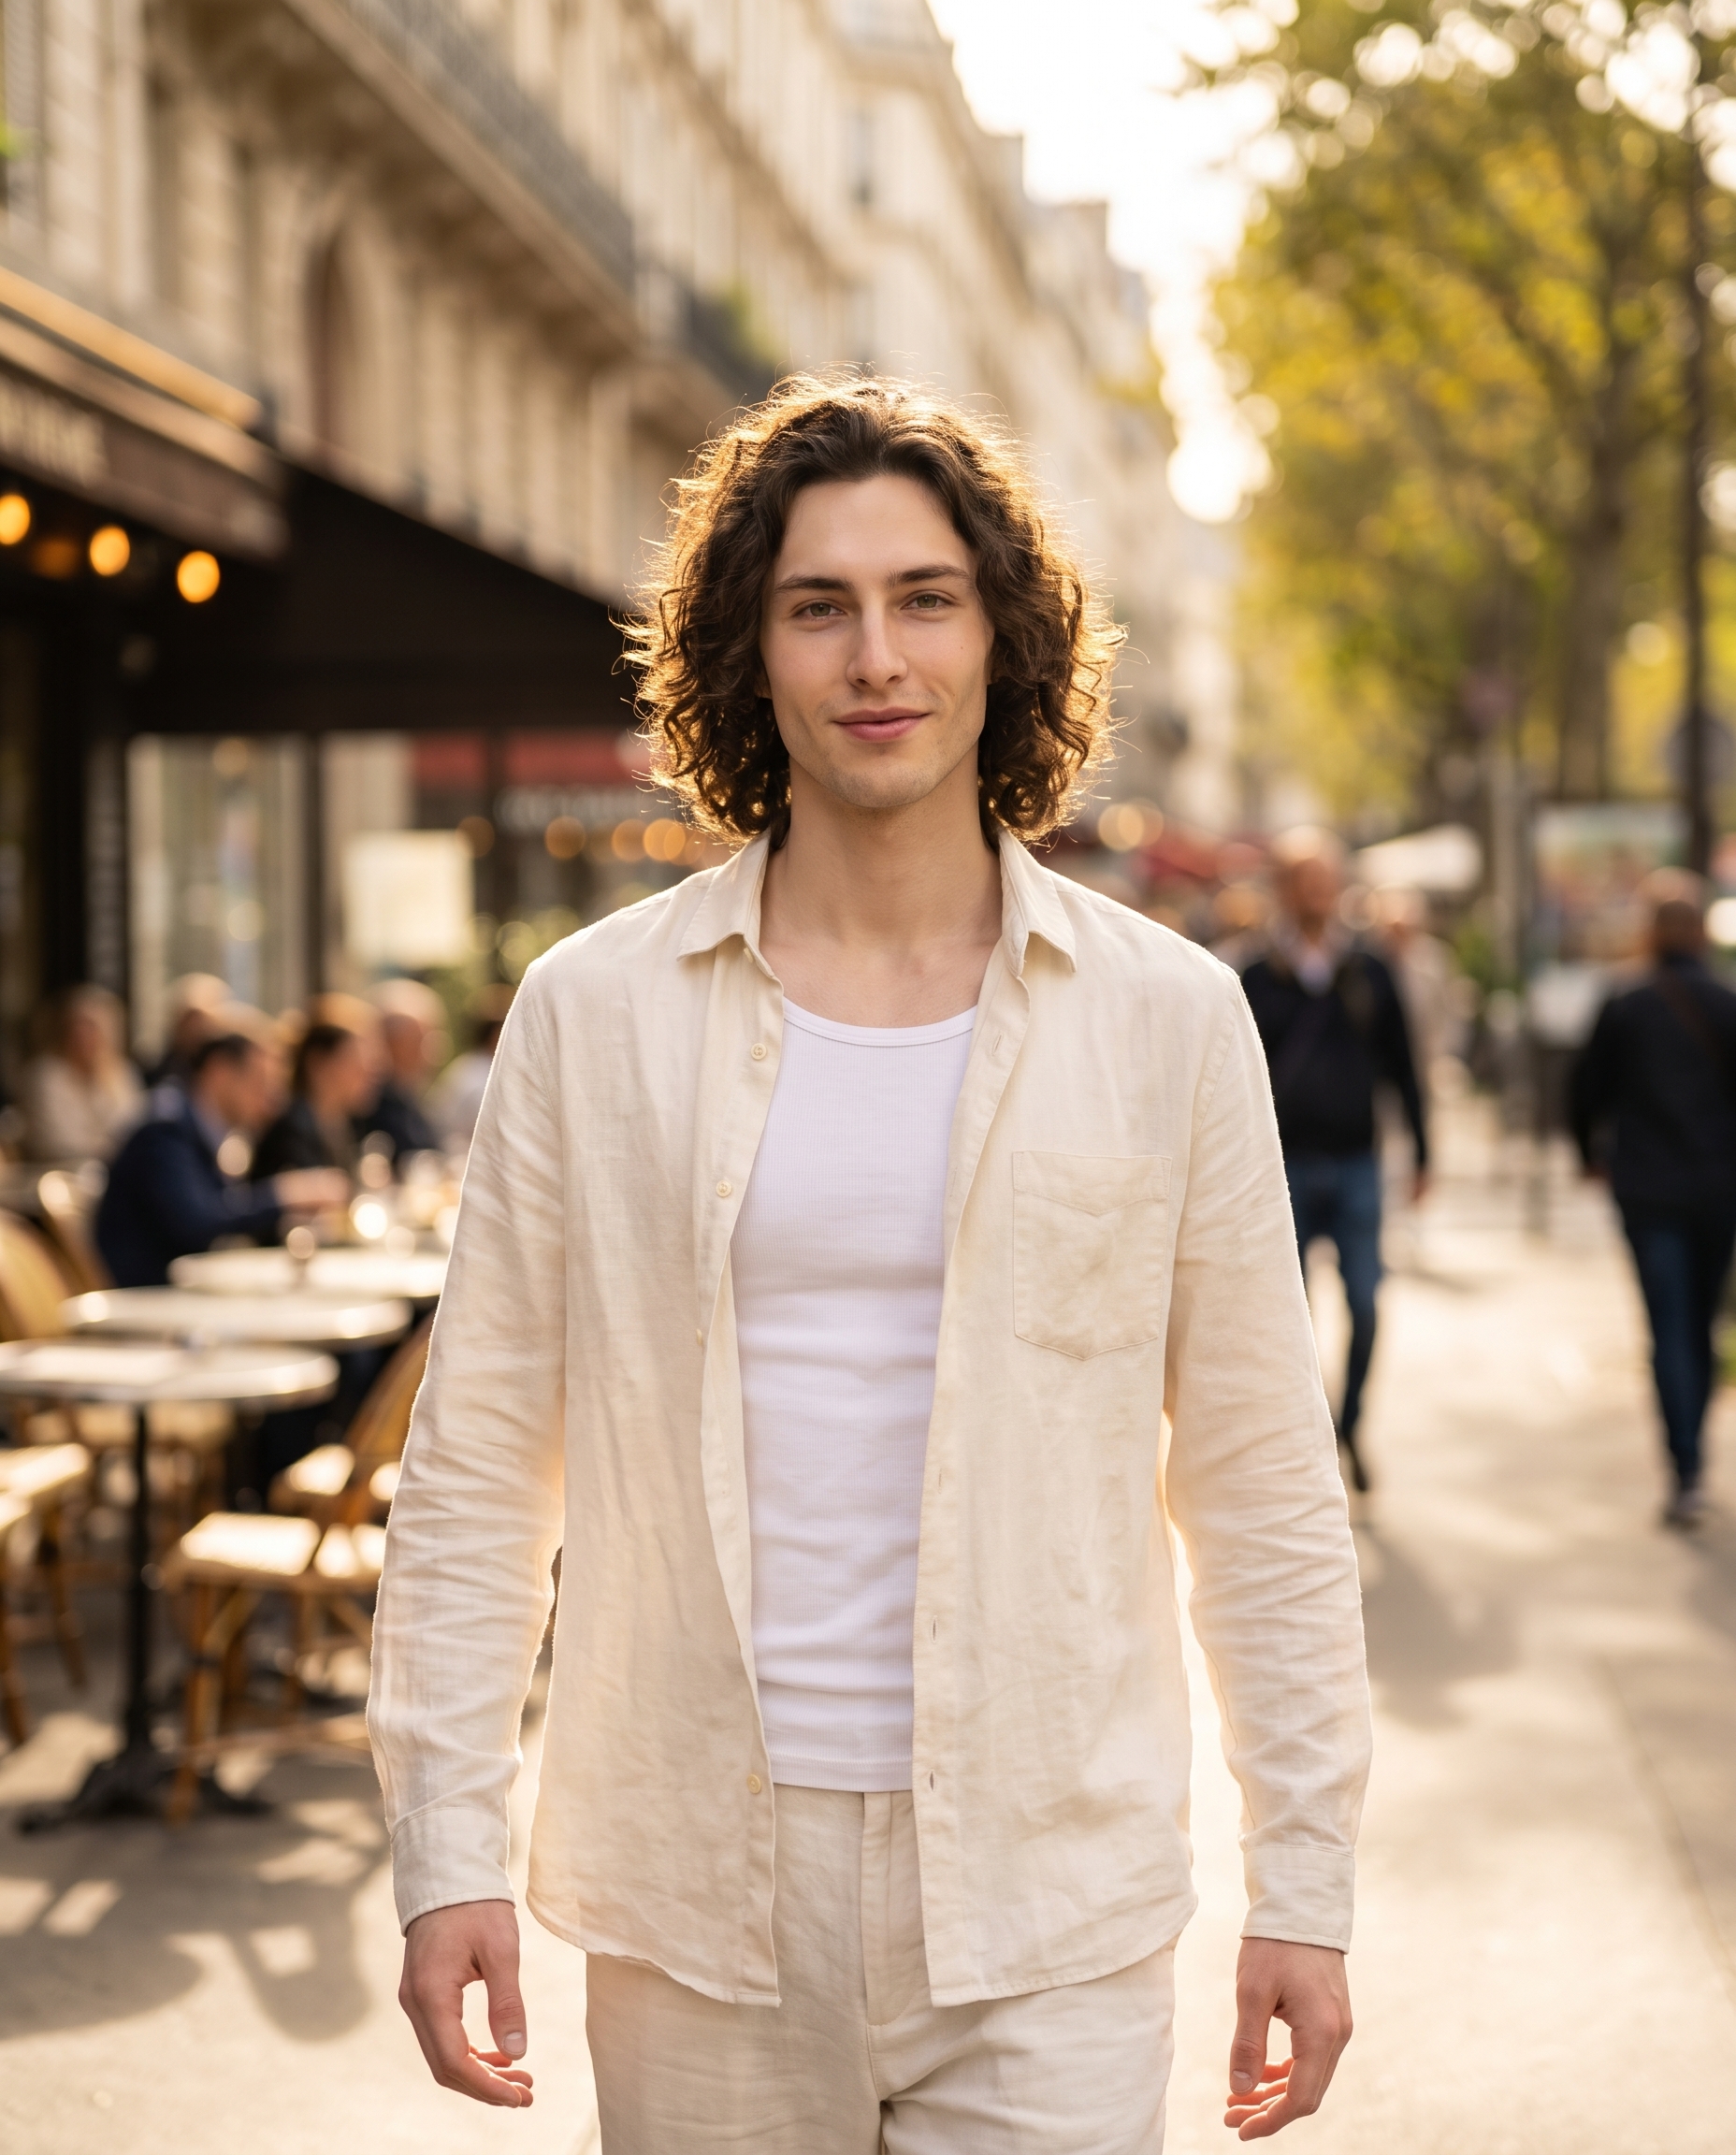
I wanted one shot that felt like you were standing on a Parisian boulevard watching me walk toward you. Here's what Studio built — and what it cost.
I had one image in my head: me, walking toward the camera, Haussmann facades blurring behind me, that specific feeling where the background dissolves and the person in front of you fills the frame. Not a posed editorial. Not a lookbook flat. A moment — the kind you get when someone points a fast prime at you on a real street and just shoots.
So I opened Studio and went looking for the components that could pull that off.
How Studio actually works
Before I walk through my picks: if you've never used Studio, it's not a prompt box. It's a form. You pick from menus — Camera Lab for your equipment and lighting, Pose Library for body position, Camera Angle for your framing, Background, Makeup, Fashion, Location — and Studio assembles the prompt for you. The "what to shoot" comes from those picks. The "how it's shot" — depth of field, bokeh, compression, lens character — comes from Camera Lab. There's an assembled prompt you can read and edit before generating, but most users never need to touch it. You pick, you generate.
What I picked from Studio
Sigma 85mm f/1.4 DG DN Art
Camera Lab lists this one as a "portrait legend; buttery bokeh" — style: flattering, low-light pop for magazines. In plain terms: the 85mm focal length compresses the background without distorting the face, and the f/1.4 aperture means the depth of field is razor-thin. Everything behind me goes soft. The Haussmann facades I wanted blurring into warm gold? That's this lens doing its job. This is what the Camera Equipment Matters tip is really about — selecting a real lens with real optical characteristics so the AI simulates authentic bokeh and compression, not a generic "blurry background."
POV
The Pose Library's framing option "POV" is described in the catalog as "first-person immersion." It puts the viewer where I want them: standing on the pavement, eye-level, as I walk toward them. It's the difference between an image you observe and an image you're inside. I wanted magnetic, not distant. POV delivered that.
Pair those two picks together — a fast portrait prime and a first-person framing — and you already have the shot's DNA before a single word is written.
The assembled prompt
This is what Studio composed for me from those picks. You don't have to write any of this yourself unless you want to.
A tall young man with dark curly hair, porcelain skin, and an angular jaw walks directly toward the camera on a sun-drenched Parisian boulevard. Shot from a first-person POV perspective — the viewer feels as though they are standing right there, eye-level, as he approaches with easy confidence. The Sigma 85mm f/1.4 DG DN Art renders buttery bokeh behind him, compressing the Haussmann facades into a warm golden blur. He wears an open linen overshirt in ivory over a fitted white tee, relaxed trousers. Afternoon side-light catches the texture of his hair. Intimate, editorial, magnetic.Look at how specific it gets about the optical behaviour of the lens — "buttery bokeh," "compressing the Haussmann facades into a warm golden blur." That language is generated from the Camera Lab pick. I didn't write it. Studio did.
What I noticed about the result
The bokeh is doing real work. The background isn't just blurred — it's compressed the way a fast 85mm actually compresses a street. The facades feel like Paris without being a postcard.
The POV framing creates genuine pull. There's something uncomfortable about it in the best way — the figure walks toward you and you can't step back. That's the effect I wanted and it's exactly what landed.
What I'd change: The afternoon side-light on the hair reads well, but I'd push the lighting pick further next time — maybe try Rembrandt to add more dimension to the face in that directional light. I was playing it clean today. Next run I'll go darker.
Worth knowing while you're in there: Studio loaded my identity automatically because I picked myself as the character. When you select a character in Studio, their reference photos load and lock — face, body, skin tone held consistent across the entire shoot. If you're building an AI character on ArtCoreAI, that's what makes Studio feel like a real photography session rather than a generic generation. The model knows who it's shooting.
What it cost
| Credits spent | 2.70 |
| What you'd pay | $0.27 |
| Generation time | ~28s |
1 credit = $0.10 on ArtCoreAI. I generated at 4:5 aspect ratio. For social and editorial use this resolution is exactly right — if I wanted print or maximum detail I'd bump to 4K, which costs more but the file earns it.
If you want to try this yourself: go to Studio, pick the Sigma 85mm f/1.4 DG DN Art from Camera Lab, set your framing to POV, select your character, and hit generate. You don't need to write a prompt. The form does it.
— David
See what others are making

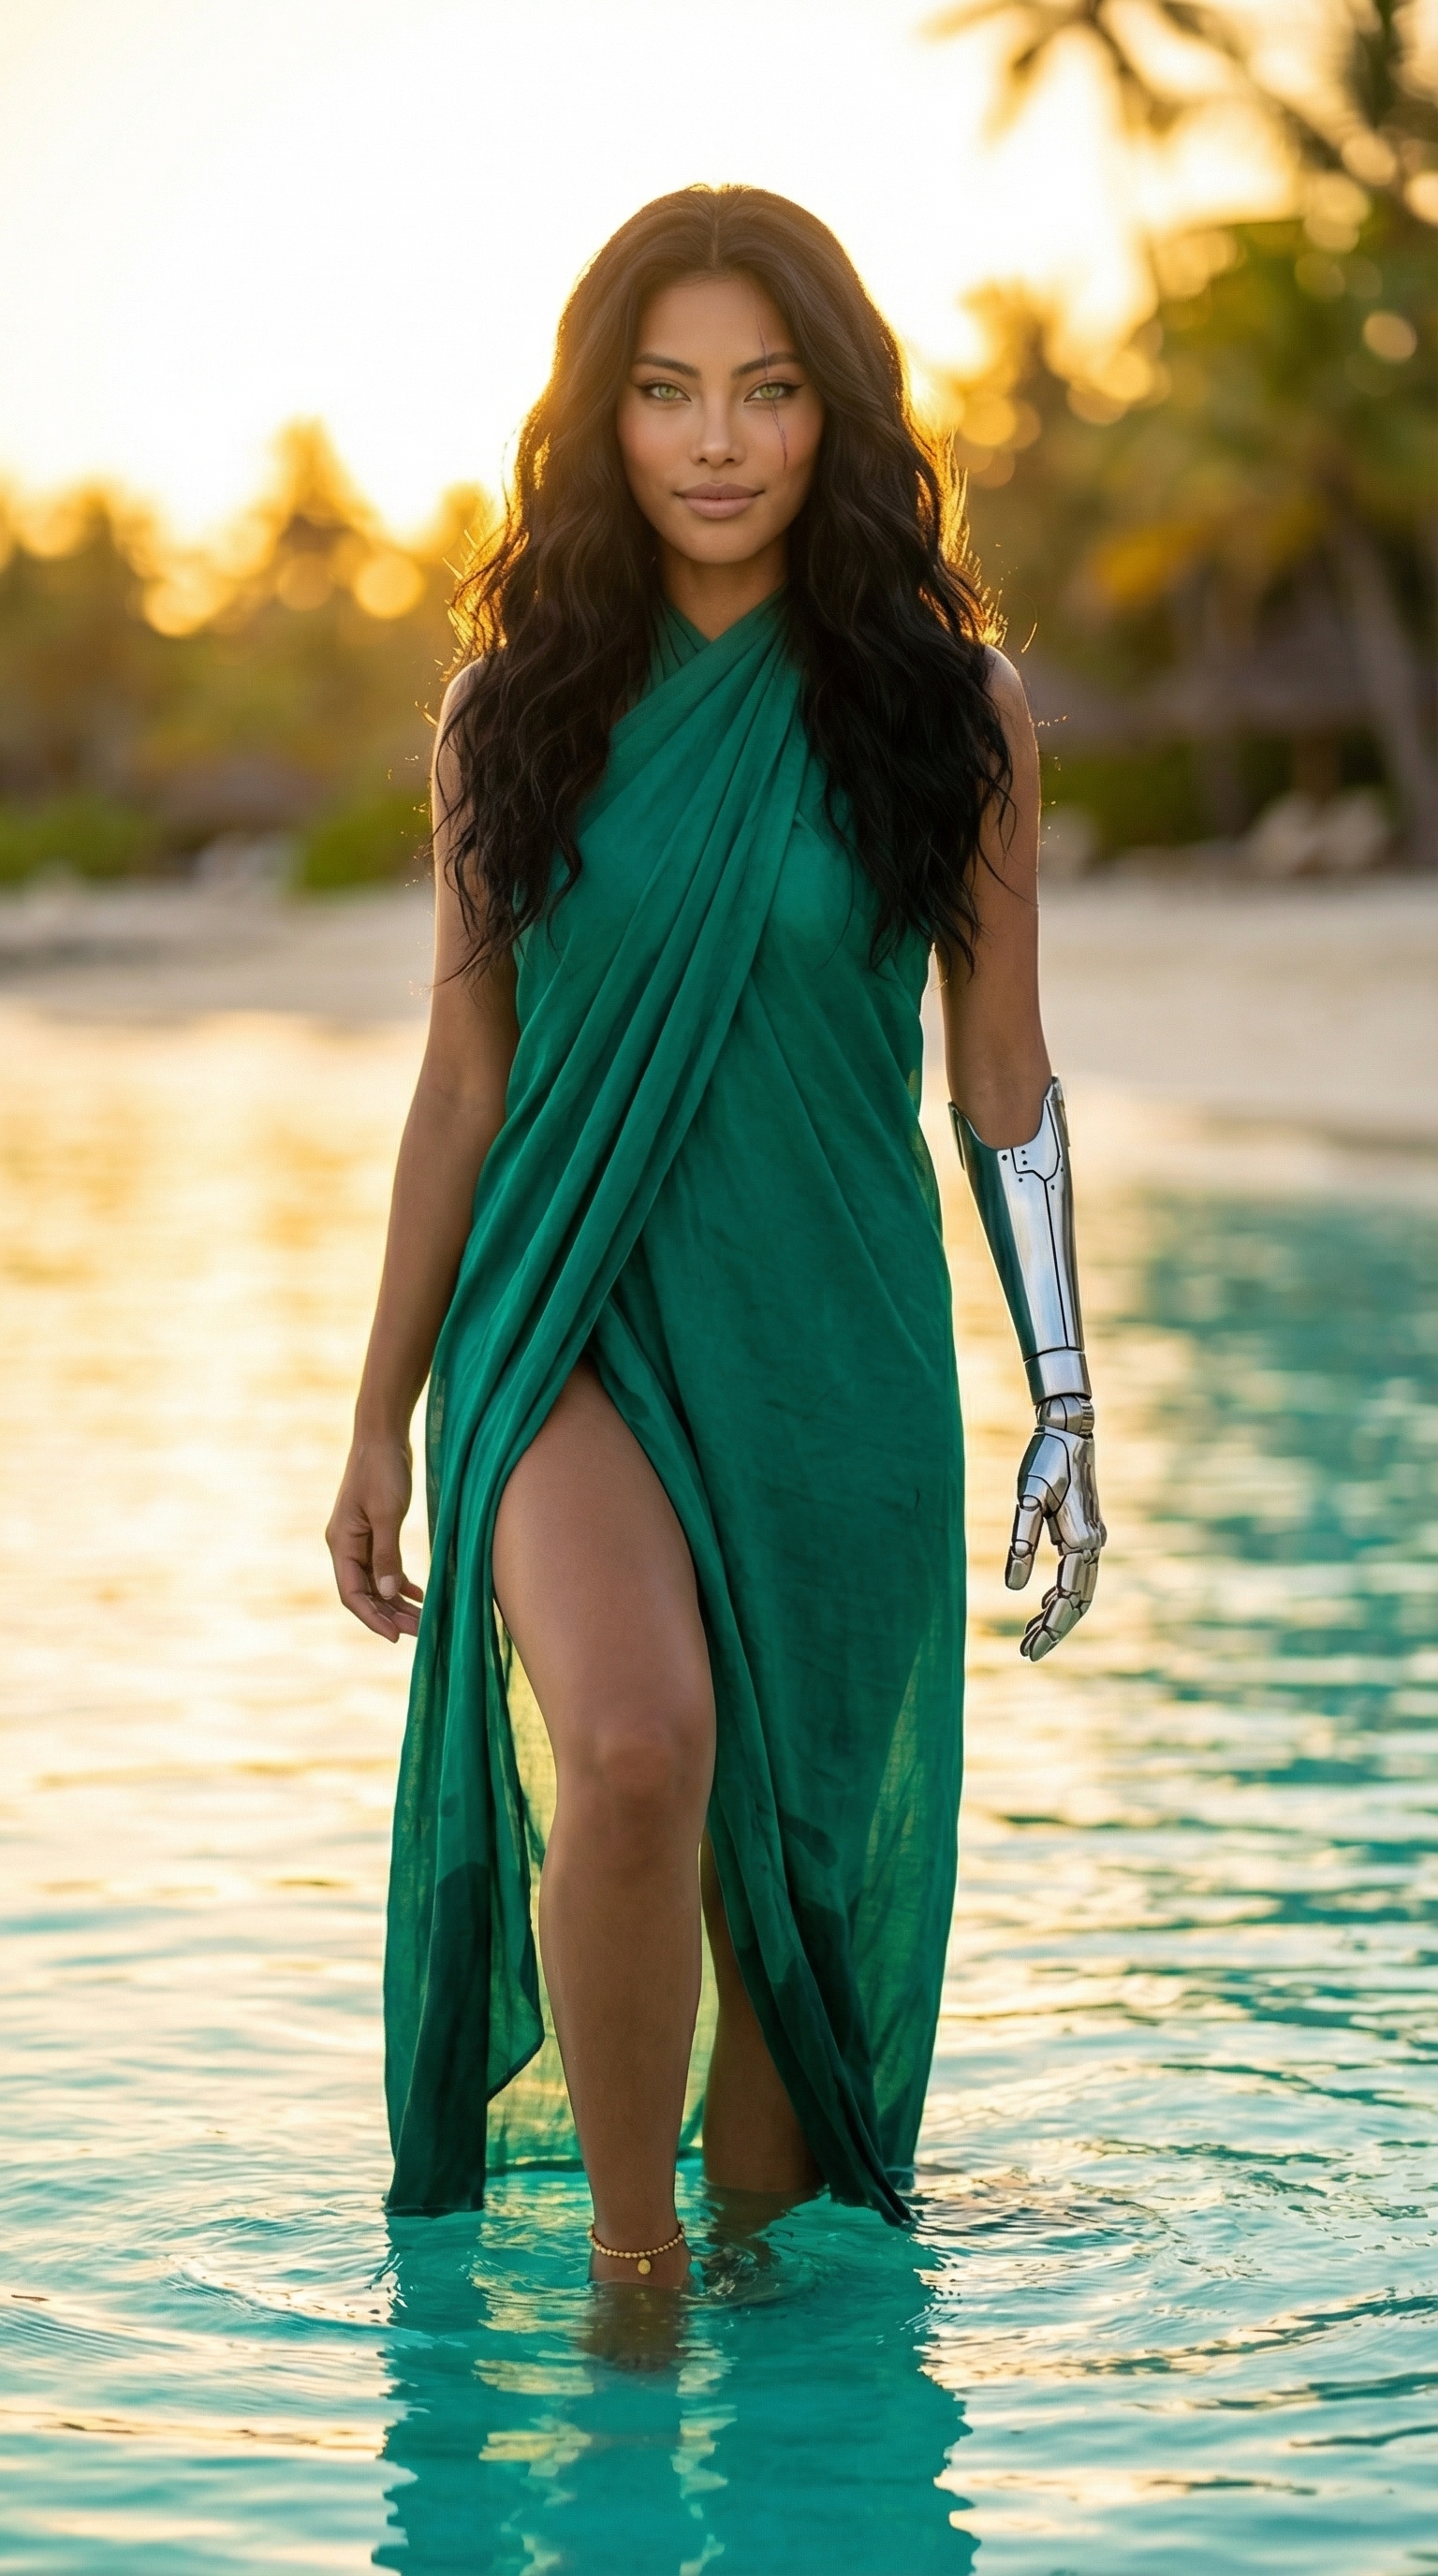
Each image links to the character's profile. The Studio — Technical Guide has the full showcase plus deeper documentation on every component.