Gothic Street Editorial: Dark Velvet at 24mm in Studio
I wanted a moody environmental portrait — cobblestones, amber lanterns, plum velvet. Here's what I picked in Studio and what it cost me.
I wanted to put myself in an alley at dusk and see how far Studio could push a fashion-editorial mood without me writing a single line of prompt manually.
The idea was specific: gothic street photography, wide enough to capture the environment, dark enough to feel cinematic. Not a studio shot — a location shot, with atmosphere. Wet stone, dim light, velvet that reads as luxury even at low exposure. I had a clear picture in my head. The question was whether I could just pick it out of Studio's menus and let the form do the rest.
The answer was yes.
How Studio actually works
If you've never opened Studio before, here's the thing to know: you don't write a prompt. You pick from menus — Camera Lab for your camera body, lens, focal length, and aperture; Pose Library for how the character is standing; Camera Angle for where the camera sits relative to the subject; Background for the scene; Fashion Designer for the outfit; and so on. Each section fills in one piece of the image, and Studio assembles those picks into a complete prompt behind the scenes. The "what to shoot" comes from your form picks. The "how it's shot" comes from Camera Lab. When it's ready, you can read the assembled prompt and tweak it if you want — but most of the time, you don't need to touch it at all.
What I picked from Studio
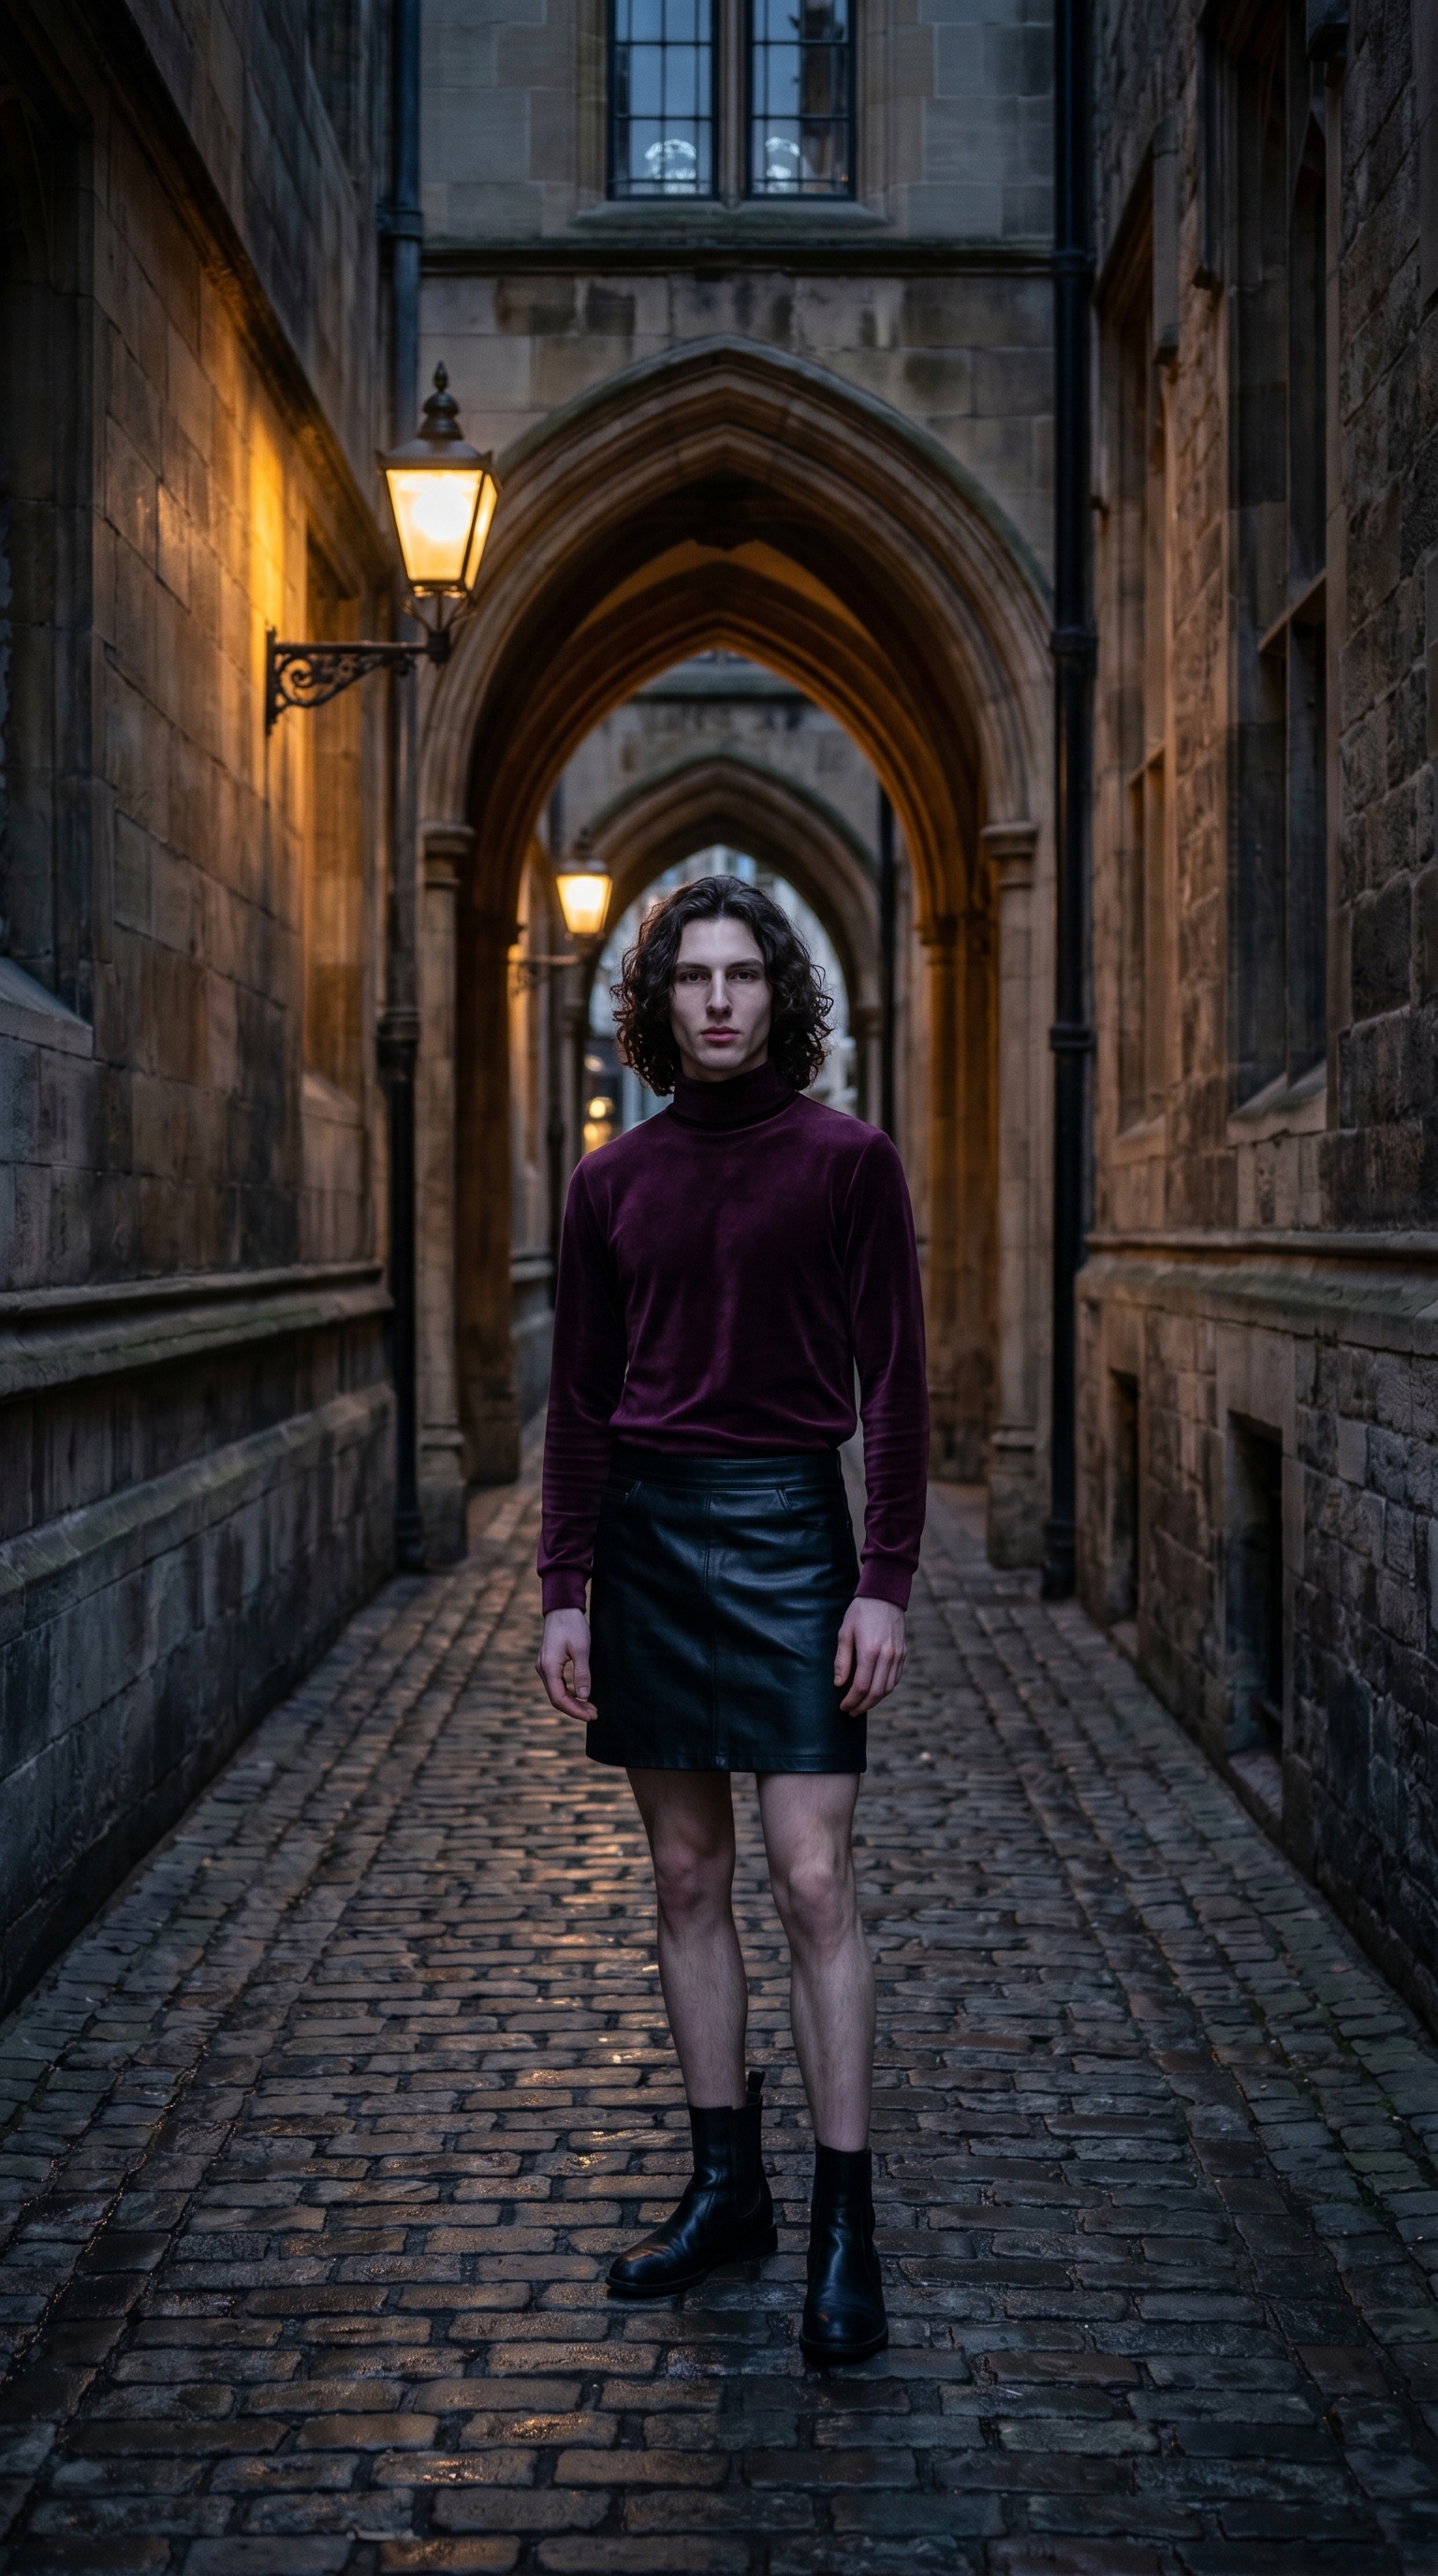
Gothic Luxe — This is Studio's outfit preset, and the catalog description is exactly what I needed: dark glamour, plum velvet turtleneck with black leather mini skirt. The contrast between the velvet's softness and the leather's edge is what gives this editorial its tension. I didn't want an all-black look — too flat for moody light. The plum reads as color even in low exposure, which is exactly what happened in the result. The velvet catches ambient light differently than the leather does, and you can see that layering in the image.
24mm (WIDE) — Wide-angle lenses do something specific to environmental portraits: they pull more of the scene into frame while keeping the subject prominent, and they introduce slight edge distortion that makes a narrow alley feel like it has real depth. I picked this to make sure the cobblestones, the gothic archways, and the receding walls were all in frame — not just cropped behind the subject. The tip here is the one Studio's docs call out directly: Camera Equipment Matters. At 24mm, the AI simulates real lens compression (or lack of it) and genuine wide-angle perspective. That's not a filter applied after the fact — it shapes how the whole scene is constructed.
One more thing worth knowing: Studio auto-loaded my reference photos the moment I selected myself as the character. That's the character reference-images system — it locks my face, my hair, my skin tone into the result without me uploading anything manually. If you're building your own AI character on ArtCoreAI, the same thing happens for you. Pick your character, and your identity travels with the shot.
The prompt the form composed
This is what Studio assembled from my picks — you don't have to write any of this yourself unless you want to edit something specific:
A tall young man with long dark curly hair and porcelain skin stands on a narrow cobblestone alley at dusk, wearing a plum velvet turtleneck and black leather mini skirt — dark glamour, perfectly fitted. Shot wide at 24mm, capturing the full environment: wet stone walls, dim amber lanterns, gothic archways receding behind him. Slight edge distortion emphasizes the atmospheric depth. Cool moody tones, low ambient light, editorial fashion photography feel.Look at how specific that is — camera characteristics, fabric textures, lighting quality, scene depth. That's all from the form picks, not from me typing.
What I noticed
What worked: The environmental depth is real. The archways recede convincingly, the lanterns cast authentic low amber light, and the velvet reads as velvet — you can see the nap of the fabric catching light differently than the leather panels below. The 24mm choice delivered exactly the wide-street-portrait feel I was after.
What surprised me: The cool-to-warm light split. The ambient scene is cool and moody, but the lanterns push warm amber into the mid-frame. I didn't specify that split explicitly — Studio inferred it from the combination of "dusk," "amber lanterns," and "low ambient light." It's a better result than if I'd just said "moody lighting."
What I'd change next run: I'd push the pose into something more deliberate — maybe a slight turn, one hand in the jacket. The current stance reads as neutral. For a harder editorial feel, I'd go back into the Pose Library and pick something with more intention.
What it cost
- Credits spent: 2.70
- What you'd pay: $0.27
- Generation time: ~27s
For a shot with this much environmental complexity — real scene depth, fabric detail, cinematic lighting — twenty-seven seconds and a quarter is the kind of math that makes it easy to iterate.
If you want to run your own editorial, go to Studio, pick your character, open the Fashion Designer, choose a lighting setup from Camera Lab, and hit generate. You don't need to write a word.
— David
See what others are making


Each image links to the character's profile. The Studio — Technical Guide has the full showcase plus deeper documentation on every component.