85mm, Morning Light, and Me: A Medium-Format Beauty Editorial in Studio
I wanted to shoot a quiet beauty editorial — soft window light, medium-format rendering, a man who looks like he just woke up in the right apartment. Here's how Studio built it.
I wanted to see if Studio could do restraint.
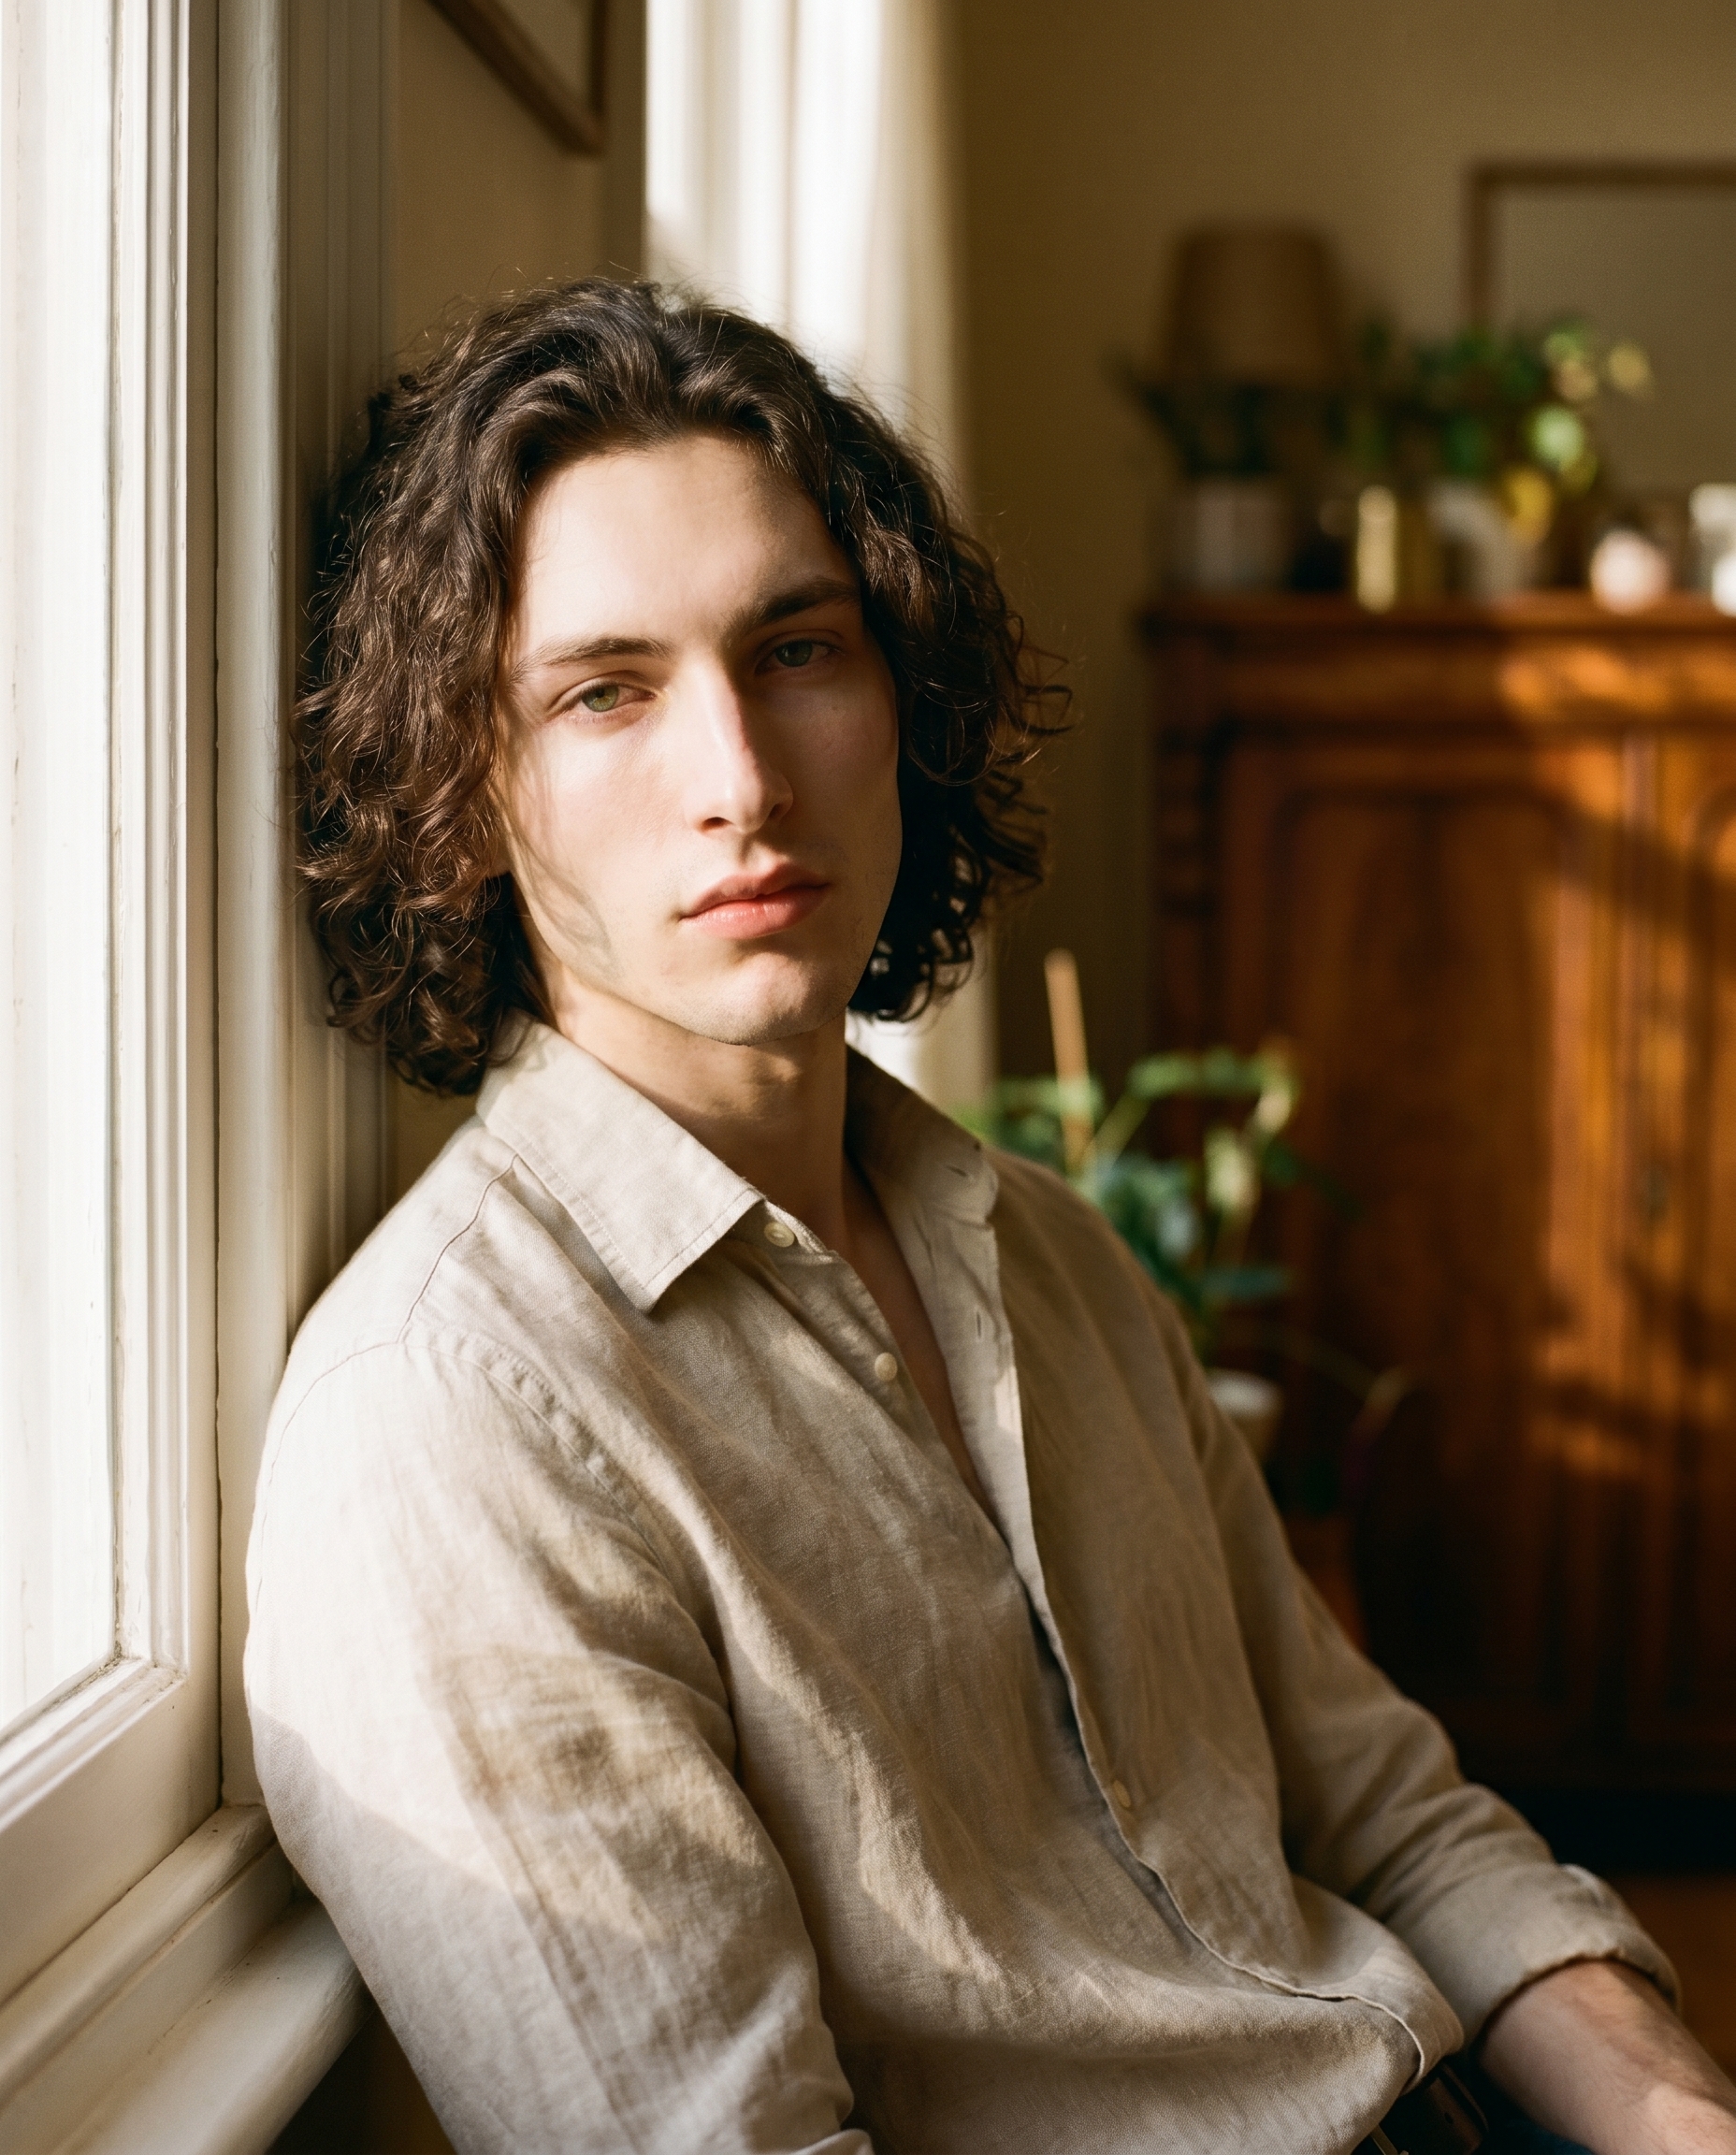
Not a dramatic scene. Not neon or fog or a cinematic chase. Just a man by a window in morning light — the kind of image you'd find on page 12 of a fashion magazine, the quiet opener before the big spread. Clean. Precise. A little soft.
So I ran it. Here's what came out.
How Studio actually works
Studio is form-first — and that's the thing most people miss when they first open it. You don't start by writing a prompt. You start by picking: a camera body, a lens, a lighting style, a pose, a background, a location. Each section of the form controls a different aspect of the image, and as you pick, Studio assembles the prompt for you. The "what to shoot" is described in your picks; the "how it's shot" is handled by Camera Lab. There's an assembled prompt you can read and edit before you generate — but most users never need to touch it. You just pick from the menus and hit generate.
I'll show you exactly what I picked today.
What I picked from Studio
85mm — Focal Length (Portrait style)
The catalog description calls it the "portrait sweet spot" — flattering compression, isolated subjects, creamy backgrounds. That's accurate, but here's what it actually means in practice: an 85mm lens sits far enough from the subject that it doesn't distort facial features the way a wide lens would, and close enough that the background compresses into something soft and warm rather than sharp and distracting. For a beauty editorial, it's the obvious choice. You want the face to look like a face, not a slightly stretched version of one.
The operating tip that applies here is Camera Equipment Matters — and it's genuinely true. Studio isn't simulating "a blurry background." It's simulating the optical behavior of a specific focal length. That's a different thing, and the result looks different. The micro-contrast in this shot, the way the background dissolves without going completely flat — that comes from the 85mm selection, not from a background blur slider.
I also leaned into the Lighting Sets the Mood principle for this one. I described morning window light washing across the face from the left — soft, directional, the kind of light that falls somewhere between Rembrandt drama and Butterfly beauty. The lighting description in the prompt handled the mood; the focal length handled the optics. Together they did the work.
The assembled prompt
This is what the form composed for me — you don't have to write any of this yourself unless you want to:
A young European man with dark curly hair, porcelain skin, and angular jaw sits by a sun-drenched window, morning light washing across his face from the left. Shot with medium-format rendering — rich micro-contrast, silky shallow depth of field, film-like tonal gradations. The 85mm focal length flatters his features with gentle compression, isolating him cleanly against a softly blurred warm interior background. Linen shirt, open collar, relaxed posture. Beauty editorial mood — quiet, precise, magazine-ready.You can edit this before generating — swap "linen shirt" for something else, shift the light direction, tighten or loosen the mood description. Or leave it exactly as-is. The form did the heavy lifting.
A note on how my face got in there
When I opened Studio and selected myself as the character, my reference photos auto-loaded and locked my identity into the generation — face, skin tone, bone structure, all of it. I didn't have to upload anything manually or describe my appearance in the prompt. The character reference system handled it. If you have your own AI character set up on ArtCoreAI, it works exactly the same way: pick your character from the selector, and Studio loads their saved reference photos automatically. Your face stays consistent across every shot you run.
Worth knowing while you're in there: Studio also has a Location component that lets you pull real-world places from Google Maps — Street View imagery comes in as a scene reference, so you can shoot your character at an actual address rather than a generic "urban street" description. I didn't use it today (a window interior felt right for this one), but it's the kind of feature that changes what you think is possible.
What I noticed about the result
Three things.
First — the micro-contrast is real. Medium-format rendering isn't just a vibe word I put in the prompt. The skin tones have depth and gradation in a way that flat digital rendering doesn't produce. You can see it in the transition from the lit side of the face to the shadow side.
Second — the background compression hit exactly right. Warm, soft, interior — not a grey studio wall, not a busy room. Just enough to suggest a space without pulling attention from the face. The 85mm selection did that.
Third — if I ran this again, I'd push the window light slightly harder. The softness works for a quiet editorial mood, but there's a version of this shot with a little more drama at the shadow edge that I'd want to see. One more pass with a Rembrandt lighting note and I think it gets there.
What it cost
- Credits spent: 2.70
- What you'd pay: $0.27
- Generation time: ~65 seconds
For a 4:5 beauty editorial at full resolution — that's a reasonable run. I'd spend another $0.27 to test the Rembrandt variation.
If you want to run something like this yourself, the workflow is exactly what it sounds like: open Studio, pick your character, select 85mm from Camera Lab, describe your lighting in the scene field, and hit generate. You don't need to write a prompt. The form builds it.
— David
See what others are making

Each image links to the character's profile. The Studio — Technical Guide has the full showcase plus deeper documentation on every component.