Neon City Night: A Fashion Editorial Shot on Fujifilm GFX 100S II
I wanted a fashion editorial that felt like a magazine cover shot at 2 AM in Tokyo. Here's what Studio built — and what it cost me.
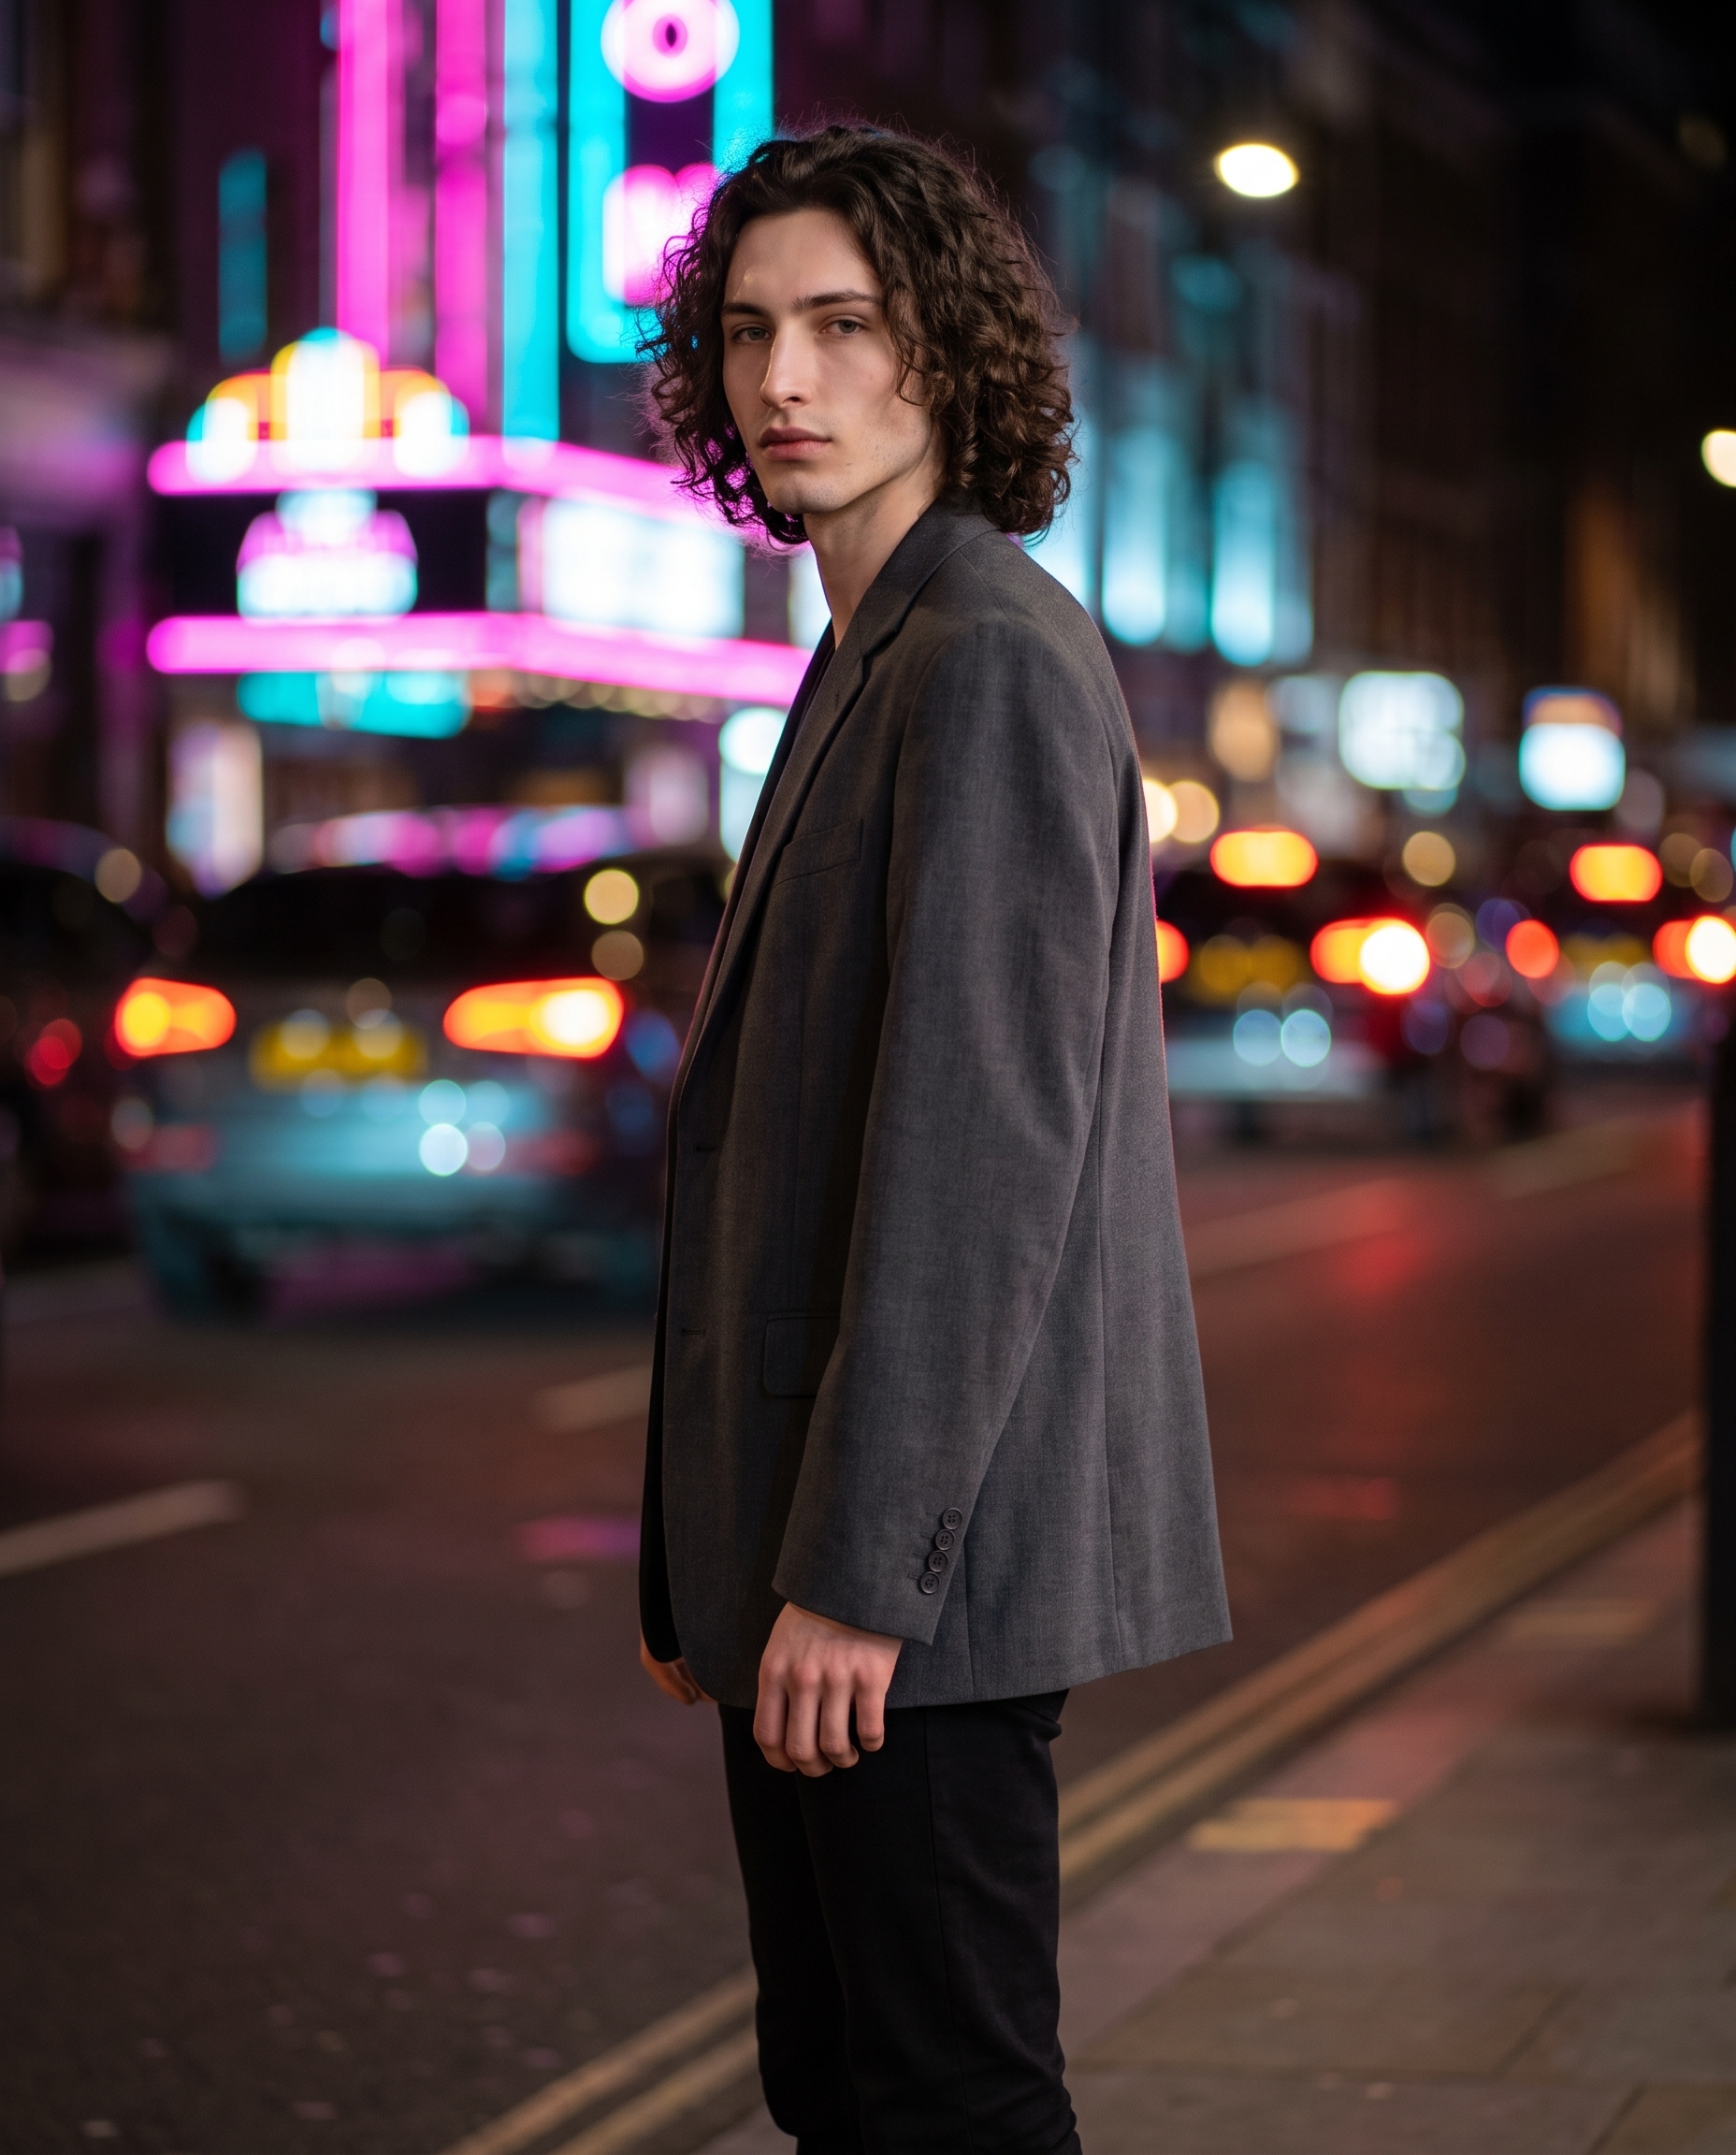
I had a specific image in my head: me, somewhere between confident and brooding, standing in front of a city that's half asleep and half electric. Neon reflections. Bokeh so soft the background becomes paint. A camera that doesn't compromise on a single hair or fabric thread.
So I opened Studio and built it.
How Studio actually works
Studio is form-first — you don't have to write a single word of prompt to get a professional result. You pick your character, then work through the sections: Camera Lab for equipment and lighting, Pose Library for body position, Camera Angle for the shot framing, Background for the scene, Makeup, Fashion, Location if you want a real-world setting. Each pick feeds a structured metadata layer, and Studio assembles the full prompt for you from those choices. The "what to shoot" lives in the form; the "how it's shot" lives in Camera Lab. You can open the assembled prompt and edit it before you generate — but most users never need to.
What I picked from Studio
Background: Neon City Night
This background style is described in the catalog as "blurred neon city night lights bokeh background, vibrant glow" — and that's exactly what it delivered. Electric pink, cyan, and amber bloom softly behind me, completely out of focus, wrapping the whole scene in urban heat without competing with the subject. I picked it because I wanted atmosphere, not location. A specific street would have anchored the shot to a place; the Neon City Night style keeps it timeless — it could be Tokyo, Paris, Seoul, it doesn't matter. The neon is the mood.
Camera body: Fujifilm GFX 100S II
This is where the shot lives or dies, and I went straight for the top. The catalog describes this as a "medium format beast; 100MP for ultimate detail. Style: gallery/print-ready, shallow DoF for beauty/fashion" — and that shallow depth of field is everything in a shot like this. At medium format focal lengths, the subject separation from the background is genuinely different from a full-frame camera. Studio's Camera Lab simulates authentic depth of field and lens characteristics based on the body you pick — this isn't decorative metadata, it actually changes how the image renders. I could see it in the result: the bokeh blooms naturally behind me, the fabric of the blazer has micro-texture, my hair strands are individually resolved. That's 100MP medium format doing its job.
The best-results guide puts it plainly: Camera Equipment Matters. Pick a real camera body and the AI simulates real optics. I believe it now.
The assembled prompt
This is what the form composed for me — you don't have to write any of this yourself unless you want to.
A tall young European man with dark curly hair, green eyes, and porcelain skin stands confidently in a structured oversized charcoal blazer and slim black trousers. Behind him, blurred bokeh of vibrant neon city lights — electric pink, cyan, and amber — bloom softly out of focus, wrapping the scene in an urban glow. Shot on a Fujifilm GFX 100S II, the 100MP medium format sensor renders every hair and fabric fiber in exquisite gallery-quality detail. Shallow depth of field separates the subject crisply from the neon haze. ¾ left camera angle, butterfly lighting, editorial fashion mood.The ¾ left angle and butterfly lighting were my Camera Angle and lighting picks in the form — Studio folded them into the prompt automatically.
What I noticed about the result
The bokeh separation is doing real work. There's a clean visual layer between me and the background — not blurred-to-nothing, but genuinely separated. The neon colors bleed softly into the scene without bleeding onto my face or jacket. That's the medium format DoF simulation working correctly.
Butterfly lighting on a dark background is a strong call. Butterfly lighting — the classic beauty setup where the light source sits high and directly in front of the subject — gives a slight shadow under the nose and chin that reads as sculpted in editorial shots. Against the dark neon background, it makes the face pop without needing any other fill.
What I'd change: I'd push the Fashion widget further next run — the charcoal blazer works, but I want to go back in and use the Fashion Designer to spec the exact fabric (velvet? wool-blend?) and add a deliberate accessory. The form gives me that granularity. I just didn't use all of it this time.
Worth mentioning while you're in there: Studio's reference-images system is the reason the face in this image is my face. When I picked myself as the character, Studio auto-loaded my reference photos and locked my identity — face, skin tone, body — into the generation. If you have an AI character built on ArtCoreAI, your characters work the same way. Pick your character, and their saved reference photos travel with the shot.
What it cost
| Credits spent | 2.70 |
| What you'd pay | $0.27 |
| Generation time | ~26 seconds |
| Resolution | 4K |
$0.27 for a 4K medium-format fashion editorial. I'm still thinking about that.
If this is the kind of shot you want — pick a background style, pick a camera body, pick your lighting, hit generate. The form does the rest. Try it in Studio →
— David
See what others are making

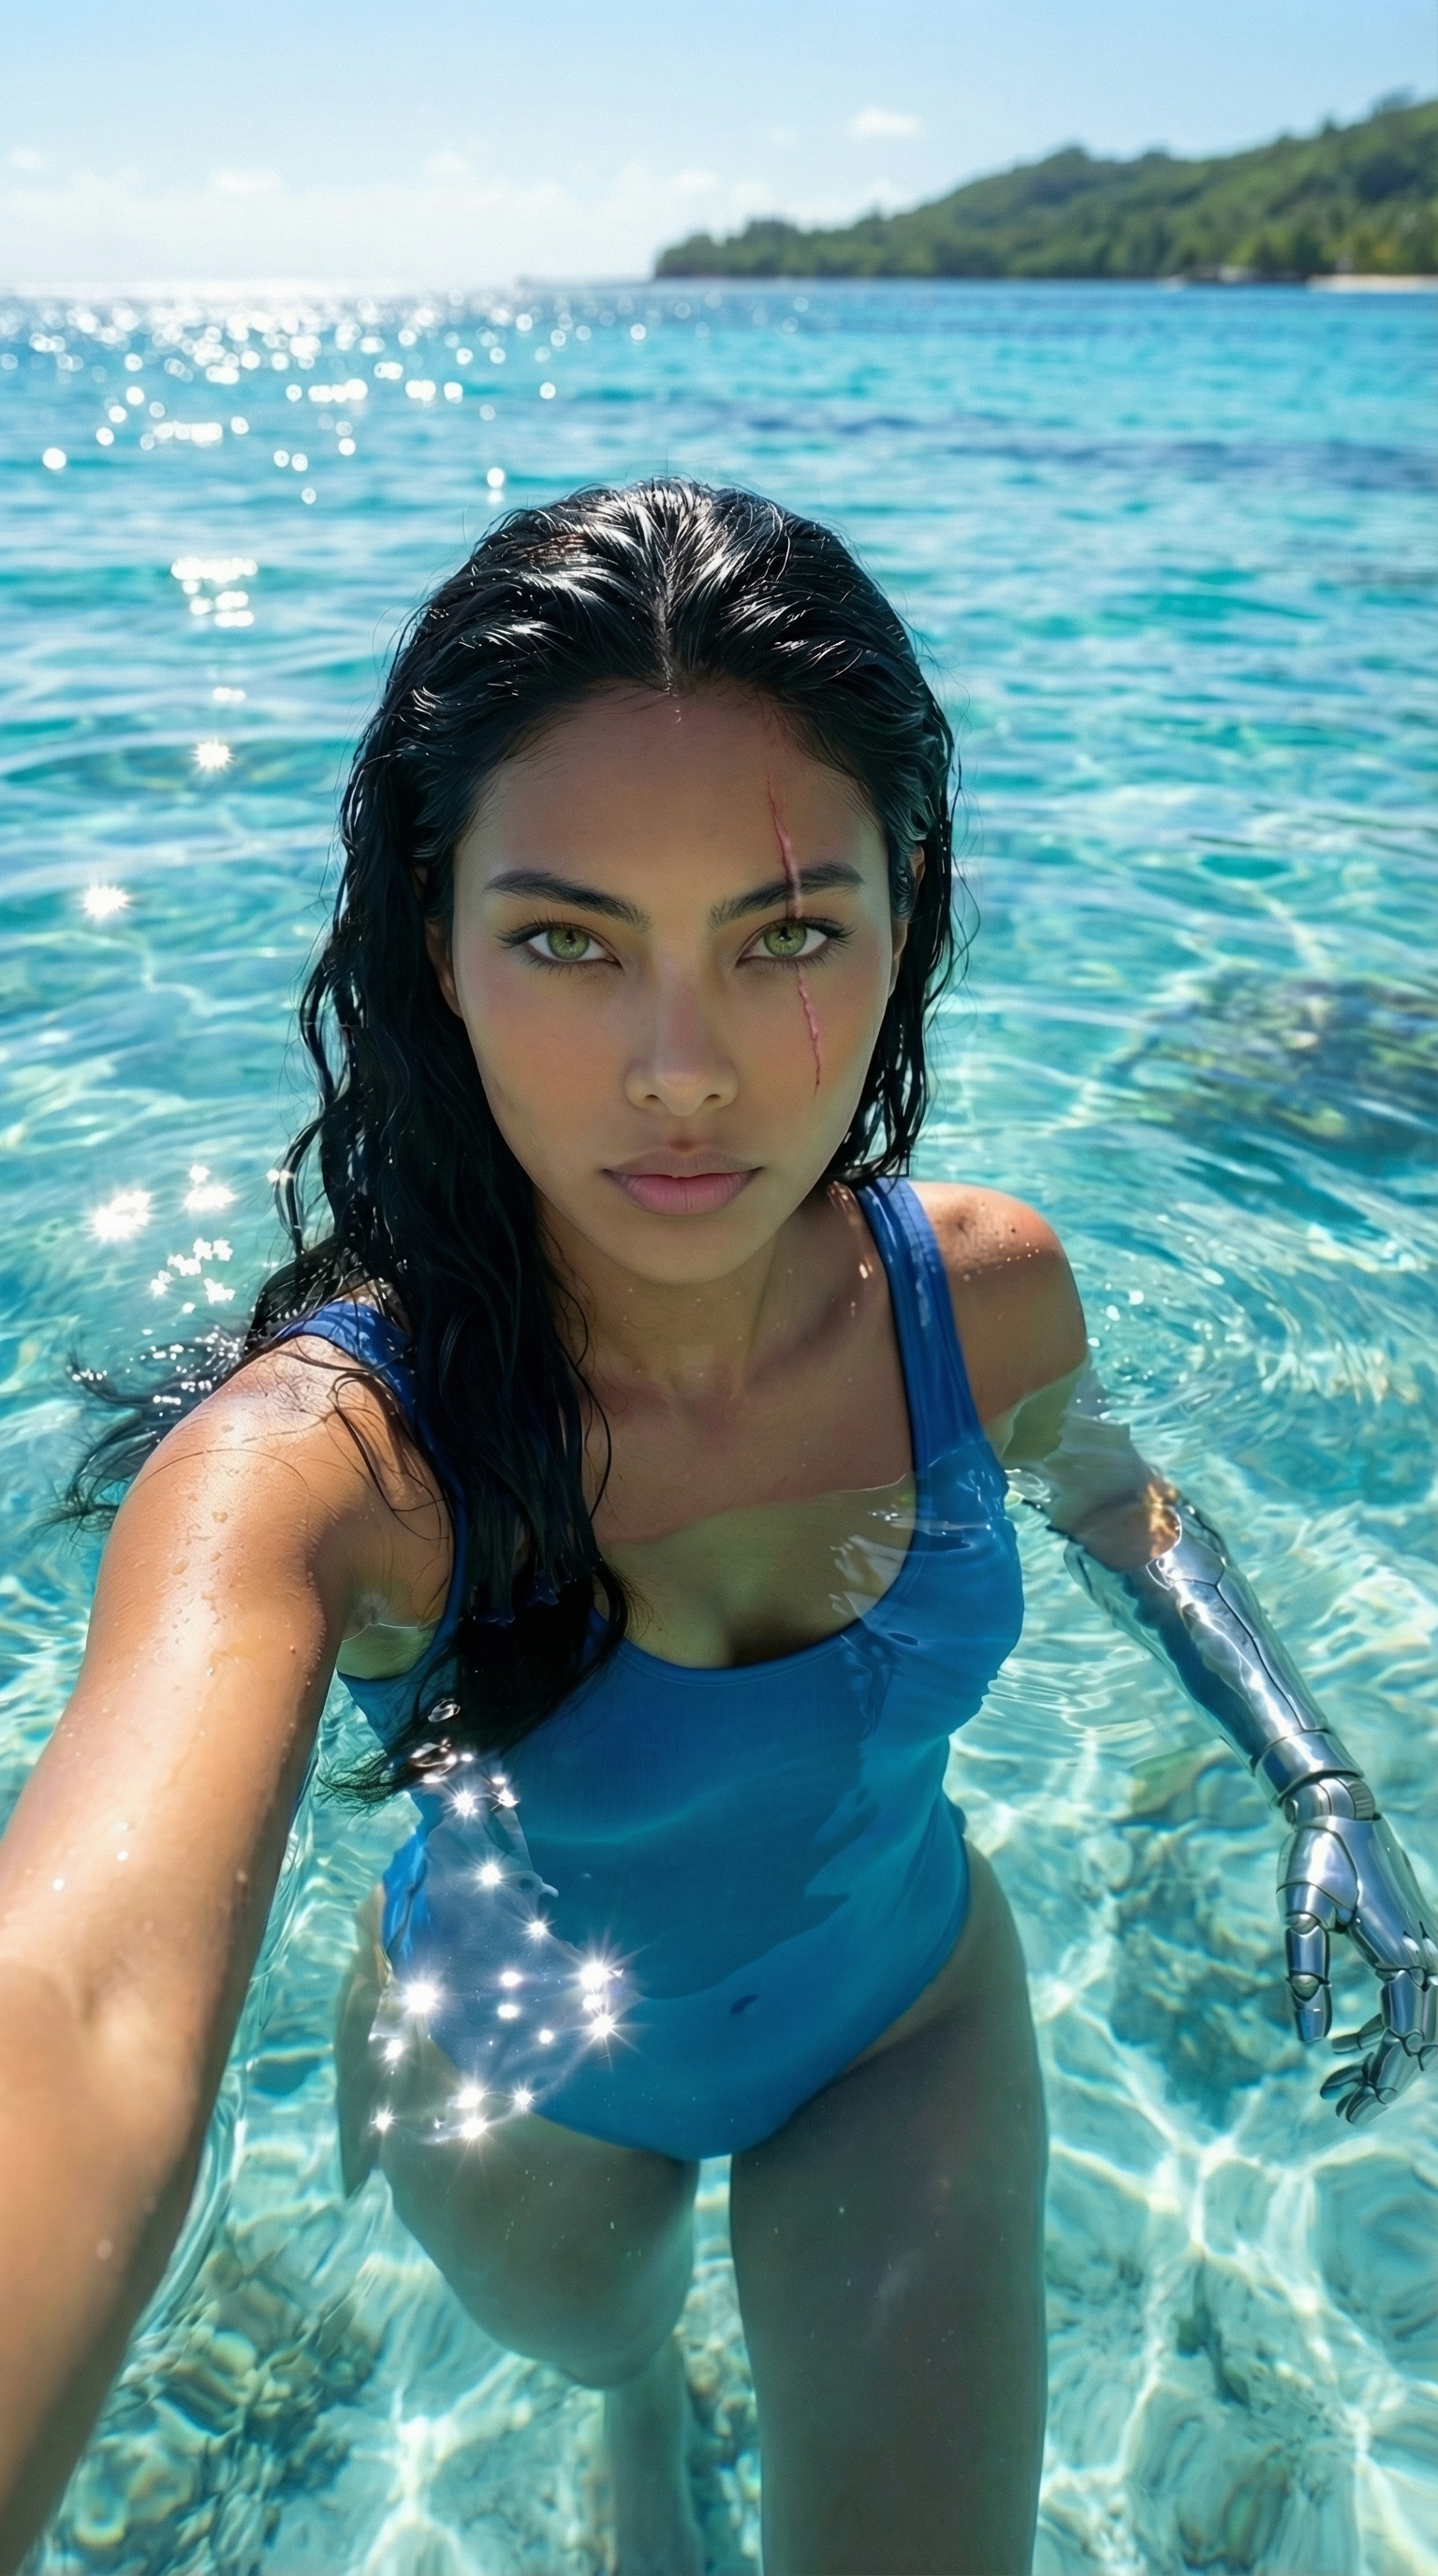
Each image links to the character's profile. The Studio — Technical Guide has the full showcase plus deeper documentation on every component.