28mm Under the Overpass: Wide-Angle Editorial in Studio
I wanted a wide urban portrait that felt like editorial documentary — brutalist concrete, sodium-lamp bokeh, relaxed confidence. Here's how I built it in Studio without writing a single line of prompt.
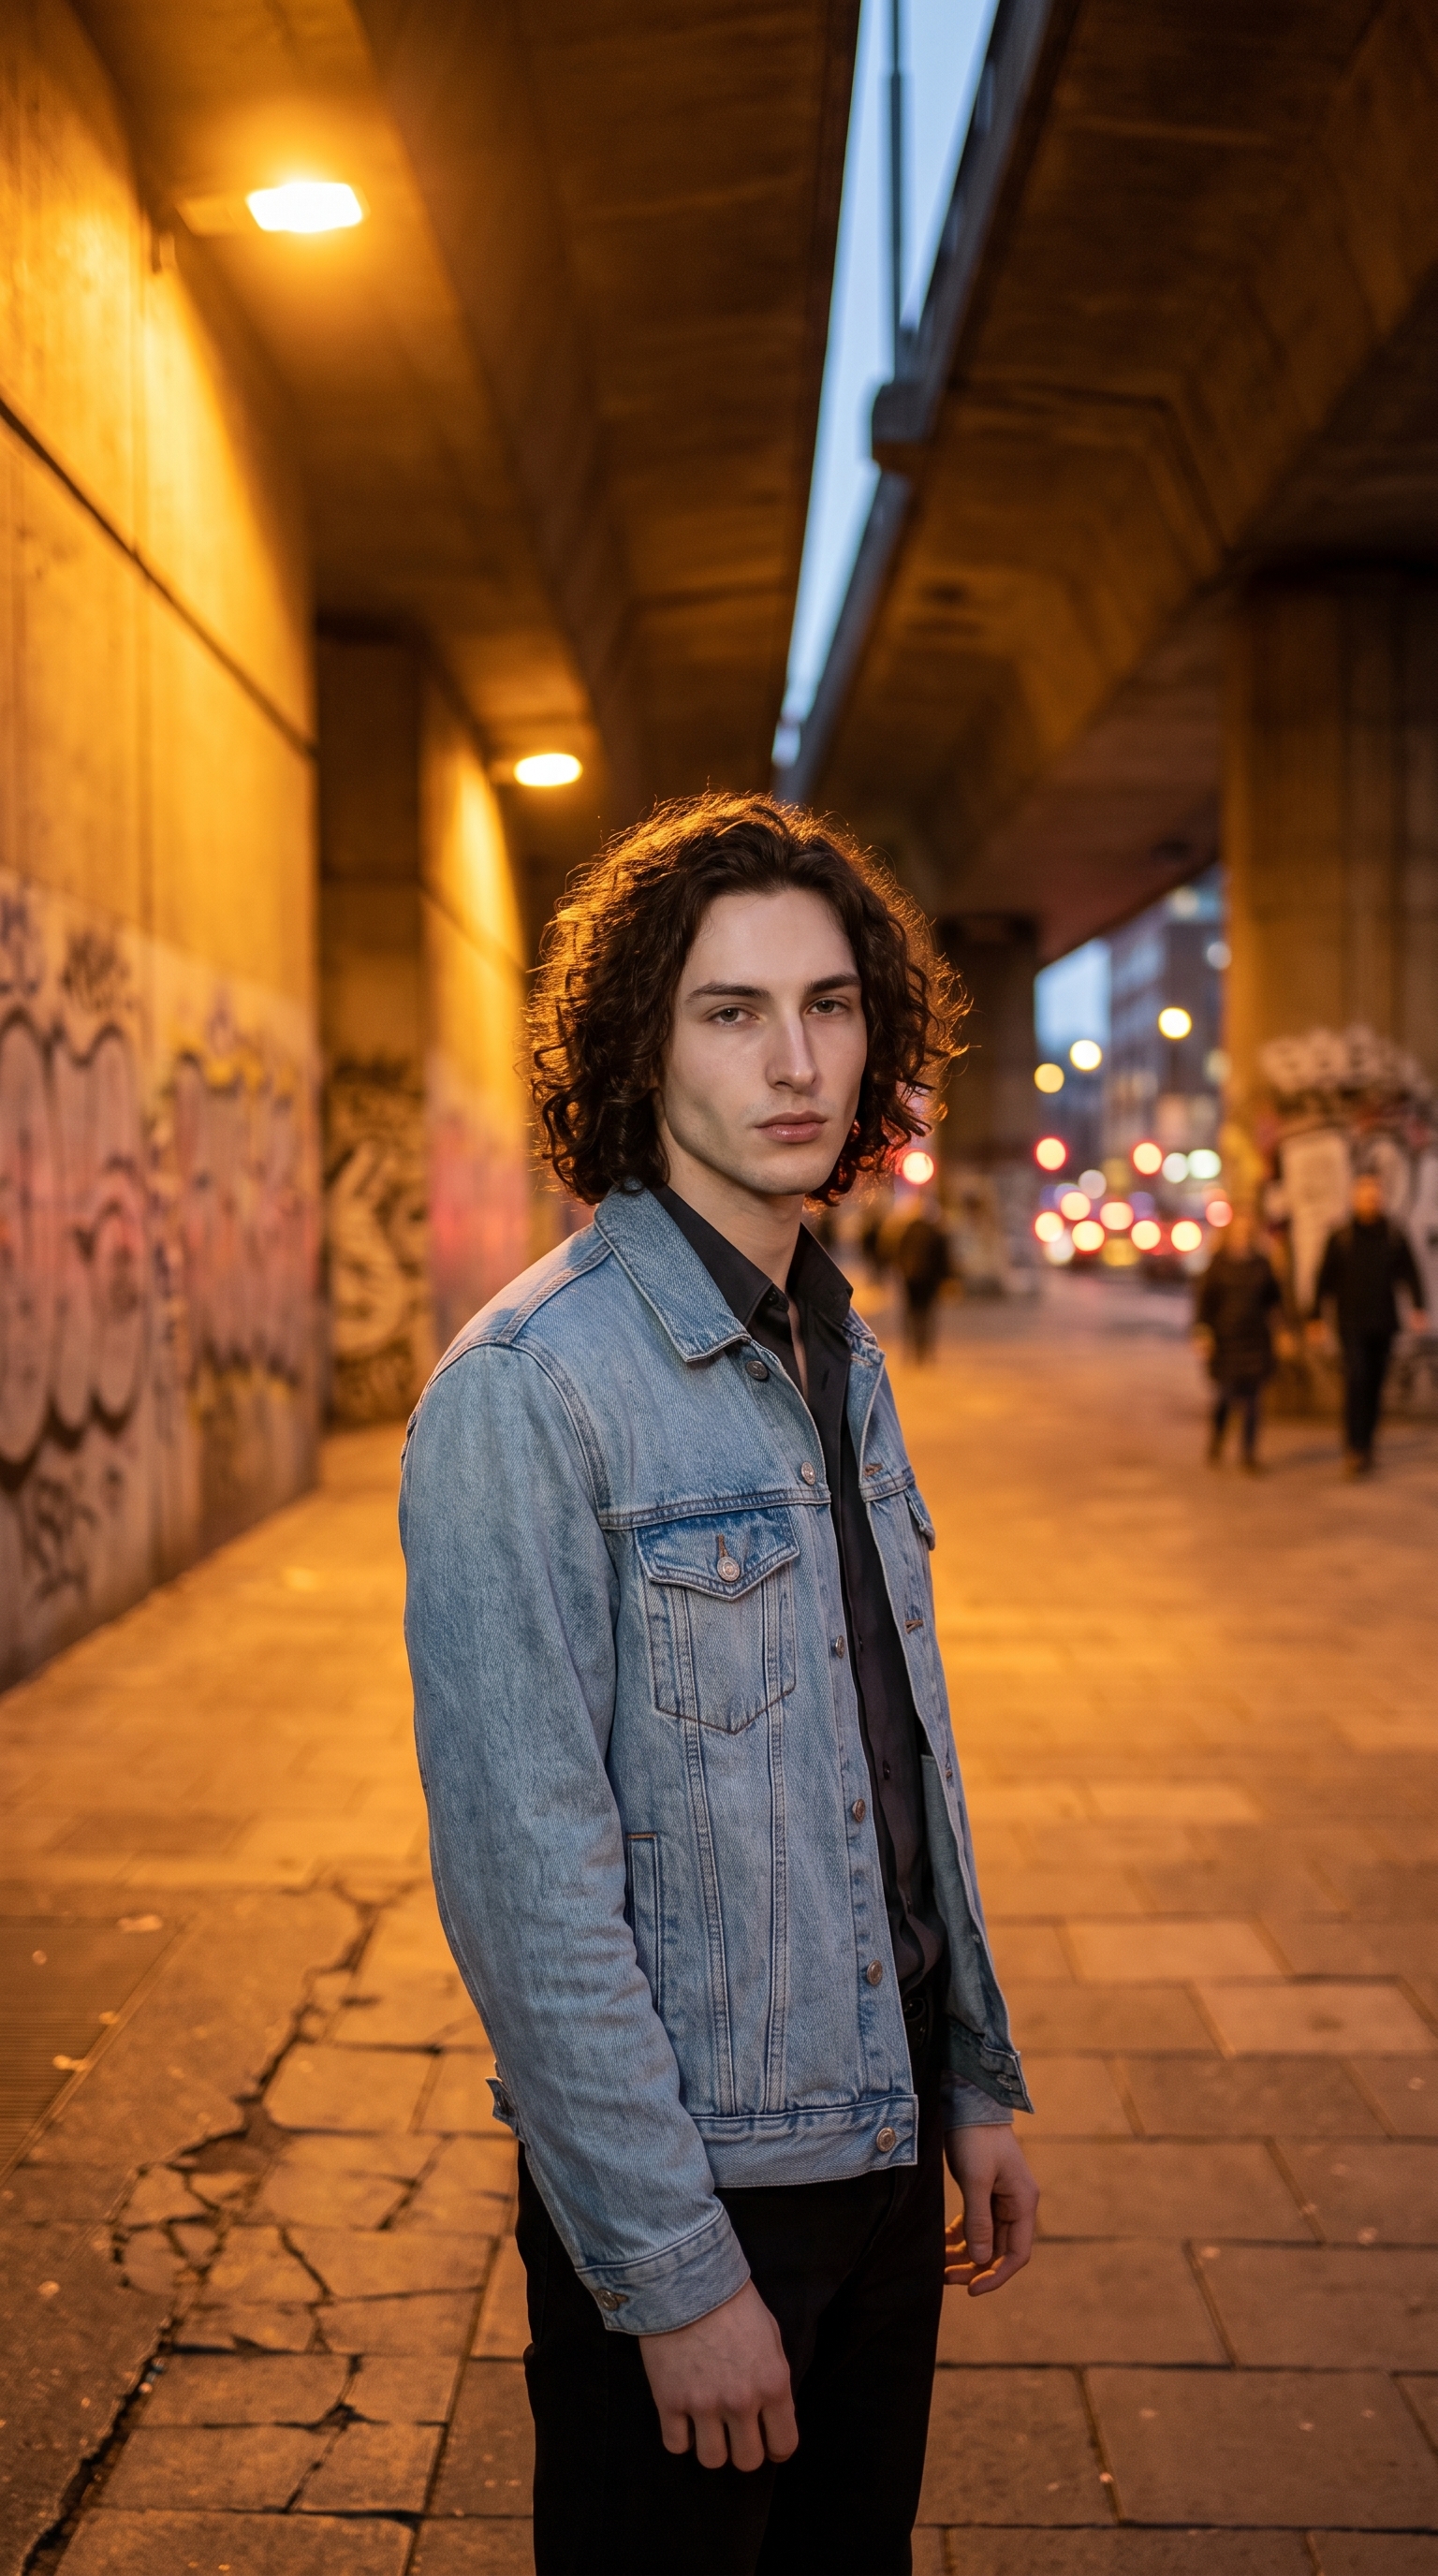
I had a specific image in my head: standing beneath a concrete underpass, city traffic blurring behind me, warm orange practicals bleeding into the background. Not a clean studio portrait. Something grittier — editorial, almost journalistic. The kind of shot that makes you feel the city without showing all of it.
The question was whether Studio could get there from the form alone, without me writing anything by hand.
How Studio actually works
Studio is form-first — meaning you don't start with a blank text box. You pick from menus: Camera Lab for your equipment and lighting, Pose Library for body position, Camera Angle for the shot geometry, Background for the environment, Fashion Designer for the outfit, and so on. Each pick feeds into a structured prompt that Studio assembles for you behind the scenes. The "what to shoot" is described in those form picks; the "how it's shot" comes from Camera Lab. There is an assembled prompt you can read and edit before generating — but most users never need to touch it. You pick, you hit generate.
Before any of that, I selected myself as the character. Studio pulled in my reference photos automatically and locked my face, build, and skin tone into the generation. If you've built a character on ArtCoreAI, this is how you use them in a real shoot — just pick them from the character list and the identity follows everywhere.
What I picked from Studio
28mm focal length — Studio labels this "Wide-normal; slight context inclusion. Style: street/documentary, natural feel." That description is exactly why I wanted it. A 50mm would have isolated me cleanly. A 28mm pulls the graffiti-tagged walls and cracked pavement into the frame — you get context, not just a subject. It doesn't distort the way an ultra-wide does, but it breathes. The underpass feels like a real place rather than a prop.
f/1.4 aperture — This one isn't from a rigid catalog entry; f/1.4 is a very fast prime aperture, and what it communicates to the AI is straightforward: maximum subject separation. A lens wide open at f/1.4 renders anything behind the focal plane as smooth, shallow blur. In this shot that translated to the pedestrian traffic becoming warm smears of sodium-lamp orange behind me — bokeh with colour temperature, not just grey mush. The combination of 28mm geometry and f/1.4 separation is an interesting one: the wide angle keeps pulling context in, while the aperture keeps pushing it soft. You get both — presence and blur — which is the whole editorial trick.
The operating tip I kept thinking about: Camera Equipment Matters. Studio simulates actual depth of field, bokeh, and lens compression based on the equipment you choose. Picking "28mm" and "f/1.4" isn't decorative — the AI uses those values as real photographic parameters. That's why the result doesn't look like an AI painting; it looks like a photograph taken with a specific lens.
Worth knowing while you're in there: Studio also has a Location component that lets you pick a real-world place from Google Maps — it captures Street View imagery as a reference and generates your scene at that actual location. I went with a described background for today's shot, but if you wanted to place yourself under a specific underpass in Paris or Tokyo, the Location tool would let you do exactly that.
What Studio assembled
This is what the form composed for me — you don't have to write any of this yourself unless you want to:
A tall muscular young man with dark curly hair and porcelain skin stands beneath a brutalist concrete underpass, city pedestrian traffic blurred behind him at maximum separation. Shot at 28mm — the wide-normal field of view pulls in the graffiti-tagged walls and cracked pavement around him, giving context without distorting. f/1.4 aperture renders the background as a wash of warm sodium-lamp bokeh while his figure stays tack-sharp. Late evening, golden-orange practical lights. Relaxed confident posture, light denim jacket, editorial mood.What I noticed about the result
The bokeh colour nailed it. Sodium-lamp orange is a specific warm-amber tone and the background blur landed exactly there — not generic yellow, not white-point blown out. That surprised me.
The 28mm geometry did what I hoped: you can read the environment. The concrete arch, the wall texture, the sense of depth — it's there without feeling like a location dump. The subject (me) stays dominant, but the city is genuinely present.
If I ran this again, I'd push the Camera Angle lower — worm's eye or a slight elevation below eye level — to get more of the underpass ceiling in frame and make the brutalist architecture feel more imposing. The current angle is eye-level, which reads confidently, but there's a more dramatic version of this shot available one click away in the Camera Angle panel.
What it cost
- Credits spent: 2.70
- What you'd pay: $0.27 (1 credit = $0.10 on ArtCoreAI)
- Generation time: ~25 seconds
For a 4K editorial frame, twenty-seven cents is hard to argue with.
If you want to run your own version — pick a focal length, set your aperture, choose a background, hit generate — Studio is right here. You won't need to write the prompt. The form does it.
— David
See what others are making

Each image links to the character's profile. The Studio — Technical Guide has the full showcase plus deeper documentation on every component.